
Freehand Selection Tool

Make Selections by freely drawing the selection outline around the canvas. Click and drag to draw a border around the section you wish to select.
Important
This tool was previously called as the Outline Selection tool. Starting from Krita 4.4.2 release it has been renamed to Freehand Selection Tool. Most of the behavior of the Freehand Selection Tool is common to all other selection tools, please make sure to read Selections to learn more about this tool.
Hotkeys and Sticky keys
Shift +
 sets the subsequent selection to ‘add’. You can release the Shift key while dragging, but it will still be set to ‘add’. Same for the others.
Alt +
sets the subsequent selection to ‘subtract’.Ctrl +
sets the subsequent selection to ‘replace’.Shift + Alt +
sets the subsequent selection to ‘intersect’.Holding the Ctrl key while drawing the selection temporarily makes this tool behave like the Polygon Selection tool and you can then draw straight line selections by just clicking on the canvas.
Added in version 4.2:
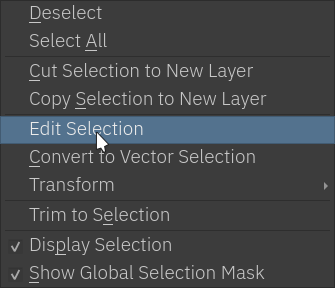
Hovering your cursor over the dashed line of the selection, or marching ants as it is commonly called turns the cursor into the move tool icon, which you
and drag to move the selection. will open up a selection quick menu with amongst others the ability to edit the selection.
Added in version 5.1.2: If you already began making a selection and the polygon mode is active (Ctrl key is pressed),
will undo the last added point.
Tip
You can switch the behavior of the Alt key to use Ctrl instead by toggling the switch in Tool Settings in the General Settings
Tip
This tool is not bound to any Hotkey, if you want to define one, go to and search for ‘Freehand Selection Tool’, there you can select the shortcut you want. Check Shortcut Settings for more info.
Tool Options
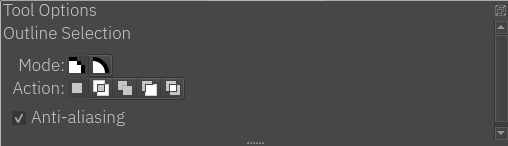
- Mode
This option is explained in the Pixel and Vector Selection Types section.
- Action
This option is explained in the Pixel and Vector Selection Types section.
- Anti-aliasing
This toggles whether or not to give selections feathered edges. Some people prefer hard-jagged edges for their selections.
Note
Anti-aliasing is only available on Pixel Selection Mode.