
Elliptical Selection Tool

This tool, represented by an ellipse with a dashed border, allows you to make Selections of a elliptical area. Simply  and drag around the section you wish to select.
Important
Most of the behavior of the Elliptical Selection Tool is common to all other selection tools, please make sure to read Selections to learn more about this tool.
Hotkeys and Stickykeys
J selects this tool.
- + Shift constrains the selection to a perfect circle. (Make sure to press before Shift key)
- + Ctrl makes the selection resize from the center. (Make sure to press before Ctrl key)
- + Alt allows you to move the selection. (Make sure to press before Alt key)
Shift +
sets the subsequent selection to ‘add’. You can release the Shift key while dragging, but it will still be set to ‘add’. Same for the others.Alt +
sets the subsequent selection to ‘subtract’.Ctrl +
sets the subsequent selection to ‘replace’.Shift + Alt +
sets the subsequent selection to ‘intersect’.
Added in version 4.2:
Hovering your cursor over the dashed line of the selection, or marching ants as it is commonly called, turns the cursor into the move tool icon, which you
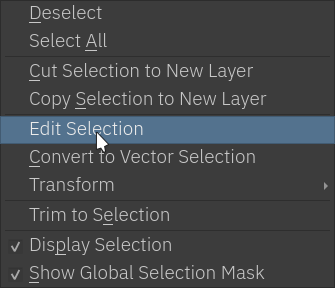
and drag to move the selection. will open up a selection quick menu with amongst others the ability to edit the selection.
Added in version 5.0:
- + Ctrl + Alt allows you to rotate the ellipse around the marked corner of the bounding rectangle. (Make sure to press before Ctrl and Alt keys)
- + Ctrl + Alt + Shift allows you to rotate a constrained perfect circle around the marked corner of the bounding rectangle. (Make sure to press before Ctrl + Alt + Shift shortcut)
Hint
To subtract a perfect circle, you can do the following: Press Alt + shortcut, then release the Alt key while dragging and press Shift key to constrain.
Tip
You can switch the behavior of the Alt key to use the Ctrl key instead by toggling the switch in the General Settings.
Tool Options
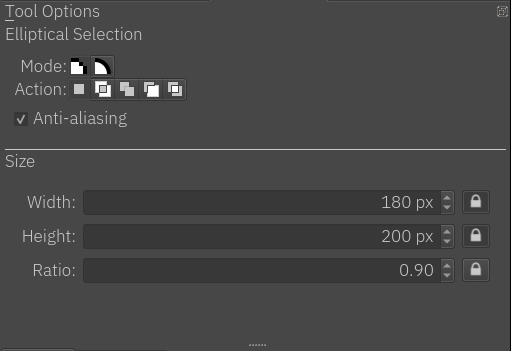
- Mode
This option is explained in the Pixel and Vector Selection Types section.
- Action
This option is explained in the Pixel and Vector Selection Types section.
- Anti-aliasing
This toggles whether or not to give selections feathered edges. Some people prefer hard-jagged edges for their selections.
Note
Anti-aliasing is only available on Pixel Selection Mode.
- Width
Shows you the current width while you are creating the selection. You can manually type the value and use the ‘Lock Width’ for your next selection to have the selected value.
- Lock Width
Forces the next selection to have the current width.
- Height
Shows you the current height while you are creating the selection. You can manually type the value and use the ‘Lock Height’ for your next selection to have the selected value.
- Lock Height
Forces the next selection to have the current height.
- Ratio
Shows the ratio between height and width of the selection. Similar to Height, and Width, you can manually type the value and use the ‘Lock Ratio’ for your next selection to have the selected value.
- Lock Ratio
Forces the next selection to have the current ratio.
Hint
If you want your selection to be of specific size:
Type the width and height.
Press the Lock Width and Lock Height buttons.
- where you want your selection to be.