
Magnetic Selection Tool

This tool, represented by a magnet over a selection border, allows you to make freeform Selections, but unlike the Polygonal Selection Tool or the Freehand Selection Tool, it will try to magnetically snap to sharp contrasts in your image, simplifying the creation of selection drastically.
There are two ways to make a magnetic selection:
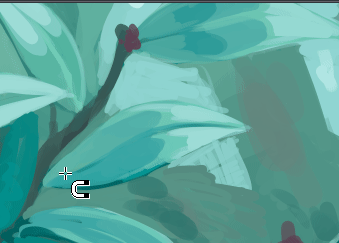
Animation showing the first mode of creating a magnetic selection.
The first is to use  and place points or nodes of the magnetic selection. To finalize your selection area you can do either on the first created point to complete the loop and click on it again to create a selection, or press Enter to end the magnetic selection or click on the Complete button present in Tool Options.
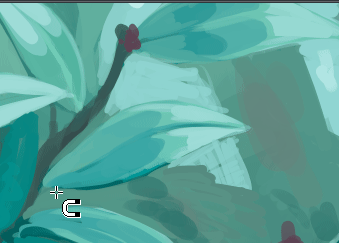
Animation showing the second (interactive) mode of creating a magnetic selection.
The second, interactive mode, is to + drag over a portion of an image.

The first and second mode can be mixed.
You can edit previous points by dragging them. You can remove points by dragging it out of the canvas area. After a path is closed. Points can be undone with Shift + Z. A halfway done magnetic selection can be canceled with Esc or clicking on the Discard button in the Tool Options.
Important
Most of the behavior of the Magnetic Selection Tool is common to all other selection tools, please make sure to read Selections to learn more about this tool.
Hotkeys and Sticky keys
Shift +
sets the subsequent selection to ‘add’. You can release the Shift key while dragging, but it will still be set to ‘add’. Same for the others.Alt +
sets the subsequent selection to ‘subtract’.Ctrl +
sets the subsequent selection to ‘replace’.Shift + Alt +
sets the subsequent selection to ‘intersect’.
Added in version 4.2:
Hovering your cursor over the dashed line of the selection, or marching ants as it is commonly called, turns the cursor into the move tool icon, which you
and drag to move the selection. will open up a selection quick menu with amongst others the ability to edit the selection.
Tip
You can switch the behavior of the Alt key to use Ctrl instead by toggling the switch in Tool Settings in the General Settings.
Tip
This tool is not bound to any Hotkey, if you want to define one, go to and search for ‘Magnetic Selection Tool’, there you can select the shortcut you want. Check Shortcut Settings for more info.
Tool Options
- Mode
This option is explained in the Pixel and Vector Selection Types section.
- Action
This option is explained in the Pixel and Vector Selection Types section.
- Anti-aliasing
This toggles whether or not to give selections feathered edges. Some people prefer hard-jagged edges for their selections.
- Filter Radius:
Determine the radius of the edge detection kernel. This determines how aggressively the tool will interpret contrasts. Low values mean only the sharpest of contrast will be a seen as an edge. High values will pick up on subtle contrasts. The range of which is from 2.5 to 100.
- Threshold:
From 0 to 255, how sharp your edge is, 0 is least while 255 is the most. Used in the interactive mode only.
- Search Radius:
The area in which the tool will search for a sharp contrast within an image. More pixels means less precision is needed when placing the points, but this will require Krita to do more work, and thus slows down the tool.
- Anchor Gap:
When using
+ drag to place points automatically, this value determines the average gap between 2 anchors. Low values give high precision by placing many nodes, but this is also harder to edit afterwards. The pixels are in screen dimensions and not image dimensions, meaning it is affected by zoom.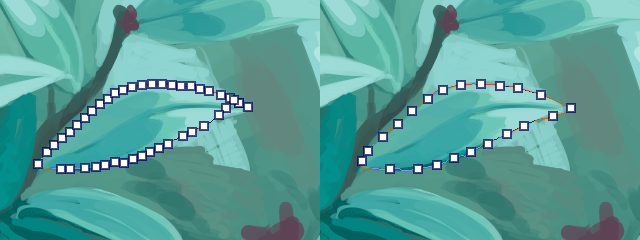
To the left: 20 px anchor gap, to the right: 40px anchor gap.
Note
Anti-aliasing is only available on Pixel Selection Mode.