그라디언트 도구
The Gradient tool is found in the Tools Panel. Left-Click dragging this tool over the active portion of the canvas will draw out the current gradient. If there is an active selection then, similar to the 채우기 도구, the paint action will be confined to the selection’s borders.
도구 옵션
- Shape:
- Linear
This will draw a straight gradient.
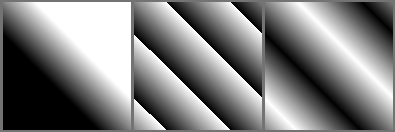
Left: None. Middle: Forwards. Right: Alternating.
- 이중 선형
This will draw a straight gradient, mirrored along the axis.
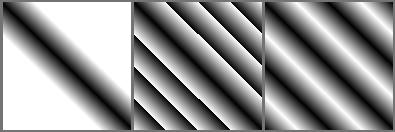
Left: None. Middle: Forwards. Right: Alternating.
- 방사형
This will draw the gradient from a center, defined by where you start the stroke.
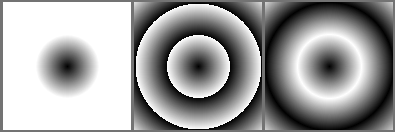
Left: None. Middle: Forwards. Right: Alternating.
- Square
This will draw the gradient from a center in a square shape, defined by where you start the stroke.
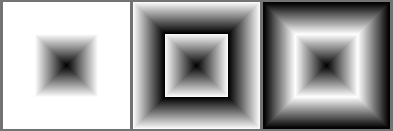
Left: None. Middle: Forwards. Right: Alternating.
- 원뿔형
This will wrap the gradient around a center, defined by where you start the stroke.
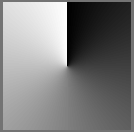
Left: None. Middle: Forwards. Right: Alternating.
- Conical-symmetric
This will wrap the gradient around a center, defined by where you start the stroke, but will mirror the wrap once.
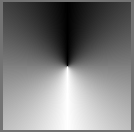
Left: None. Middle: Forwards. Right: Alternating.
- 나선형
This will draw the gradient spiral from a center, defined by where you start the stroke.

Left: None. Middle: Forwards. Right: Alternating.
- 나선형 반전
This will draw the gradient spiral from a center, defined by where you start the stroke, but direction is flipped perpendicular to the direction of stroke.
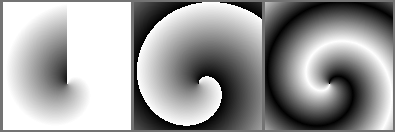
Left: None. Middle: Forwards. Right: Alternating.
- 선택한 모양
This will shape the gradient depending on the selection or layer.
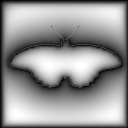
- 반복:
- None
This will extend the gradient into infinity.
- Forward
This will repeat the gradient into one direction.
- 교대
This will repeat the gradient, alternating the normal direction and the reversed.
- Antialias threshold
Controls how smooth is the border between repetitions.
A value equal to 0 means there is no smoothing. The border is aliased.
A value greater than 0 tells Krita how many pixels to each side of the border should be smoothed.
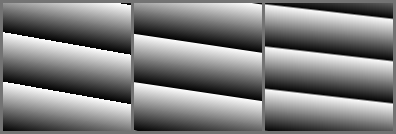
Left: 0. Middle: 0.5. Right: 1.
- Reverse
Reverses the direction of the gradient.
- Dither
Added in version 5.0.
8 bits of color depth is not enough depth to make a truly smooth gradient. This option alleviates this by adding blue noise style dithering to gradients in 8 bit.
In the above example, the topleft is a subtle gradient without dithering. The bottom left is with blue noise dithering. The right two examples are the same as the left, but with a contrast filter applied so the blue noise dithering pattern becomes obvious.
