Krita 4 Preset Bundle Overview
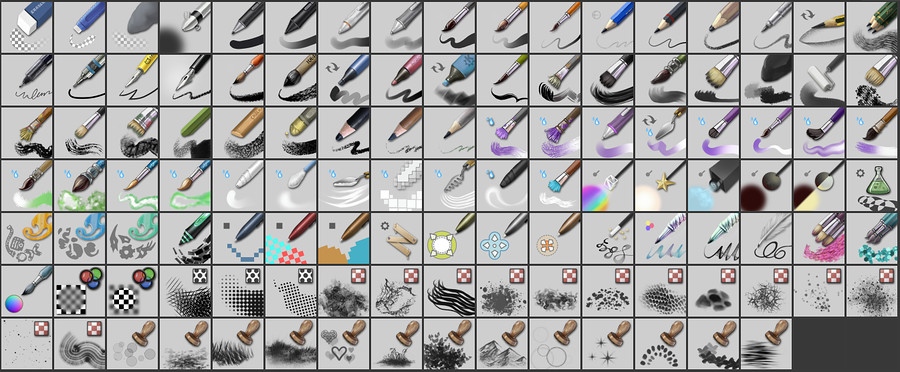
Krita comes with a large collection of brush presets. This collection was designed with many considerations:
Help the beginner and the advanced user with brushes that are ready-to-use.
Propose tools for the various ways Krita is used: Comic inking and coloring, Digital Painting, Mate Painting, Pixel Art, 3D texturing.
Show a sample of what the brush engines can do.
This page illustrates and describes the included default brush presets in Krita 4.
지우개
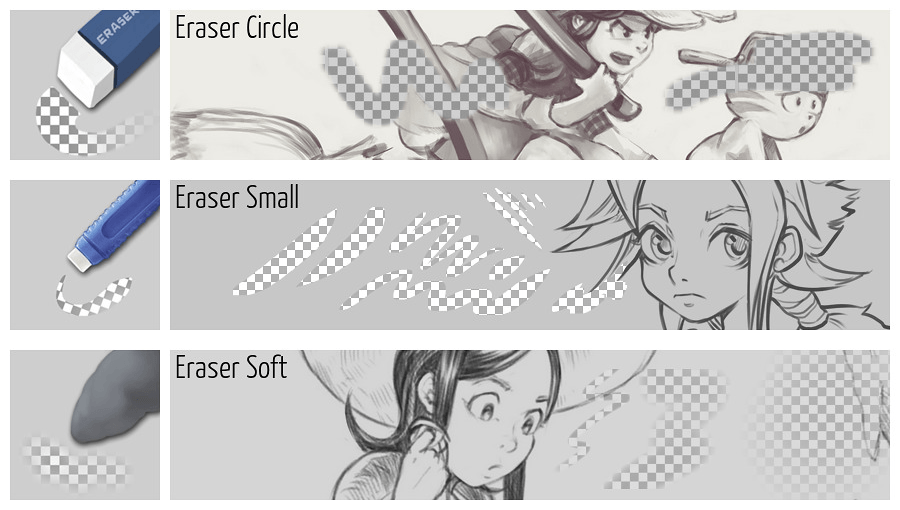
The large one is for removing large portions of a layer (eg. a full character).
The small one is designed to use when drawing thin lines or inking. It has a very specific shape so you will notice with the square shape of your cursor you are in eraser-mode.
The soft one is used to erase or fade out the part of a drawing with various levels of opacity.
기본
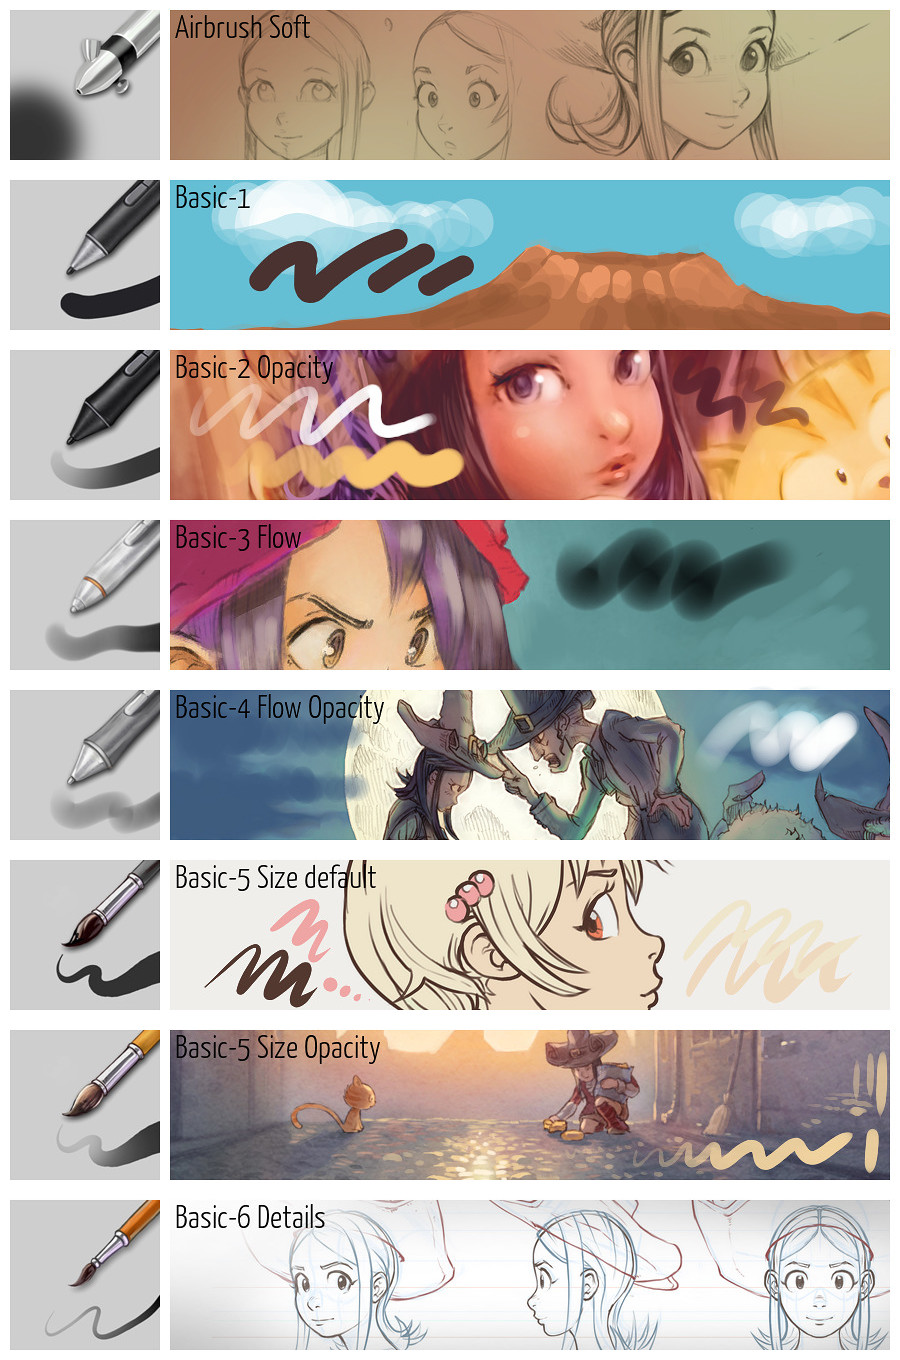
The basic brush family all use a basic circle for the brush tip with a variation on opacity, flow or size. They are named Basic because brushes of this type are the fundamental stones of every digital painting program. These brushes will work fast since they use simple properties.
Pencils
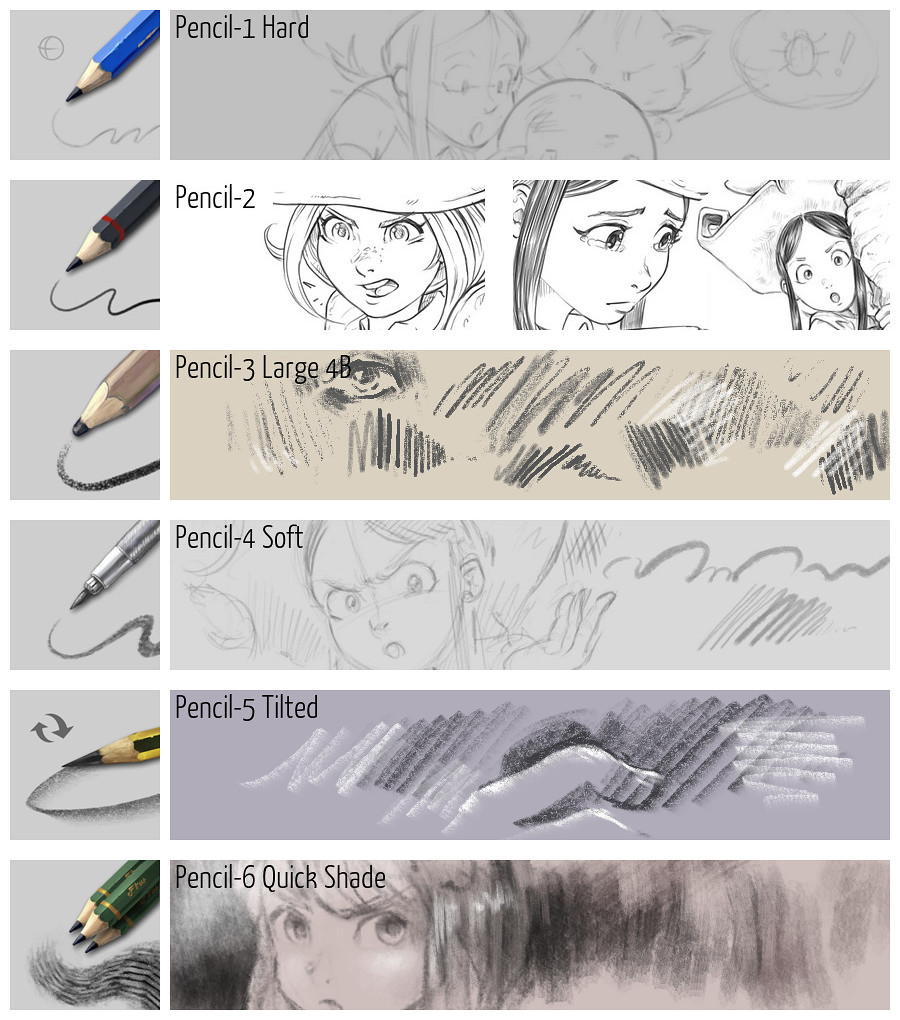
These presets tends to emulate the effect of pencil on paper. They all have a thin brush that uses a paper-texture. Some focus on being realistic to help with correcting a pencil scan. Some focus more on showing the effects on your computer monitor. The two last (Tilted/Quick Shade) assist the artist to obtain specific effects; like quickly shading a large area of the drawing without having to manually crosshatch a lot of lines.
Inking
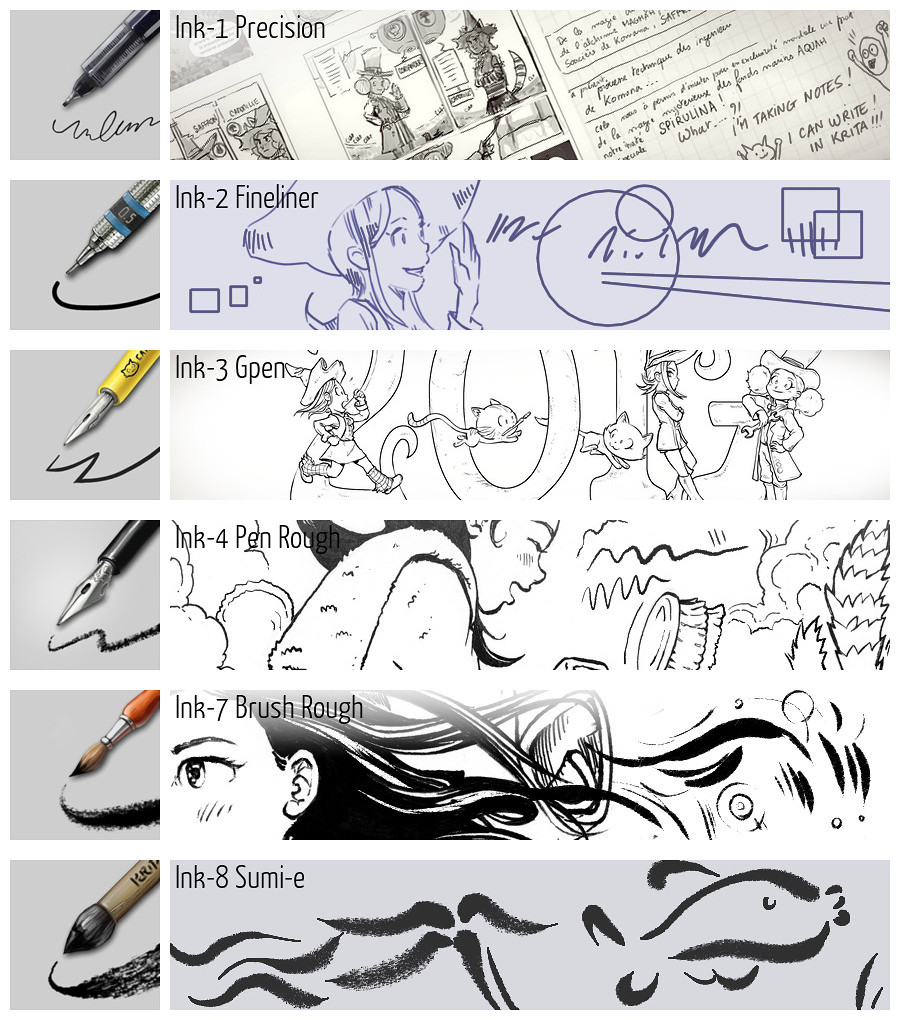
For the black & white illustrator or the comic artist. The Inking brushes help you produce line art and high contrast illustrations.
Ink Precision: A thin line designed to take notes or draw tiny lines or details.
Ink Fineliner: A preset with a regular width to trace panels, technical details, or buildings.
Ink GPen: A preset with a dynamic on size to ink smoothly.
Ink Pen Rough: A preset for inking with a focus on having a realistic ink line with irregularities (texture of the paper, fiber of paper absorption).
Ink Brush Rough: A brush for inking with also a focus on getting the delicate paper texture appearing at low pressure, as if the brush slightly touch paper.
Ink Sumi-e: A brush with abilities at revealing the thin texture of each bristle, making the line highly expressive.
Markers
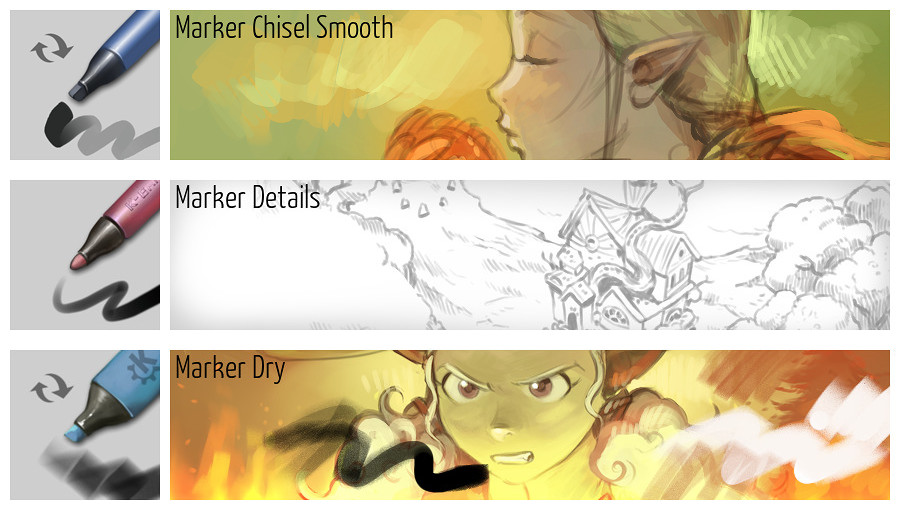
A small category with presets simulating a marker with a slight digital feeling to them.
Dry Painting
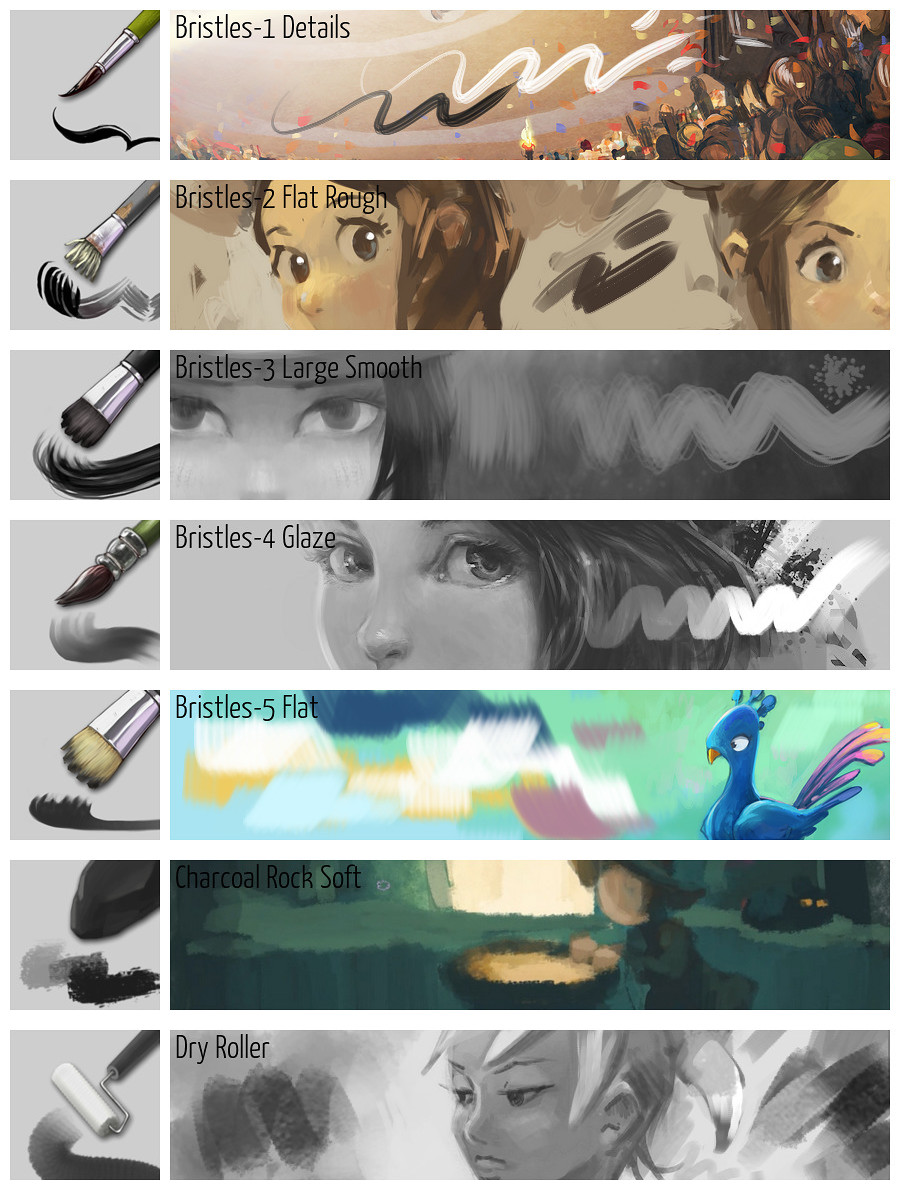
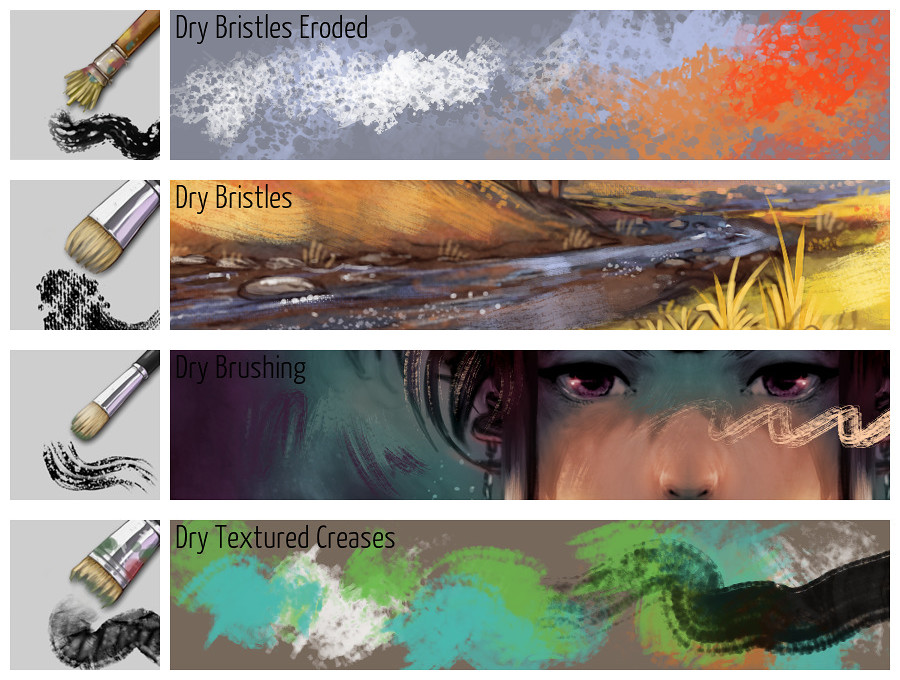
The Dry Painting category is full set of brushes that appear like bristles. They do not interact with the color already on the canvas; that’s why they are called “dry”. They work as if you were painting on a dry artwork: the color replace, or overlay/glaze over the previous painting stroke. This brush emulates techniques that dry quickly as tempera or acrylics.
Dry Painting Textured
Almost the same family as the previous one, except these brush presets lay down a textured effect. They simulate the painting effect you can obtain with very thick painting on a brush caressing a canvas with fabric texture. This helps to build painterly background or add life in the last bright touch of colors.
Chalk, Pastel and Charcoal
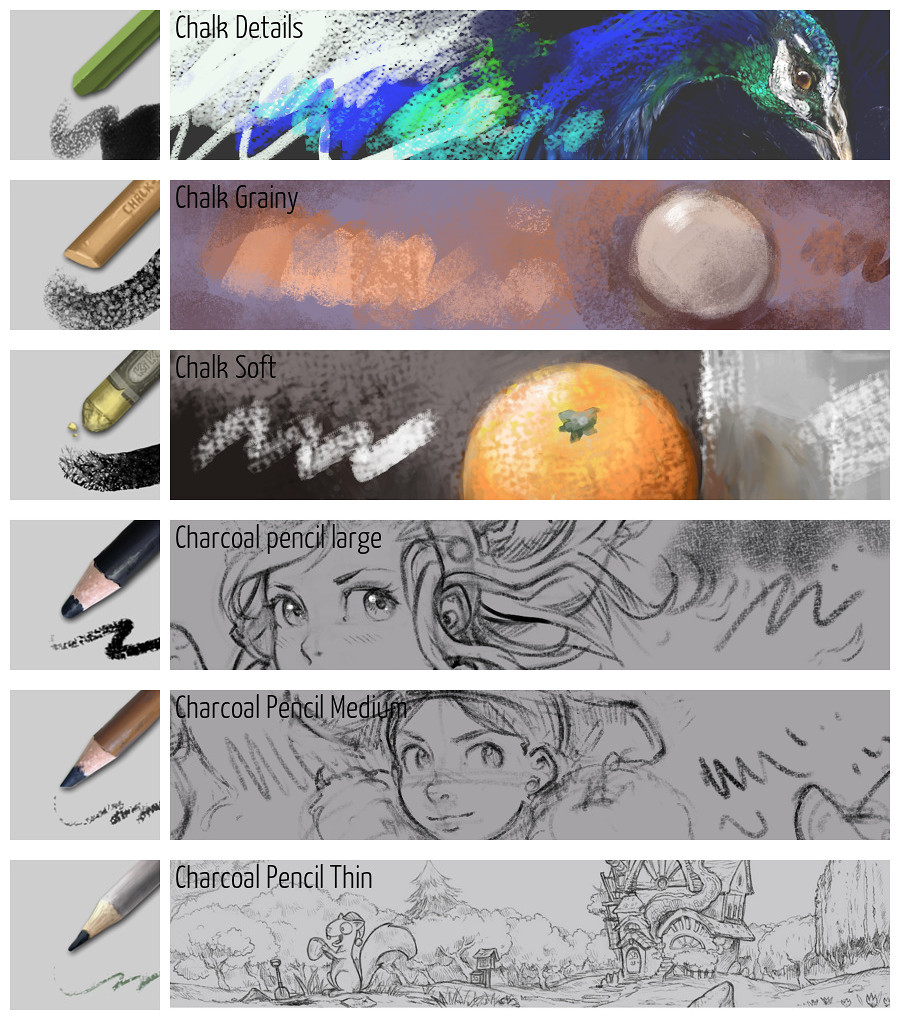
Still part of the dry family. These brushes focus on adding texture to the result. The type of texture you would obtain by using a dry tool such as chalk, charcoal or pastel and rubbing a textured paper.
Wet painting
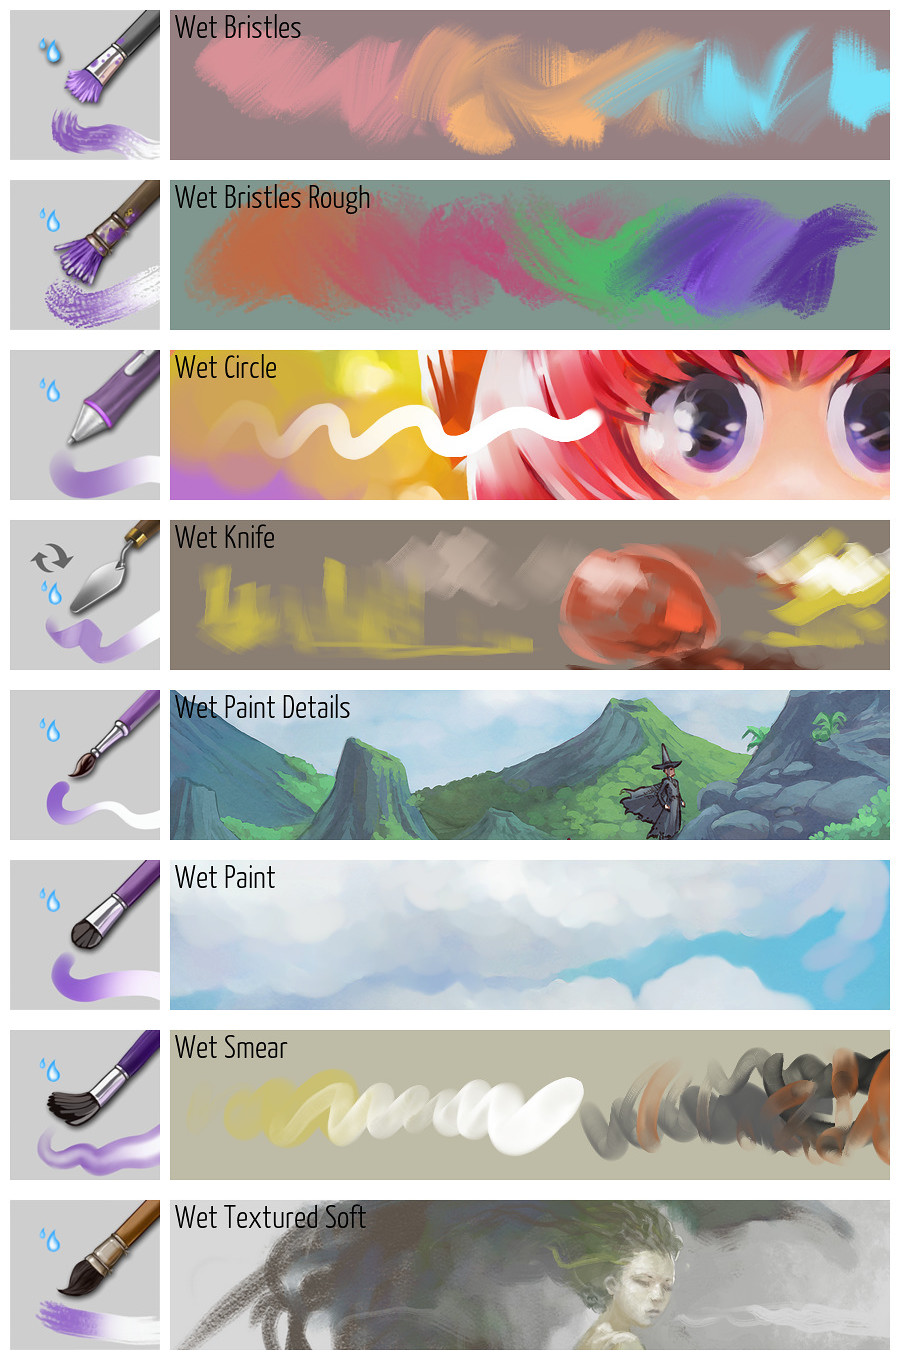
This family of brushes is wet in a sense they all interact with the color on the canvas. It triggers the feeling of having a wet artwork and mixing color at the same time. The category has variations with bristle effects or simple rounded brushes.
Watercolors
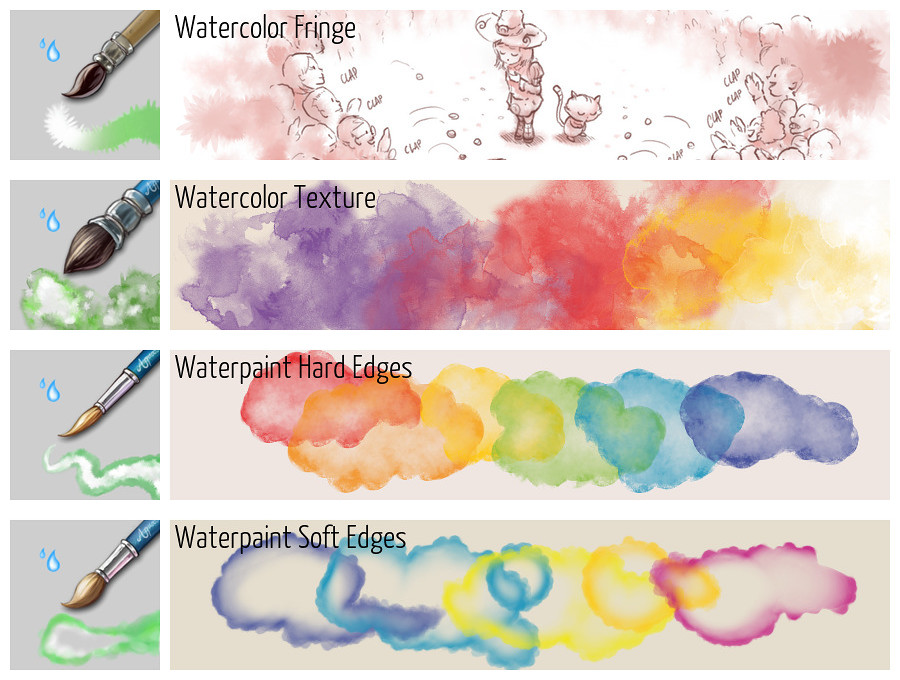
Simulating real watercolors is highly complex. These brushes only partially simulate the watercolor texture. Don’t expect crazy pigment diffusion because these brushes are not able to do that. These brushes are good at simulating a fringe caused by the pigments and various effects.
Blender
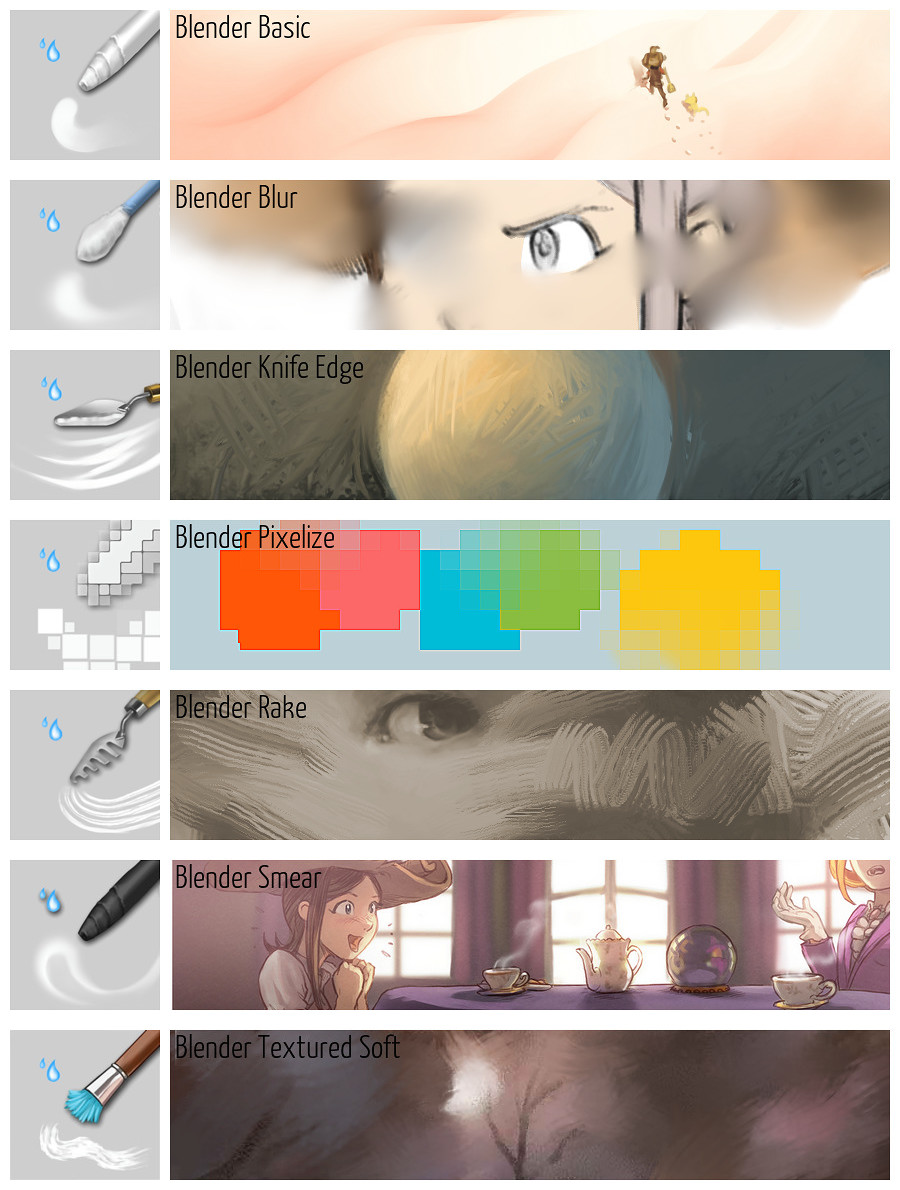
These brushes don’t paint any colors. They interact with the color you already have on the canvas. Don’t expect them to have any effect on a white page. All these presets give a different result with how they smudge or smear. It helps to blend colors, blur details, or add style on a painting. Smearing pixels can help with creating smoke and many other effects.
조정
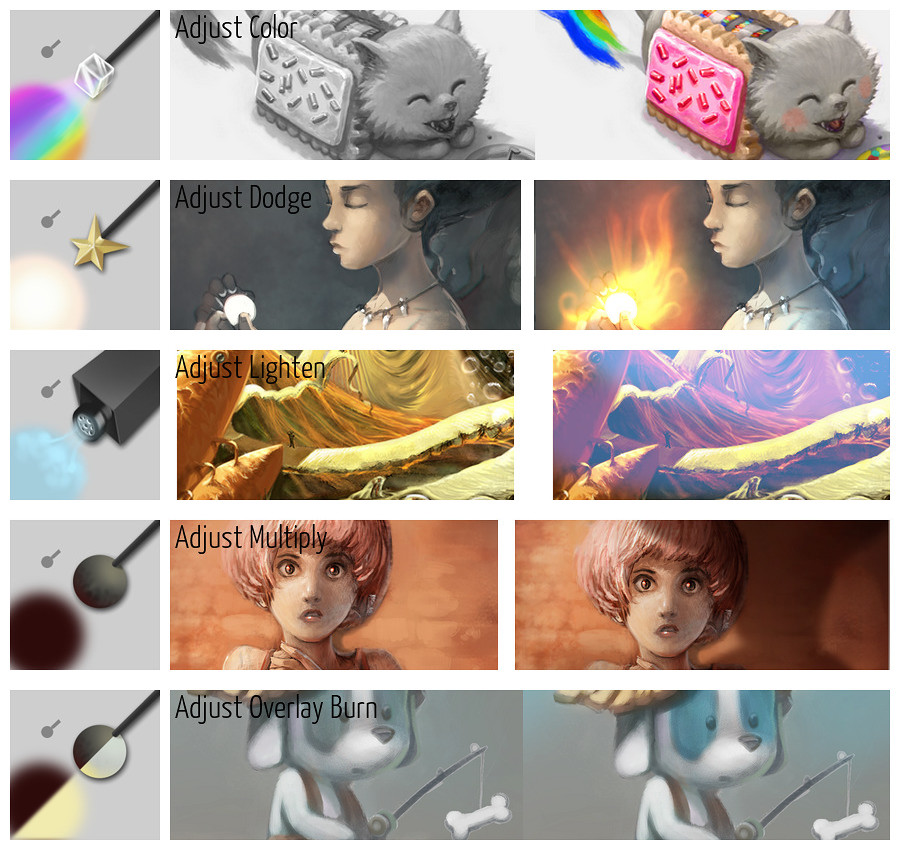
This family of airbrushes has variations on the blending modes. Different blending modes will give different results depending on the effect you are trying to achieve.
Color - Can help to re-color or desaturate a part of your artwork. It changes only the hue and saturation, not the value, of the pixels.
Dodge - Will assist you in creating effects such as neon or fire.
Lighten - Brightens only the area with the selected color: a good brush to paint depth of field (sfumato) and fog.
Multiply - Darkens all the time. A good brush to create a quick vignette effect around an artwork, or to manage big part in shadow.
Overlay - Burn helps to boost the contrast and overlay color on some areas.
Shapes
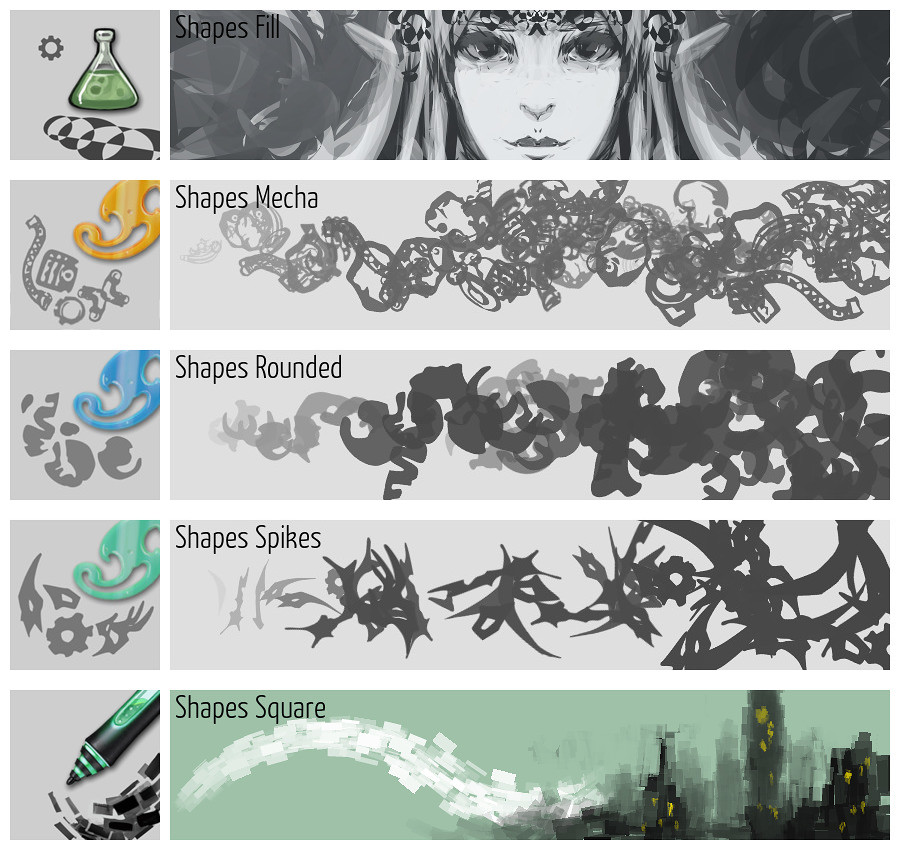
Painting with ready-made shapes can help concept artists create happy-accidents and stimulate the imagination. The Shape Fill tool is a bit specific: you can draw a silhouette of shape and Krita fills it in real time. Painting shapes over an area helps fill it with random details. This is useful before painting over with more specific objects.
픽셀
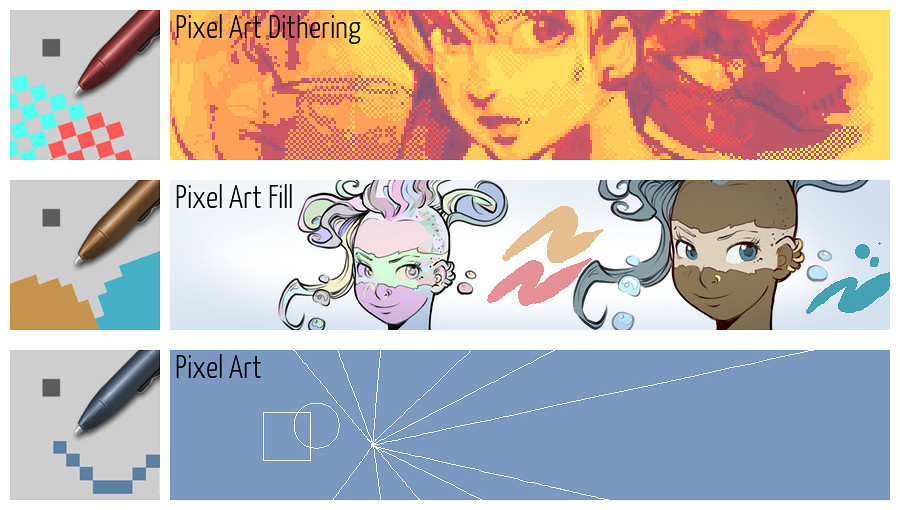
You might believe this section is specific to pixel-artist, but in many situations dealing with specific pixels are needed to make corrections and adjustments even on normal paintings. A thin 1px brush can be used to trace guidelines. A brush with aliasing is also perfect to fix the color island created by the Coloring-mask feature.
실험적
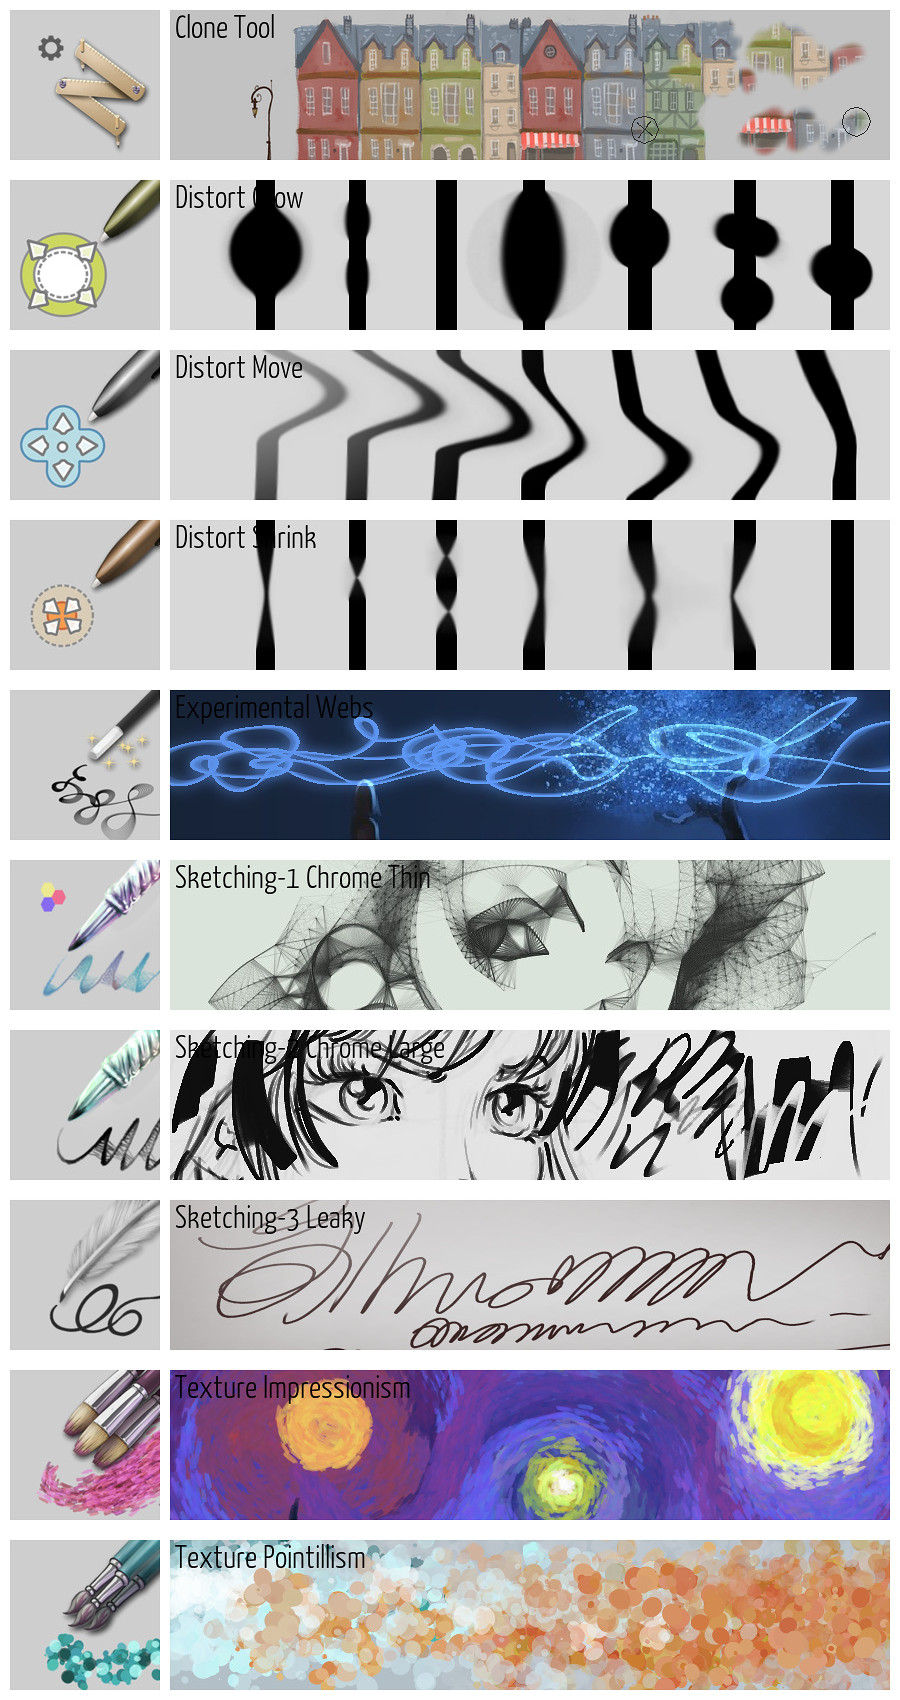
When categorizing brushes, there is always a special or miscellaneous category. In this family of brushes you’ll find the clone brush along with brushes to move, grow, or shrink specific areas.
Normal Map
Useful for 3D programs and texture artists. If your tablet supports tilting and rotation this brush will allow you to paint on your normal map using your brush rotation and orientation. You can “sculpt” your details in the texture with the different colors. Each color will map to an angle that is used for 3D lighting. It works well on pen-tablet display (tablet with a screen) as you can better sync the rotation and tilting of your stylus with the part of the normal map you want to paint.

필터
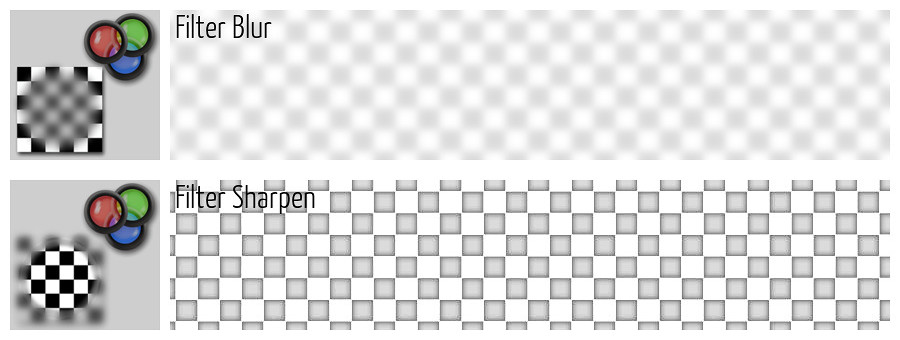
Krita can apply many of its filters on a brush thanks to the filter brush engine. The result is usually not efficient and slow, but a good demo of the ability of Krita.
텍스처
Adding textures is not only useful for the 3D artist or video-game artist: in many artworks you’ll save a lot of time by using brushes with random patterns.

Stamps
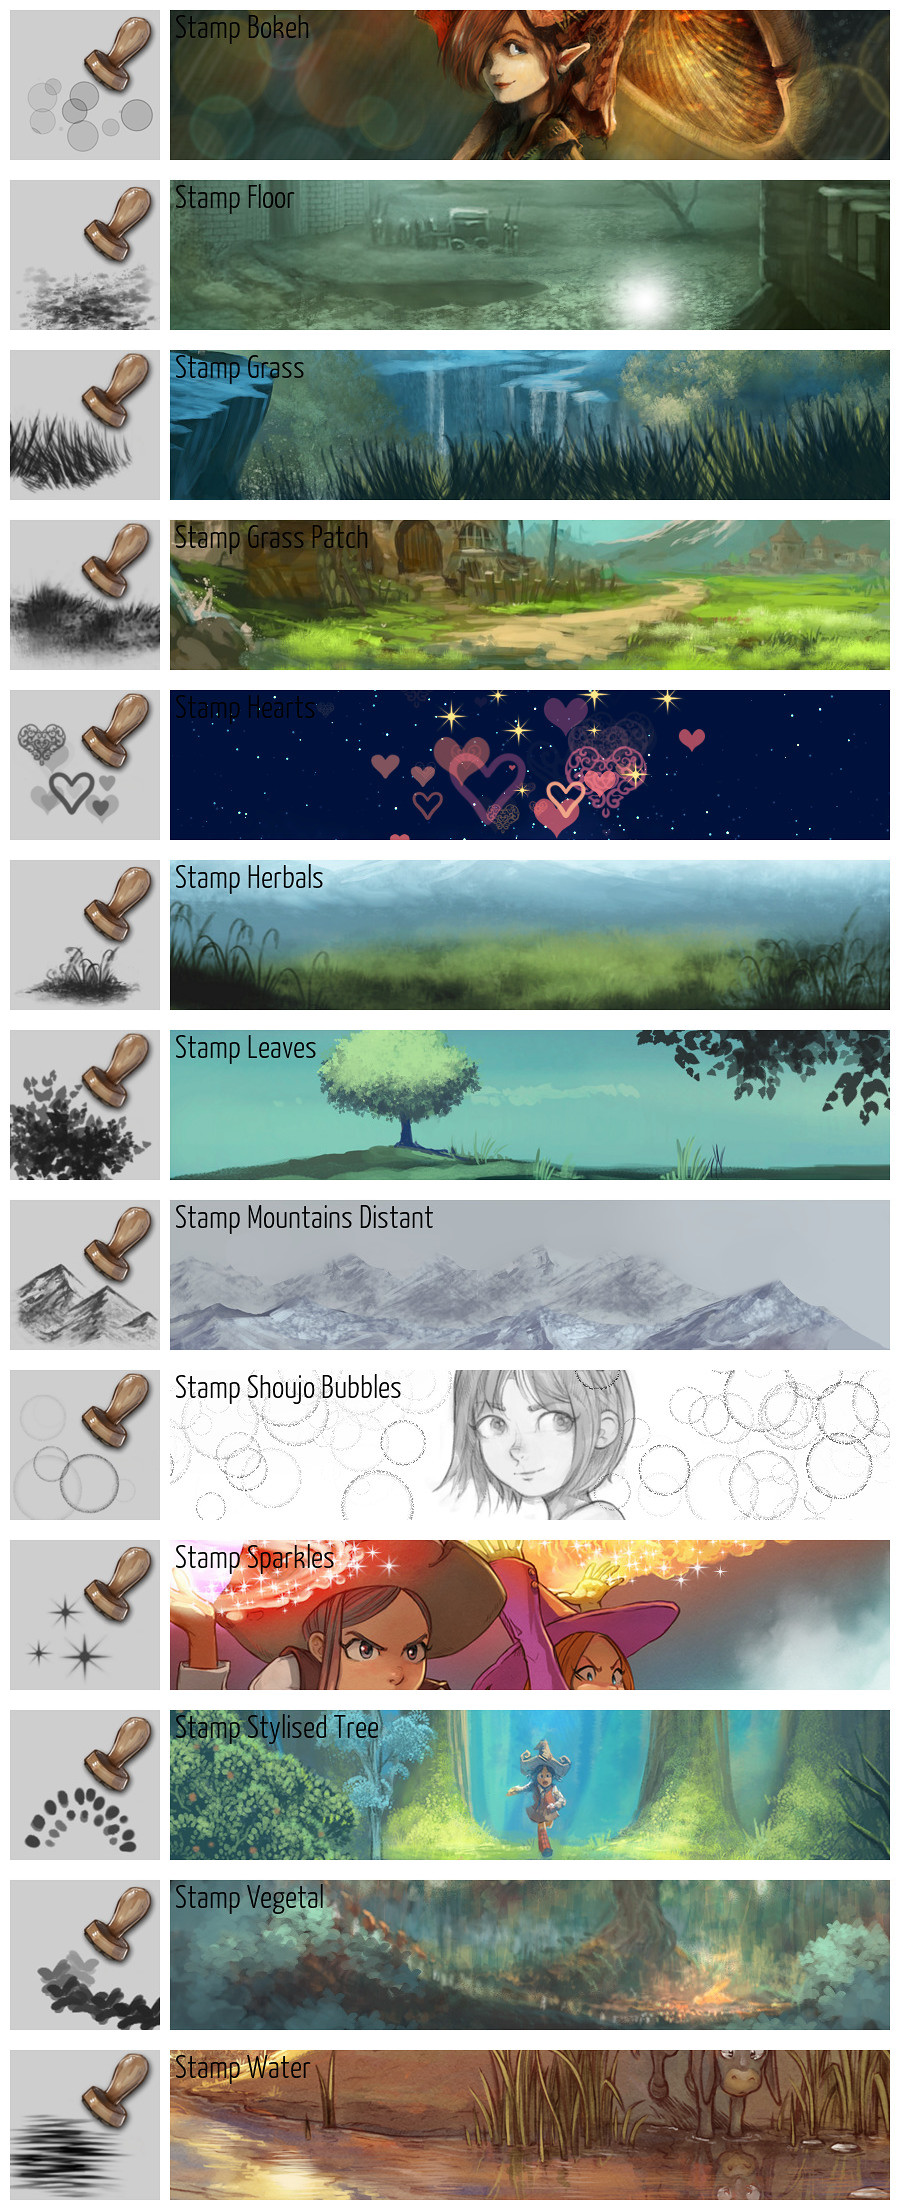
The stamps are a bit similar to the texture category. Stamps often paint a pattern that is easier to recognize than if you tried to paint it manually. The results appear more as decorations than for normal painting methods.
