
Mix
Allanon
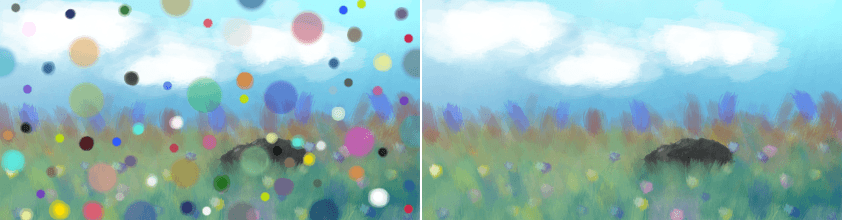
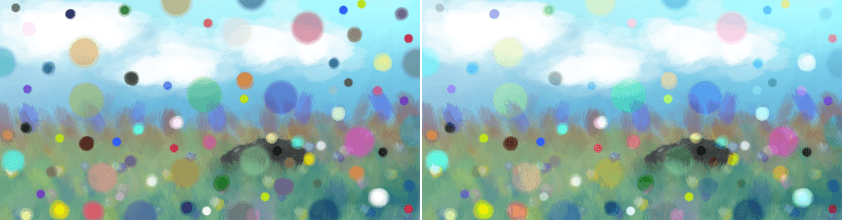
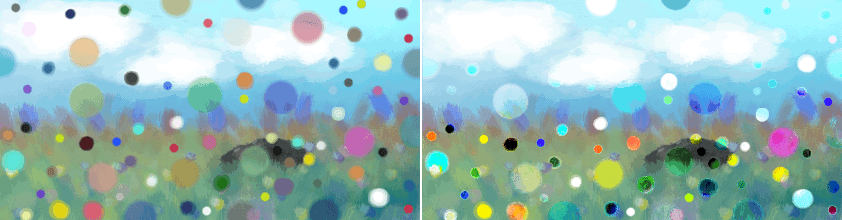
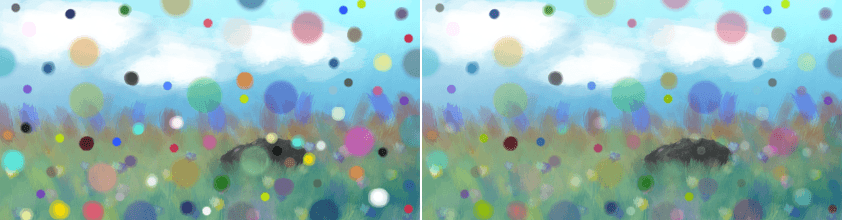
Blends the upper layer as half-transparent with the lower. (It adds the two layers together and then halves the value).
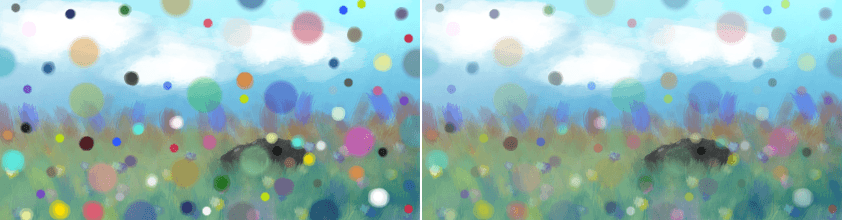
Left: Normal. Right: Allanon.
Interpolation
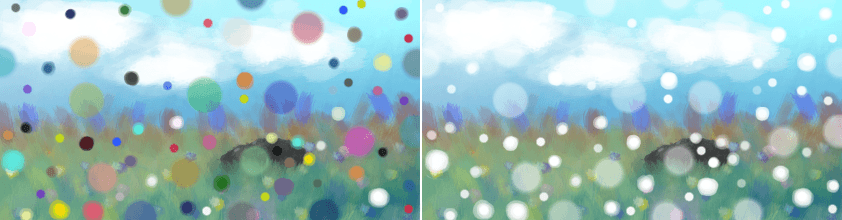
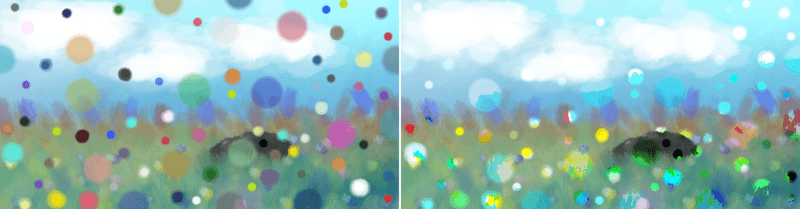
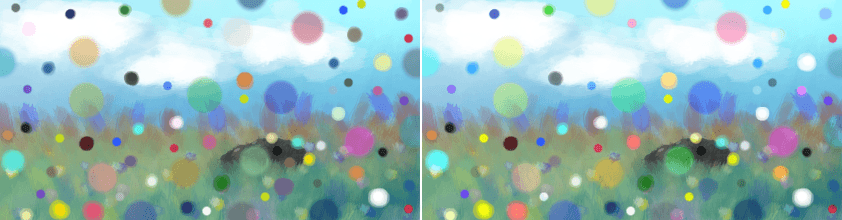
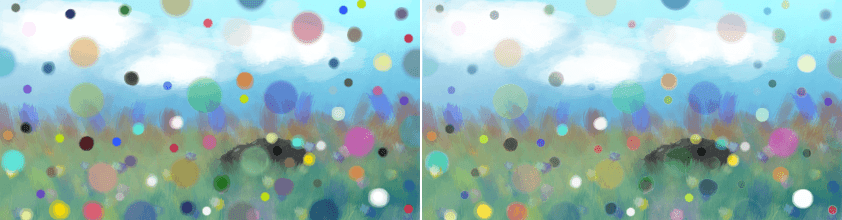
Subtract 0.5f by 1/4 of cosine of base layer subtracted by 1/4 of cosine of blend layer assuming 0-1 range. The result is similar to Allanon mode, but with more contrast and functional difference to 50% opacity.
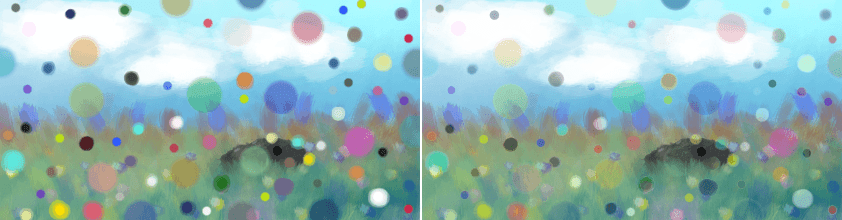
Left: Normal. Right: Interpolation.
Interpolation - 2X
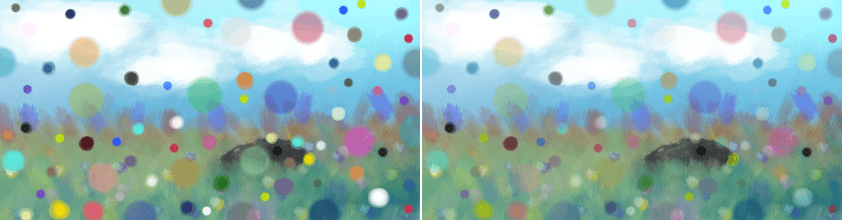
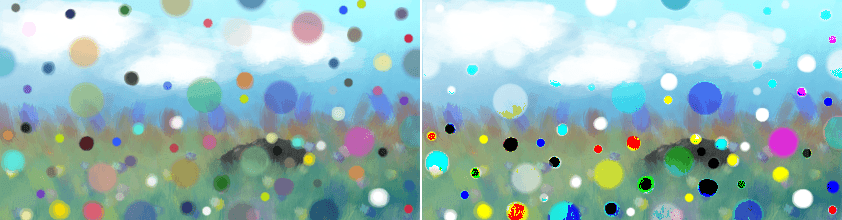
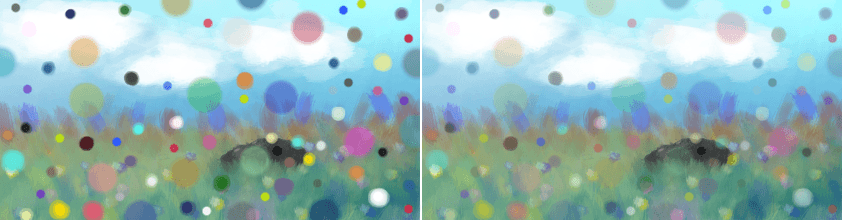
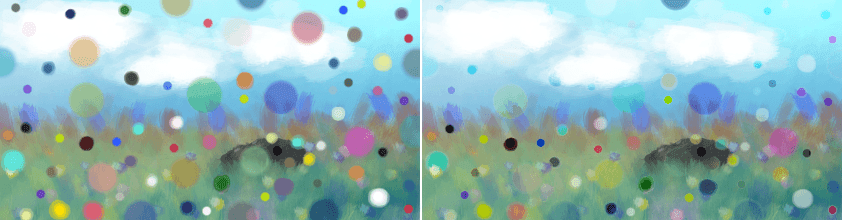
Applies Interpolation blend mode to base and blend layers, then duplicates to repeat interpolation blending.
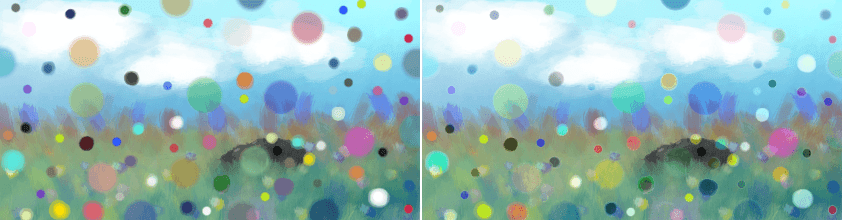
Left: Normal. Right: Interpolation - 2X.
Alpha Darken
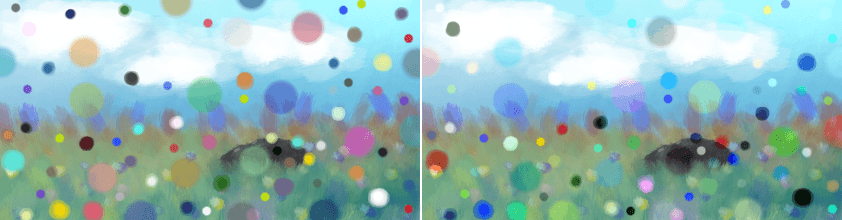
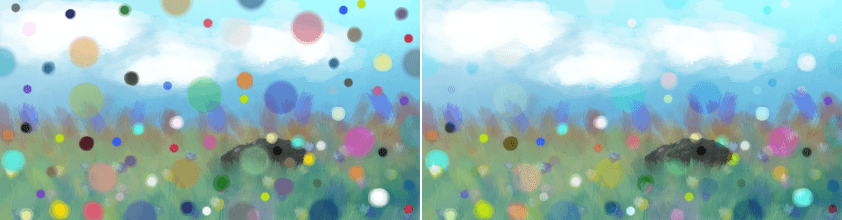
Alpha Darken is a technical blending mode that is used internally in the “Wash” painting mode of the brushes. The main idea of the mode is to make sure that the line doesn’t get darker when you cross it again and again. It compares the current opacity (and flow) value against the alpha channel of the existing pixel and does not let the alpha value to decrease, making the stroke look smooth, without circular pattern that you can see in “Build-Up” painting mode.
Hint
In Alpha Darken mode the blending of the color channels happens without taking Opacity or Flow values into account. They are blended as if Opacity and Flow were set to 100%. Only blending of the alpha channel uses Opacity and flow values.
For technical reasons, this mode does not adhere to alpha lock or inherit alpha and may cause color artifacts when you use it as a brush or layer mode. The Marker or Greater modes are likely a better choice.
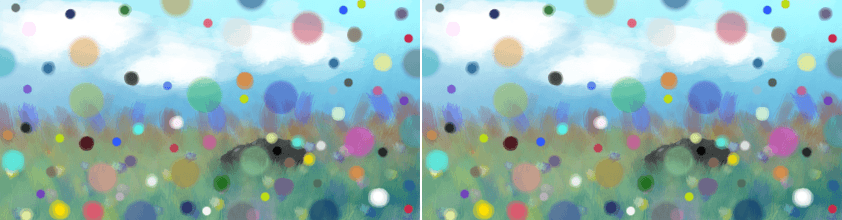
Left: Normal. Right: Alpha Darken.
Behind
Does the opposite of Normal, and tries to have the upper layer rendered below the lower layer.
Left: Normal. Right: Behind.
Erase
This subtracts the opaque pixels of the upper layer from the lower layer, effectively erasing.
Left: Normal. Right: Erase.
Geometric Mean
This blending mode multiplies the top layer with the bottom, and then outputs the square root of that.
Left: Normal. Right: Geometric Mean.
Grain Extract
Similar to Subtract, the colors of the upper layer are subtracted from the colors of the lower layer, and then 50% gray is added.
Left: Normal. Right: Grain Extract.
Grain Merge
Similar to Addition, the colors of the upper layer are added to the colors, and then 50% gray is subtracted.
Left: Normal. Right: Grain Merge.
Greater
A blending mode which checks whether the painted color is painted with a higher opacity than the existing colors. If so, it paints over them, if not, it doesn’t paint at all.
A similar mode is Marker, which has the same behavior in regards to opacity, but will always mix the colors.
Hard Mix
Similar to Overlay.
Mixes both Color Dodge and Burn blending modes. If the color of the upper layer is darker than 50%, the blending mode will be Burn, if not the blending mode will be Color Dodge.
Left: Normal. Right: Hard Mix.
Hard Mix (Photoshop)
This is the Hard Mix blending mode as it is implemented in Photoshop.
Left: Dots are mixed in with the normal blending mode, on the Right: Dots are mixed in with hardmix.
This add the two values, and then checks if the value is above the maximum. If so it will output the maximum, otherwise the minimum.
Hard Mix HDR
Special variant of Hard Mix for floating point spaces.
Hard Mix Softer (Photoshop)
Added in version 5.0.
This is the Hard Mix blending mode as it is implemented in Photoshop for texturing brushes. It produces softer edges than the normal Hard Mix (Photoshop).
Left: Dots are mixed in with the normal blending mode, on the Right: Dots are mixed in with hard mix softer.
This is like the Inverse Subtract mode but the two terms are scaled up to increase the contrast. This is not really a Hard Mix mode in the sense that it doesn’t choose between a result or another based on a threshold, although in most cases the result looks like the normal Hard Mix (Photoshop) but with softer edges.
Hard Overlay
Added in version 4.0.
Similar to Hard Light but Hard Light use Screen when the value is above 50%. Divide gives better results than Screen, especially on floating point images.
Left: Normal. Right: Hard Overlay.
Hard Overlay HDR
Special variant of Hard Overlay for floating point spaces.
Hard Overlay
Marker
Added in version 5.3.
Marker is similar to Alpha Darken, but adheres to alpha lock/inherit alpha and interpolates between colors cleanly. It’s most useful when you use it on a brush in “Build-Up” mode painting mode, wheere it will only increase the opacity on your layer if the opacity of your stroke is higher and mixes the colors, like the marker tool in Paint Tool SAI.
It’s also conceptually similar to Greater, which in turn only mixes the colors if your stroke’s opacity is higher.
Hint
The Opacity and Flow behavior is identical to Alpha Darken, they only affect the blending of the alpha channel, but the color channels are blended as if they were set to 100%.
Normal
As you may have guessed this is the default Blending mode for all layers.
In this mode, the computer checks on the upper layer how transparent a pixel is, which color it is, and then mixes the color of the upper layer with the lower layer proportional to the transparency.
Left: Normal 100% Opacity. Right: Normal 50% Opacity.
Overlay
A combination of the Multiply and Screen blending modes, switching between both at a middle-lightness.
Overlay checks if the color on the upper layer has a lightness above 0.5. If so, the pixel is blended like in Screen mode, if not the pixel is blended like in Multiply mode.
This is useful for deepening shadows and highlights.
Left: Normal. Right: Overlay.
Parallel
This one first takes the percentage in decimals for both layers. It then adds the two values. Divides 2 by the sum.
Left: Normal. Right: Parallel.
Penumbra A
Creates a linear penumbra falloff. This means most tones will be in the midtone ranges.
Left: Normal. Right: Penumbra A.
Penumbra B
Penumbra A with source and destination layer swapped.
Left: Normal. Right: Penumbra B.
Penumbra C
Creates a penumbra-like falloff using arc-tangent formula. This means most tones will be in the midtone ranges.

Left: Normal. Right: Penumbra C.
Penumbra D
Penumbra C with source and destination layer swapped.

Left: Normal. Right: Penumbra D.