
Settings Menu
The Settings Menu houses the configurable options in Krita and where you determine most of the “look and feel” of the application.
- Configure Krita
Opens the Preferences.
- Manage Resource Libraries
Allows you to manage which bundles are active.
Added in version 5.0.
- Manage Resources
Manage the resources. You can read more about it here.
- Active Author Profile
This allows you to set which author profile is currently active.
- Reset all settings
Reset all the Krita settings, as per Resetting Krita configuration.
Added in version 5.0.
Configure Toolbars…
Krita allows you to highly customize the Toolbar interface. You can add, remove and change the order of nearly everything to fit your style of work. To get started, choose menu item.
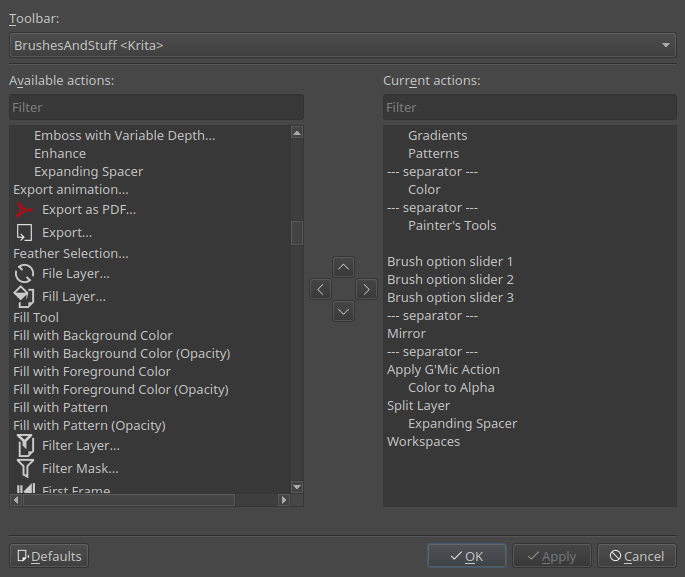
The dialog is broken down into three main sections:
- The Toolbar
Choose to either modify the “Main” or “Brushes and Stuff” toolbars.
- Available Actions:
All the options that can be added to a toolbar.
- Current Actions:
All the actions currently assigned and the order they are in.
Use the arrows between the Available and Current actions sections to move items back and forth and up and down in the hierarchy. This type of inclusion/exclusion interface has been around on PCs for decades, so we don’t need to go into great detail regarding its use. What is important though is selecting the correct Toolbar to work on. The Main Toolbar allows you to add items between the New, Open and Save buttons as well as to the right of the Save button. The Brushes and Stuff Toolbar, lets you modify anything from the Gradients button over to the right. This is probably where you’ll do most of your editing.
Here we’ve added , , , , . This is just an example of a couple of options that are used frequently and might trim your workflow. This is what it looks like in the configuration tool:
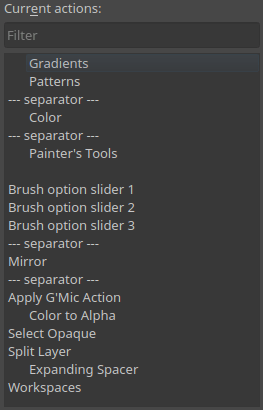
You’ll notice that some items are text only and some only icons. This is determined by whether the particular item has an associated icon in Krita. You can select anything from the Available section and move it to the Current one and rearrange to fit your own workflow.
If you add so many that they won’t all fit on your screen at once, you will see a small chevron icon appear. Click it and the toolbar expands to show the remaining items.
- Toolbars shown
Gives a list of toolbars that can be shown.
At this time Krita does not support the ability to create additional toolbars. The ones available are:
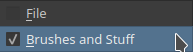
Although not really advisable, you can turn them off (but why would you… really?)
Added in version 4.2: Krita’s toolbars are now movable. You can move a toolbar by  dragging its left handle.
Show Dockers
- Show Dockers
Determines whether the dockers are visible. This is a nice aid to cleaning up the interface and removing unnecessary “eye-ball clutter” when you are painting. If you’ve got your brush, and you know you’re just going to be painting for a while why not flip the dockers off? You’d be amazed what a difference it makes while you’re working. However, if you know you’re swapping out tools or working with layer or any of the other myriad things Krita lets you do then there’s no point getting caught up in flipping the docks on and off. Use your time wisely!
Tip
This is a great candidate to add to the toolbar, so you can just click the dockers on and off and don’t even have to open the menu to do it. See Configure Toolbars… below for more.
Dockers
Krita subdivides the access of many of its features into functional panels called Dockers. Dockers are small windows that can contain, for example, things like the Layer Stack, Color Palette or Brush Presets. Think of them as the painter’s palette, or his water, or his brush kit.
Learning to use dockers effectively is a key concept to optimizing your time using Krita.
Themes and Style
Krita provides a number of color-themed interfaces or “looks”. The current set of themes are the following:
Darker
Dark (Default)
Blender
Bright
Neutral
There is no easy way to create and share themes. The color themes are defined in the color-schemes folder inside the resource folder.
Similarly, the Style menu allows you to select a different ‘widget style’. These styles are Qt framework widget styles and there’s no easy way of customizing them.
Switch Application Language…
If you wish to use Krita in a different translation, you can select it here. It may require a restart, however.