
Gradient Map Brush Tips
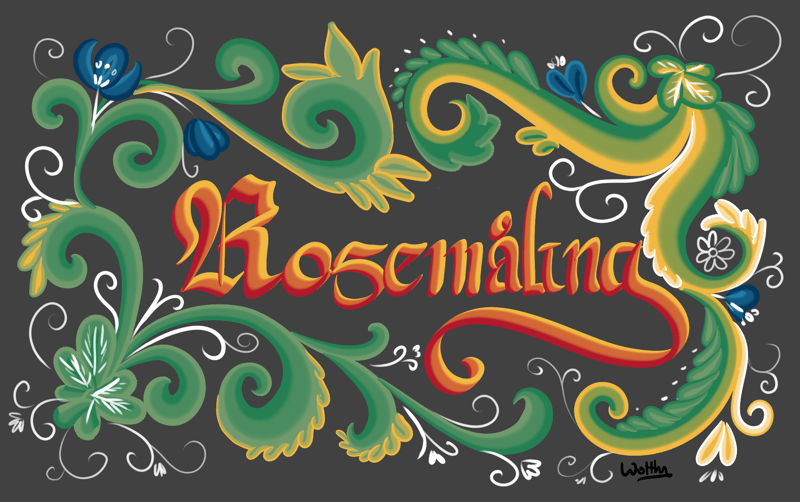
Used in Rosemåling and single-stroke flower paintings, the technique of loading two separate colors can be emulated in Krita with gradient-mapped brush tips.
Gradient mapped tips work much in the same way as the gradient map filter does: The grey-values of each pixel in the brush is mapped to the gradient color. As gradients can have some of their colors be assigned to be the fore or background color, you can effectively make dual-loaded brush tips this way.

If we imagine a continuous color gradient mapping to a grayscale gradient, we can imagine how grayscale colors can be transformed to the colors of the gradient. This is called gradient mapping, because you are mapping a grayscale to a gradient.
Making such a tip is actually quite easy:
Make a tip that’s black on one side and white on the other
f5 to call up the brush settings. There, go to the tab, and select Clipboard.
In the popup, give it any name you want, and then make sure to untick Create Mask From Color (as that would make the lighter colors transparent). Press ok.
Then select the new brush tip. Set Brush mode to Gradient Map, and adjust other brush settings like Spacing.
Draw with your brush. Switching the active gradient in the toolbar allows you to use different colors. The Fore to Background gradient is especially useful here, as it always uses the currently selected fore and background color.
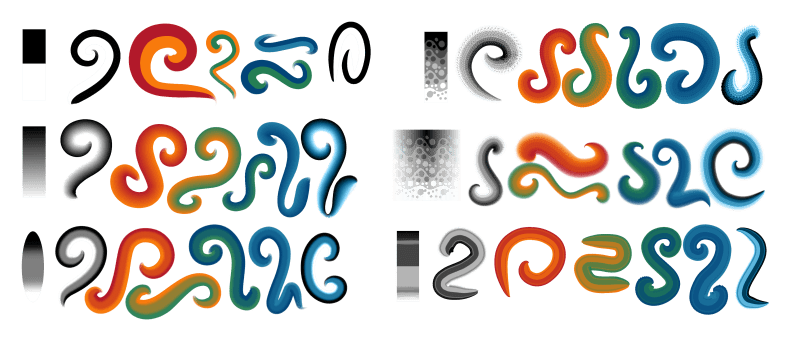
Different brush tips lead to different kinds of strokes. The last stroke in the above examples was done using the Lightness Map brush mode, which only uses the current foreground color.
With Rotation to mapped to Drawing angle, you can easily create effects like Rosemåling, while you’ll need a tilt-enabled tablet for single stroke brushes.
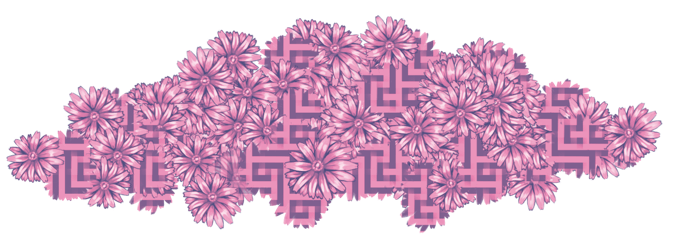
The texture option also has the ability to map its greys to a texture. Combining both these gradient map functions together with the strength parameter to switch between either, and you can make cool results like the above.