
Japanese Animation Template
This template is used to make Japanese-style animation. It is designed on the assumption that it was used in co-production, so please customize its things like layer folders according to scale and details of your works.
Basic structure of its layers
Layers are organized so that your work will start from lower layers go to higher layers, except for coloring layers.
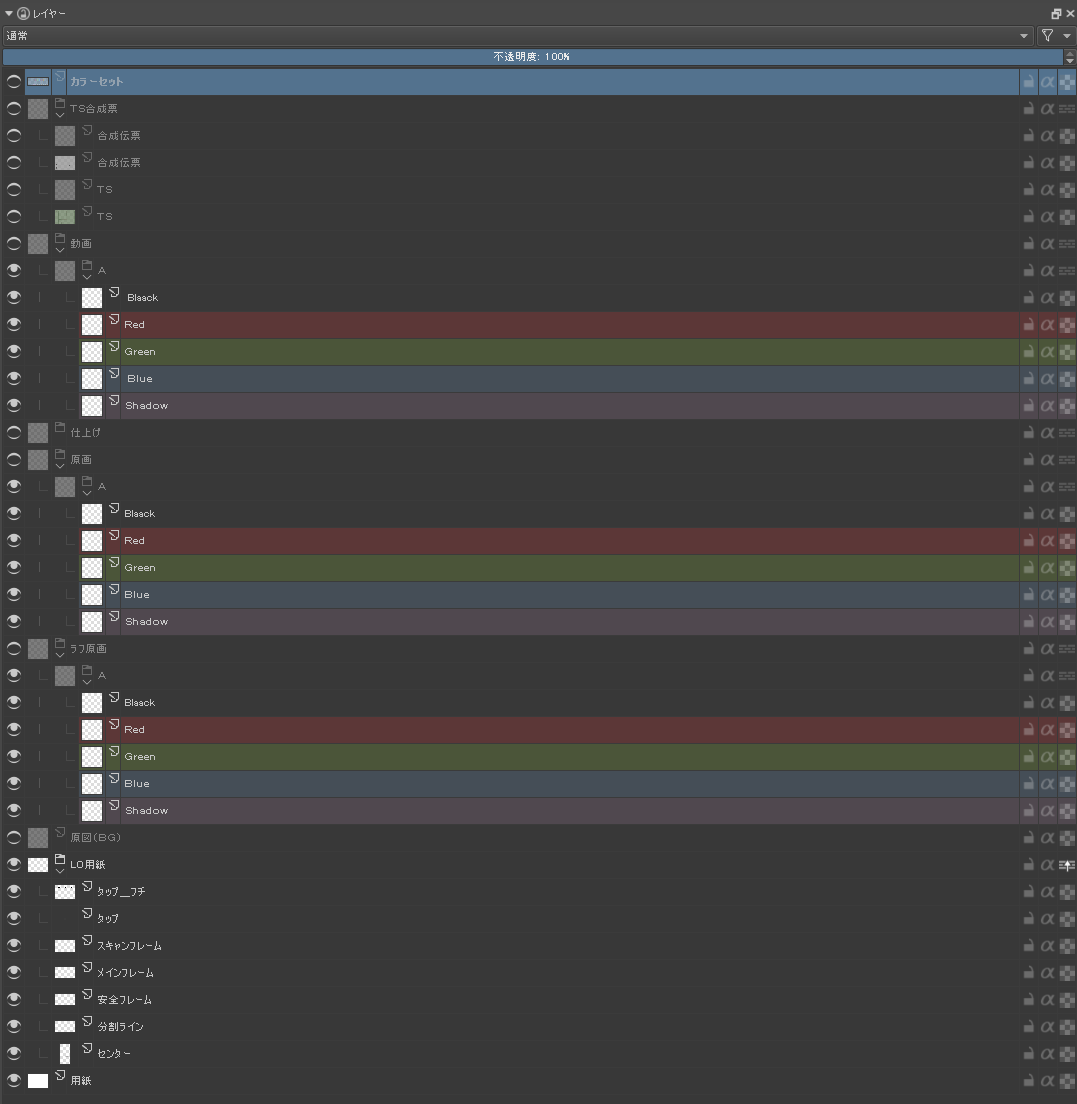
Its layer contents
from the bottom
- Layout Paper
These layers are a form of layout paper. Anime tap holes are prepared on separate layers in case you have to print it out and continue your drawing traditionally.
- Layout (Background)
These layers will contain background scenery or layouts which are scanned from a traditional drawing. If you don’t use them, you can remove them.
- Key drafts
These layers are used to draw layouts digitally.
- Keys
Where you add some details to the layouts and arrange them to draw “keys” of animation.
- Inbetweening
Where you add inbetweens to keys for the process of coloring, and remove unnecessary details to finalize keys (To be accurate, I finish finalization of keys before beginning to add inbetweens).
- Coloring (under Inbetweening)
Where you fill areas with colors according to specification of inbetweens.
- Time Sheet and Composition sheet
This contains a time sheet and composition sheet. Please rotate them before using.
- Color set
This contains colors used to draw main and auxiliary line art and fill highlight or shadows. You can add them to your palette.
Basic steps to make animation
Key draft –> assign them into Time sheet (or adjust them on Timeline, then assign them into Time sheet) –> adjust them on Timeline –> add frames to draw drafts for inbetweening if you need them –> Start drawing Keys
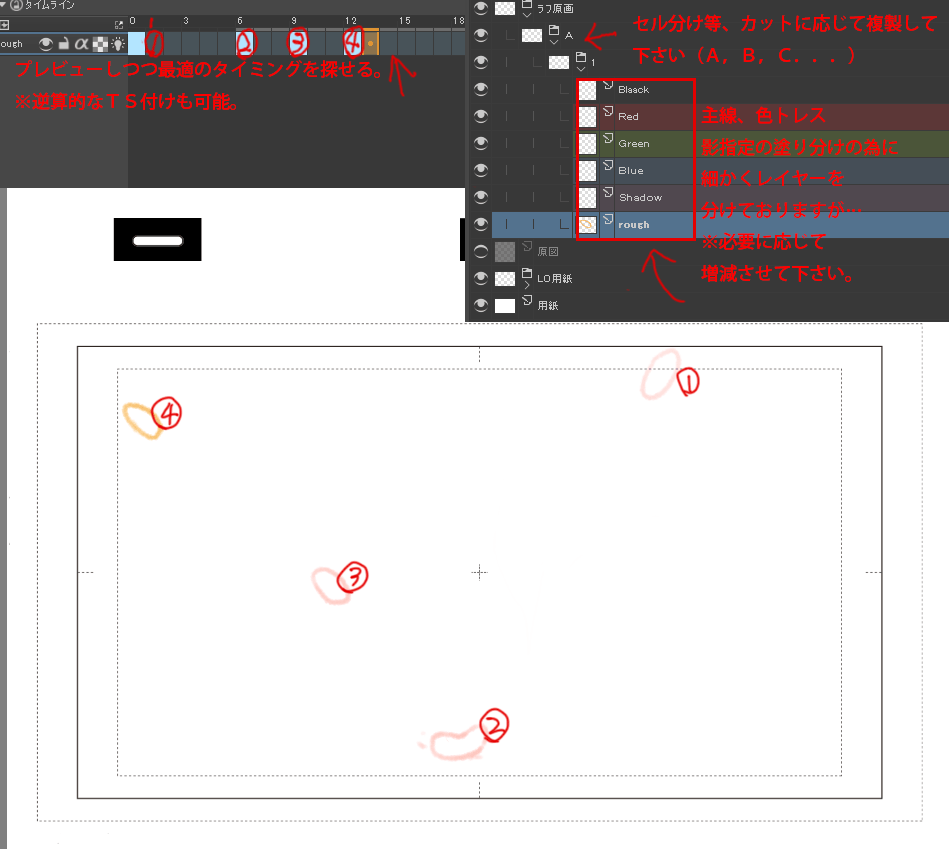
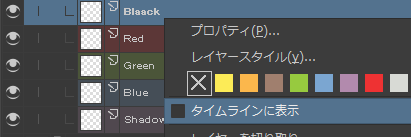
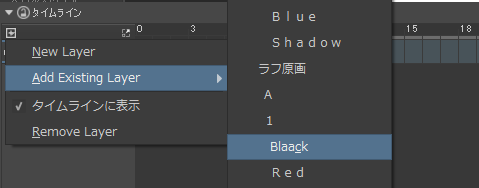
You can add layers and add them to timeline.
This is due difference between 24 drawing per second, which is used in Full Animation, and 12 drawing per second and 8 drawings per second, which are used in Limited Animation, on the Timeline docker.
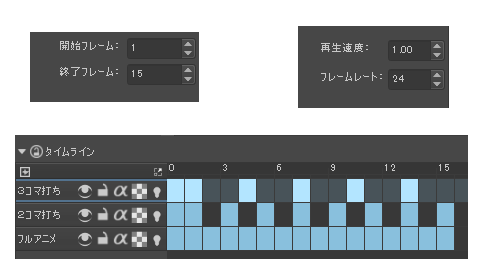
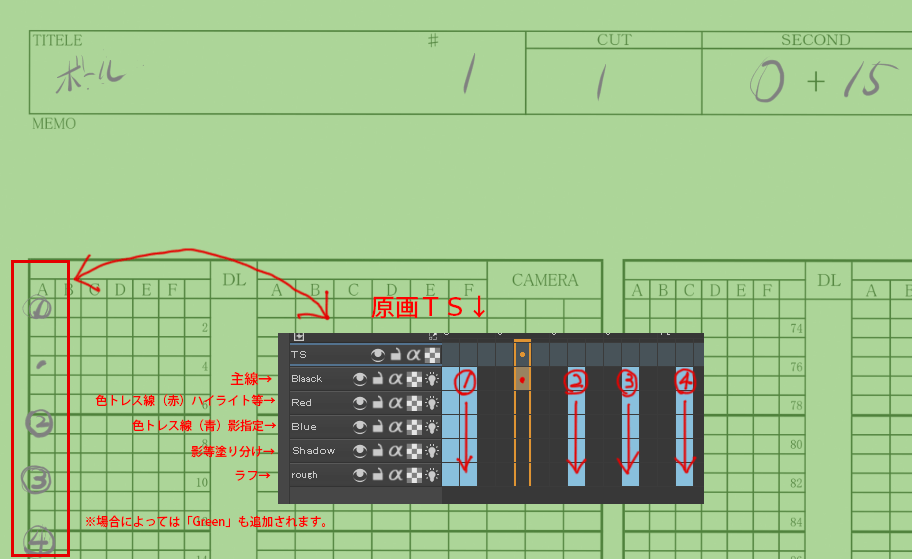
This is correspondence between Timeline and Time sheet. “Black” layer is to draw main line art which are used ordinary line art, “Red” layer is to draw red auxiliary line art which are used to specify highlights, “Blue” layer is to draw blue auxiliary line art which are used to specify shadows, and “Shadow” layer is to draw light green auxiliary line art which are used to specify darker shadows. However, probably you have to increase or decrease these layers according to your work.
Finished keys, you will begin to draw the inbetweens. If you feel Krita is becoming slow, I recommend you to merge key drafts and keys, as well as to remove any unnecessary layers.
After finalizing keys and cleaning up unnecessary layers, add inbetweens, using Time sheet and inbetween drafts as reference.
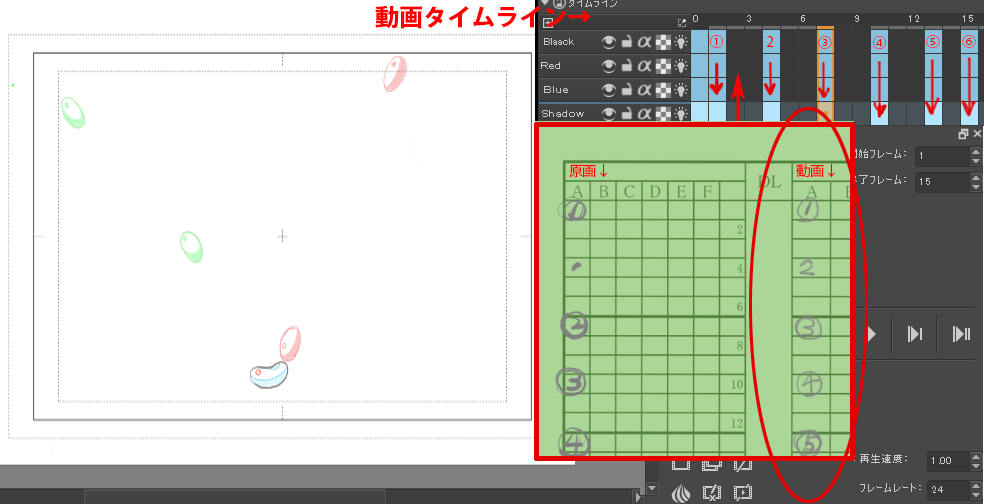
This is its correspondence with Time sheet.
Once the vector functionality of Krita becomes better, I recommend you to use vector to finalize inbetweening.
If you do the colors in Krita, please use Coloring group layer. If you do colors in other software, I recommend to export frames as .TGA files.
Resolution
I made this template in 300 dpi because we have to print them to use them in traditional works which still fill an important role in Japanese Anime Studio. However, if you stick to digital, 150-120 dpi is enough to make animation. So you can decrease its resolution according to your need.
Originally written by Saisho Kazuki, Japanese professional animator, and translated by Tokiedian, KDE contributor.