Brush-tips:Sculpt-paint-brush
Question
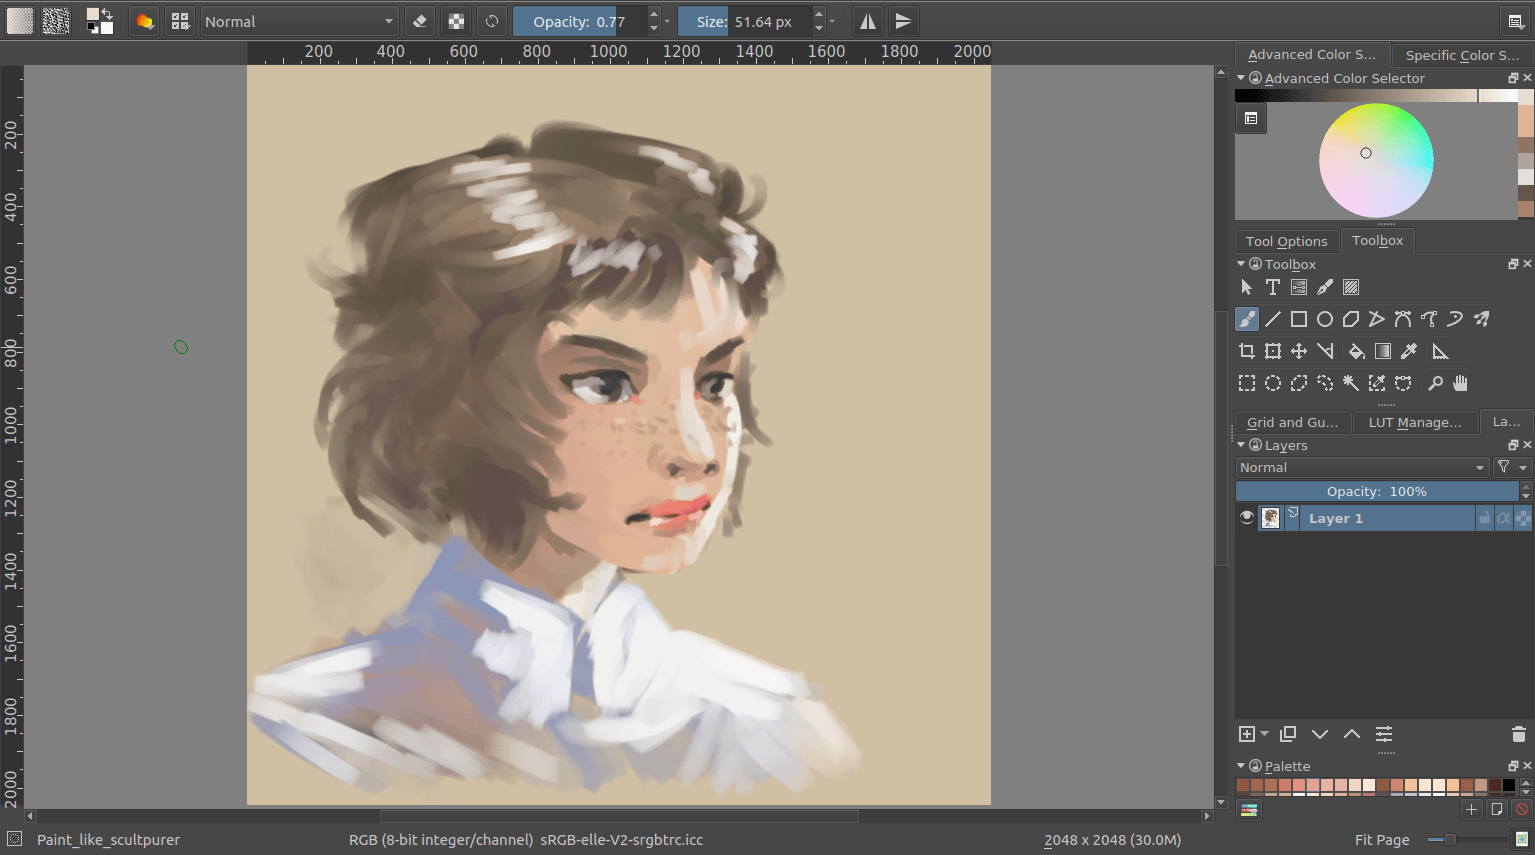
How do I make a brush like the one in Sinix's paint-like-a-sculptor video?
It's actually quite easy, but most easy to do since Krita 3.0 due a few bugfixes.
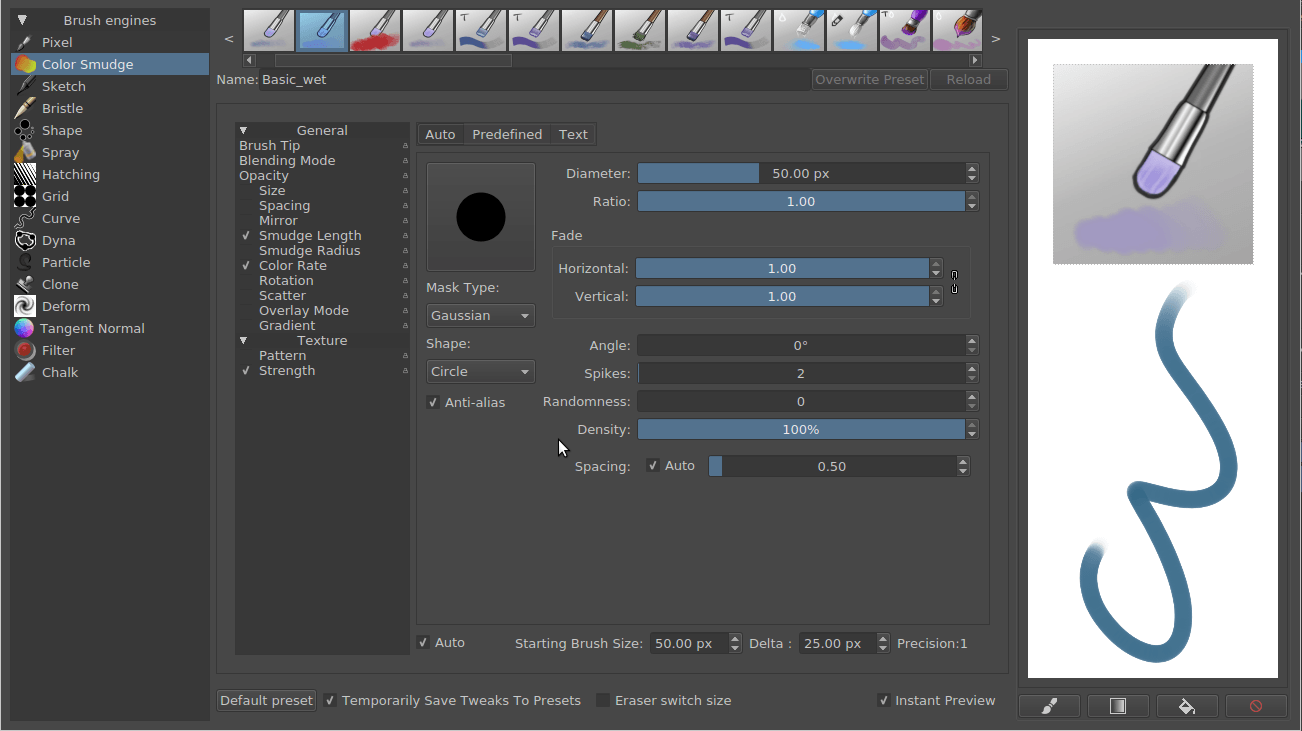
First, select Basic_Wet from the default presets, and go into the brush editor with the F5 key.
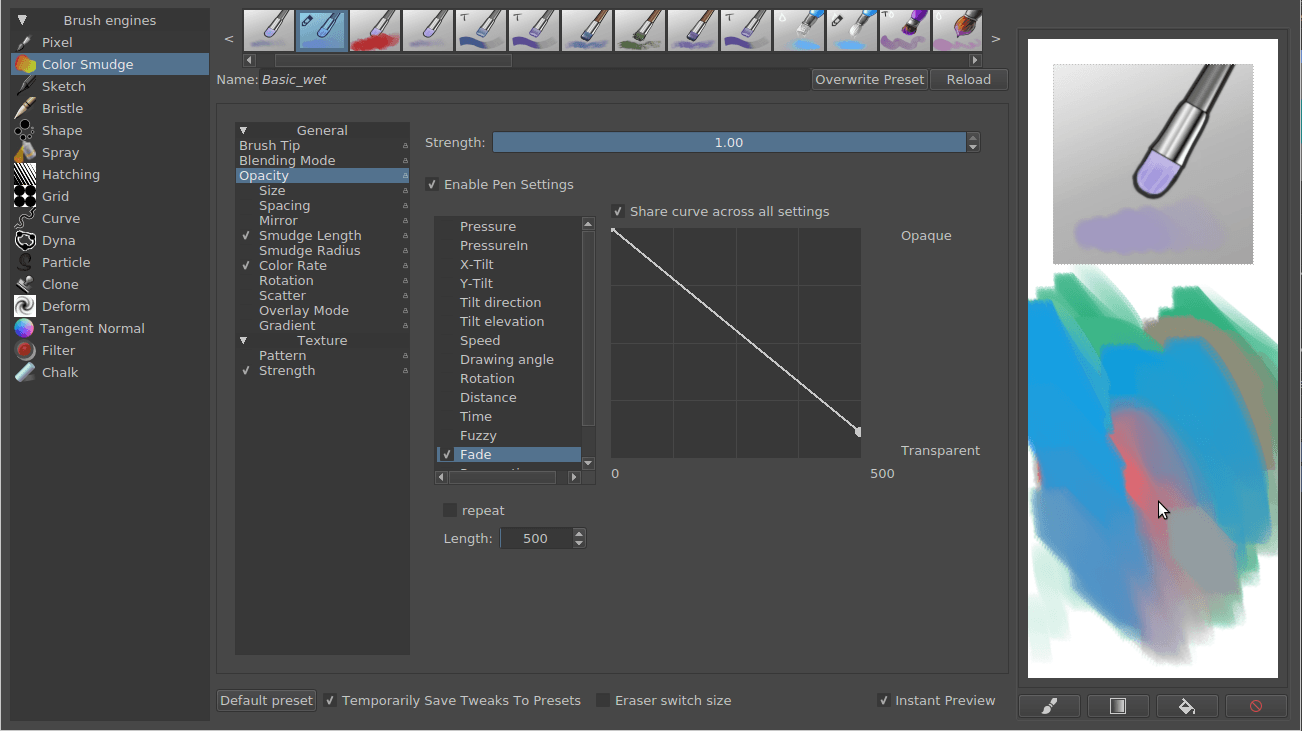
Then, the trick is to go into Opacity, untoggle Pressure from the sensors, toggle Fade and then reverse the curve as shown above. Make sure that the curve ends a little above the bottom-right, so that you are always painting something. Otherwise, the smudge won't work.
This'll make the color rate decrease and turn it into a smudge brush as the stroke continues:
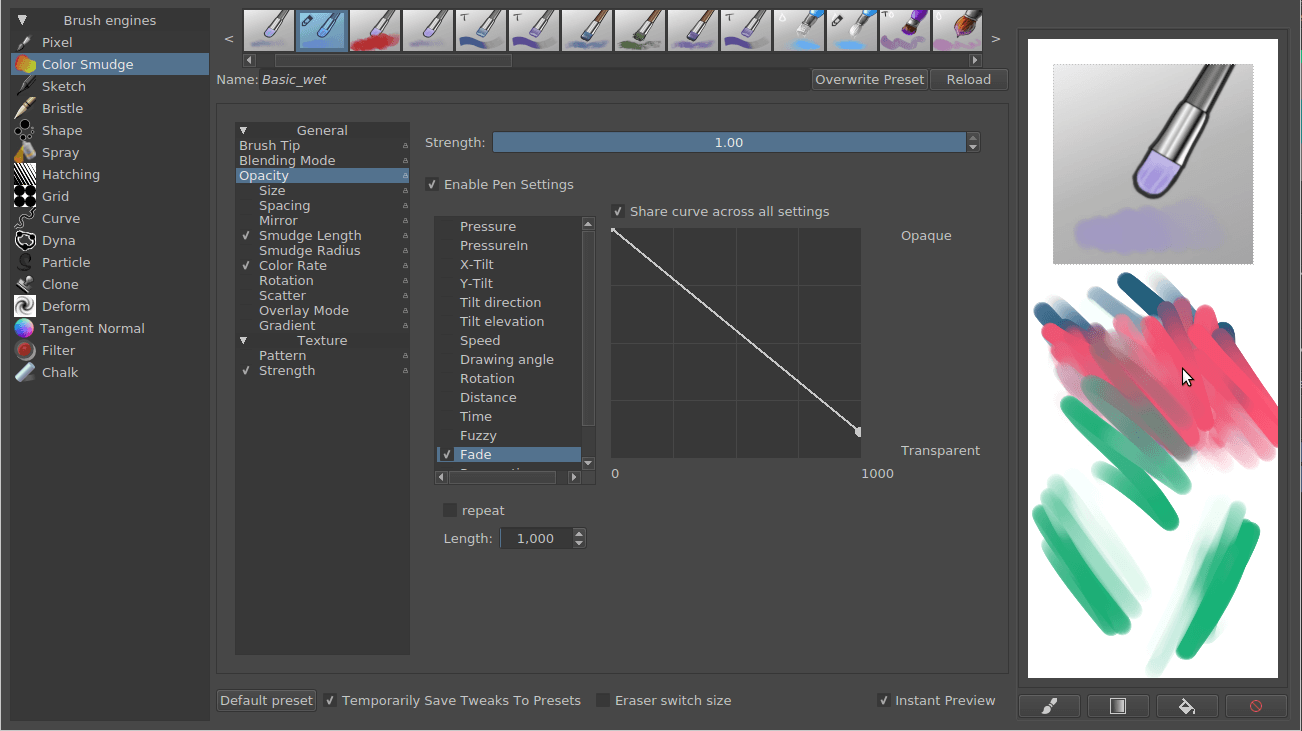
The Fade sensor will base the stroke length on brush size. The Distance sensor will base it on actual pixels, and the Time on actual seconds.
Then, select and select the default A_Angular_Church_HR brushtip.
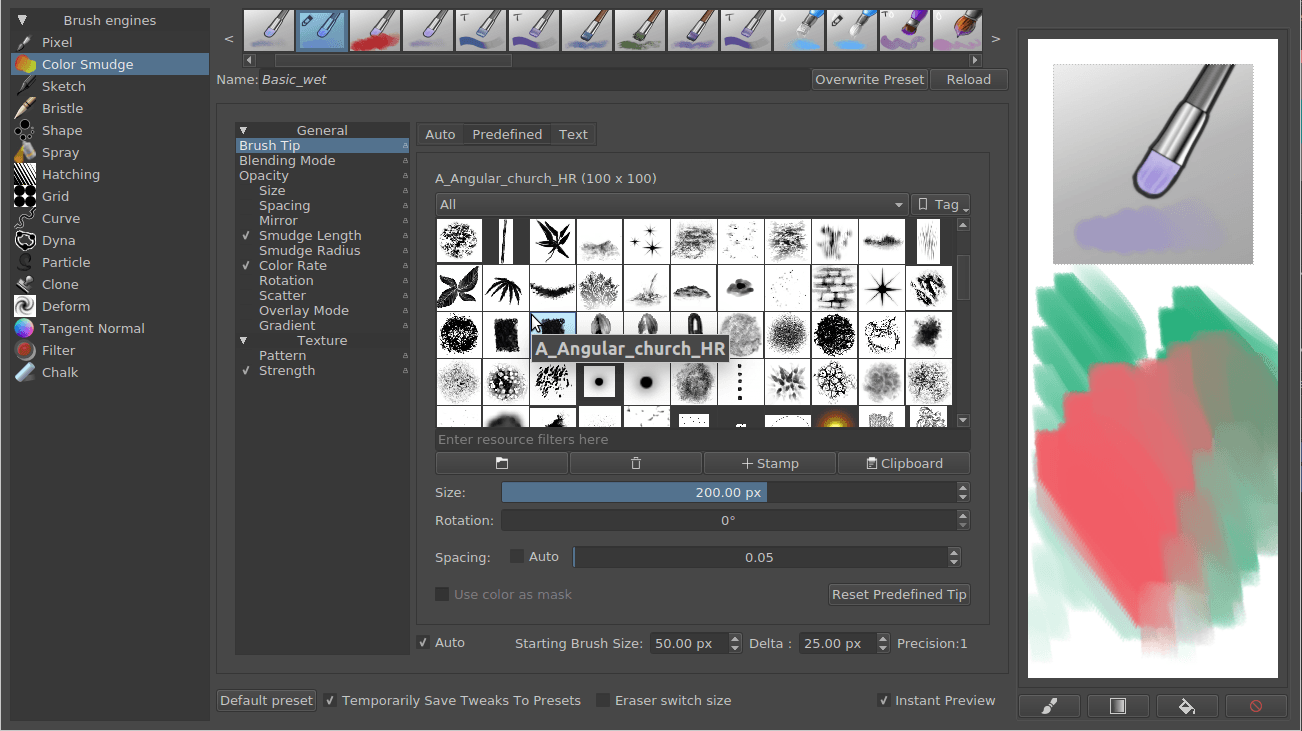
This makes for a nice textured square brush.
Of course, this'll make the stroke distance longer to get to smudging, so we go back to the Opacity.
Just adjust the fade-length by  on the slider bar. You can then input a number. In the screenshot, I have 500, but the sweet spot seems to be somewhere between 150 and 200.
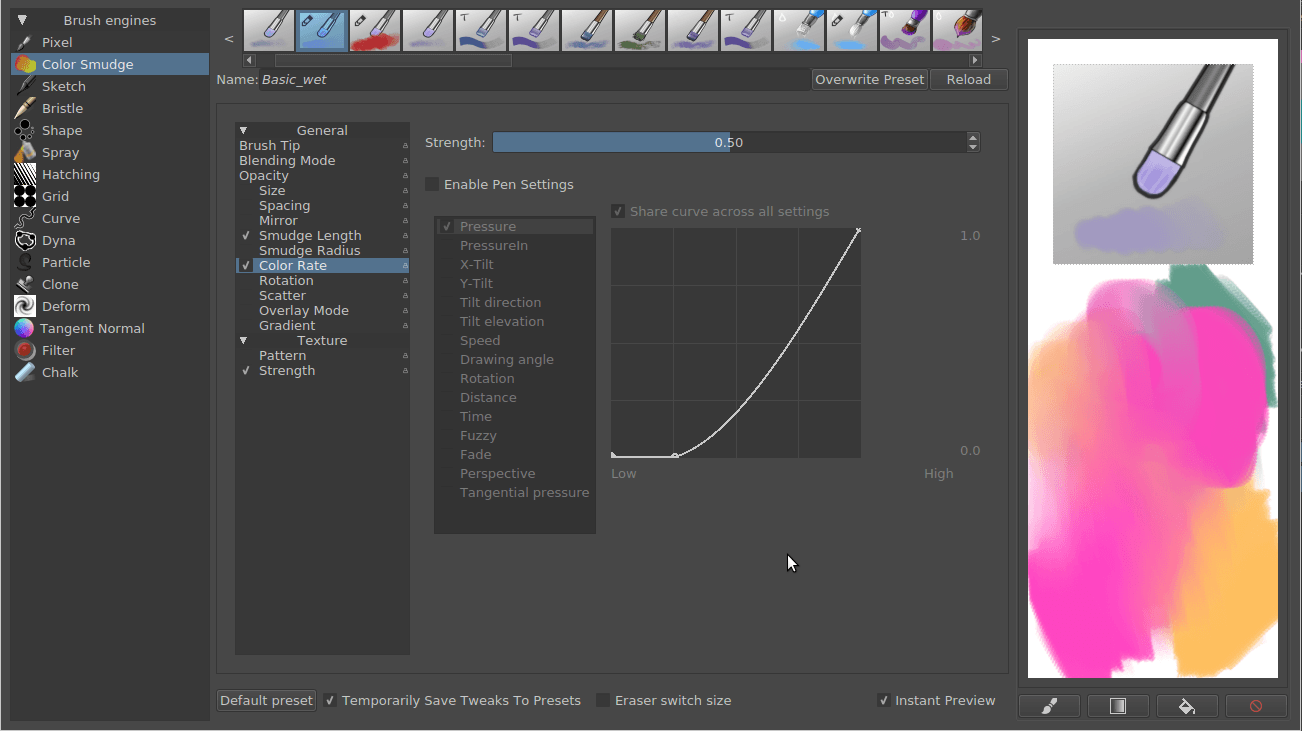
Now, you'll notice that on the start of a stroke, it might be a little faded, so go into Color Rate and turn off the Enable Pen Settings there.
Then, finally, we'll make the brush rotate.
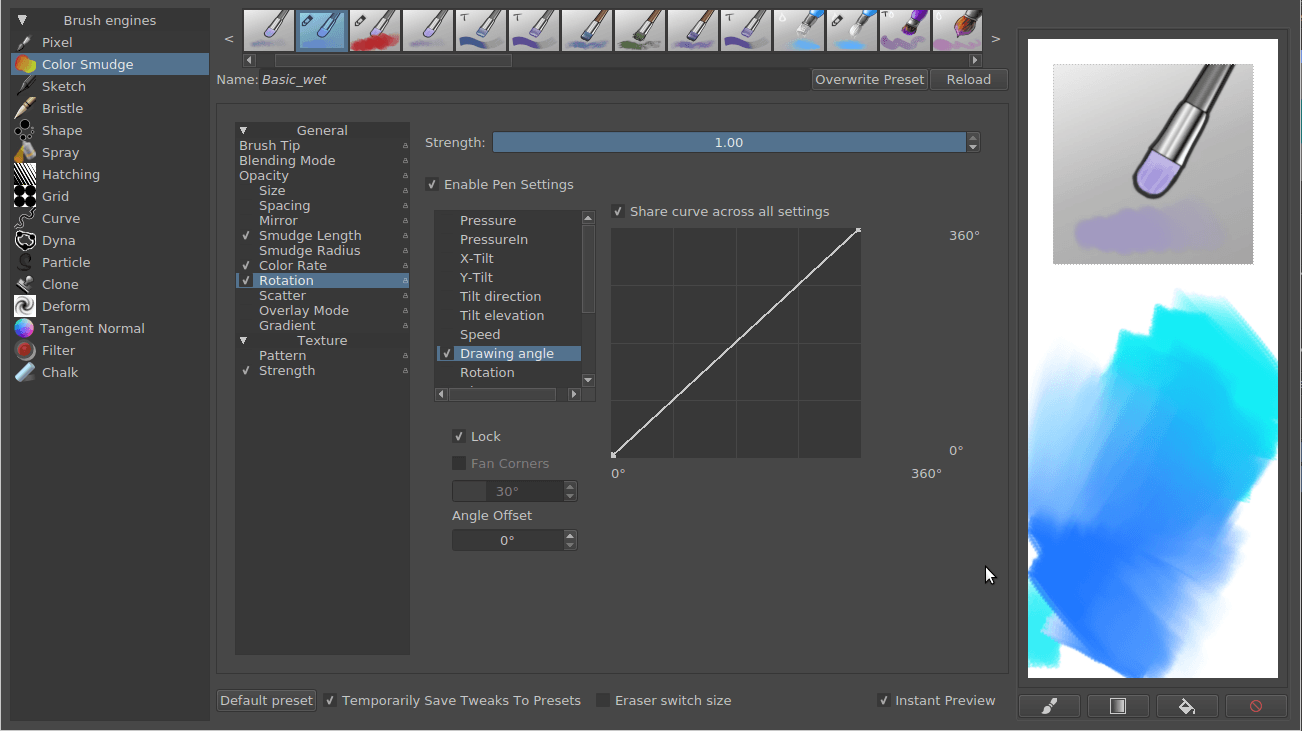
Tick the Rotation parameter, and select it. There, untick Pressure and tick Drawing Angle.
Then, for better angling, tick Lock and set the Angle Offset to 90 degrees by the slider bar and typing in 90.
Now, give your brush a new name, doodle on the brush-square, Save to presets and paint!