Vector Layers
Avertissement
This page is outdated. Check Vector Graphics for a better overview.
What is a Vector Layer?
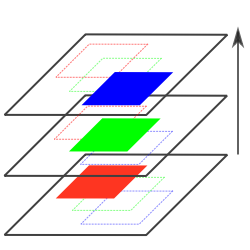
A Vector Layers, also known as a shape layer, is a type of layers that contains only vector elements.
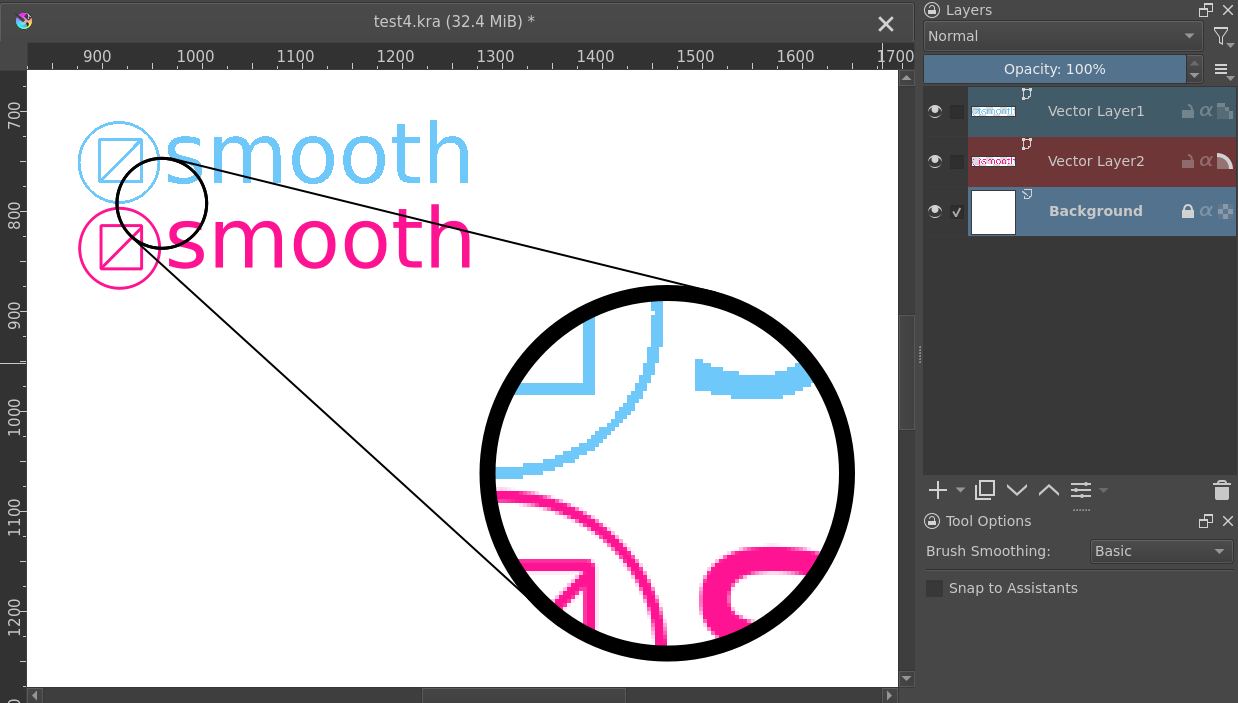
This is how vector layers will appear in the Krita Layers docker.
It shows the vector contents of the layer on the left side. The icon showing the page with the red bookmark denotes that it is a vector layer. To the right of that is the layer name. Next are the layer visibility and accessibility icons. Clicking the "eye" will toggle visibility. Clicking the lock into a closed position will lock the content and editing will no longer be allowed until it is clicked again and the lock on the layer is released.
Creating a vector layer
You can create a vector layer in two ways. Using the extra options from the "Add Layer" button you can click the "Vector Layer" item and it will create a new vector layer. You can also drag a rectangle or ellipse from the Add shape dock onto an active Paint Layer. If the active layer is a Vector Layer then the shape will be added directly to it.
Editing Shapes on a Vector Layer
Avertissement
There's currently a bug with the vector layers that they will always consider themselves to be at 72dpi, regardless of the actual pixel-size. This can make manipulating shapes a little difficult, as the precise input will not allow cm or inch, even though the vector layer coordinate system uses those as a basis.
Basic Shape Manipulation
To edit the shape and colors of your vector element, you will need to use the basic shape manipulation tool.
Once you have selected this tool, click on the element you want to manipulate and you will see guides appear around your shape.
There are four ways to manipulate your image using this tool and the guides on your shape.
Transform/Move
This feature of the tool allows you to move your object by clicking and dragging your shape around the canvas. Holding the Ctrl key will lock your moves to one axis.
Size/Stretch
This feature of the tool allows you to stretch your shape. Selecting a midpoint will allow stretching along one axis. Selecting a corner point will allow stretching across both axis. Holding the Shift key will allow you to scale your object. Holding the Ctrl key will cause your manipulation to be mirrored across your object.
Rotate
This feature of the tool will allow you to rotate your object around its center. Holding the Ctrl key will cause your rotation to lock to 45 degree angles.
Cisailler
This feature of the tool will allow you to skew your object.
Note
At the moment there is no way to scale only one side of your vector object. The developers are aware that this could be useful and will work on it as manpower allows.
Point and Curve Shape Manipulation
Double-click on a vector object to edit the specific points or curves which make up the shape. Click and drag a point to move it around the canvas. Click and drag along a line to curve it between two points. Holding the Ctrl key will lock your moves to one axis.
Suivre et remplir
In addition to being defined by points and curves, a shape also has two defining properties: Fill and Stroke. Fill defines the color, gradient, or pattern that fills the space inside of the shape object. 'Stroke' defines the color, gradient, pattern, and thickness of the border along the edge of the shape. These two can be edited using the Stroke and Fill dock. The dock has two modes. One for stroke and one for fill. You can change modes by clicking in the dock on the filled square or the black line. The active mode will be shown by which is on top of the other.
Here is the dock with the fill element active. Notice the red line across the solid white square. This tells us that there is no fill assigned therefore the inside of the shape will be transparent.
Here is the dock with the stroke element active.
Editing Stroke Properties
The stroke properties dock will allow you to edit a different aspect of how the outline of your vector shape looks.
The style selector allows you to choose different patterns and line styles. The width option changes the thickness of the outline on your vector shape. The cap option changes how line endings appear. The join option changes how corners appear.
The Miter limit controls how harsh the corners of your object will display. The higher the number the more the corners will be allowed to stretch out past the points. Lower numbers will restrict the stroke to shorter and less sharp corners.
Editing Fill Properties
All of the fill properties are contained in the Stroke and Fill dock.
The large red X button will set the fill to none causing the area inside of the vector shape to be transparent.
To the right of that is the solid square. This sets the fill to be a solid color which is displayed in the long button and can be selected by pressing the arrow just to the right of the long button. To the right of the solid square is the gradient button. This will set the fill to display as a gradient. A gradient can be selected by pressing the down arrow next to the long button.
Under the X is a button that shows a pattern. This inside area will be filled with a pattern. A pattern can be chosen by pressing the arrows next to the long button. The two other buttons are for fill rules: the way a self-overlapping path is filled.
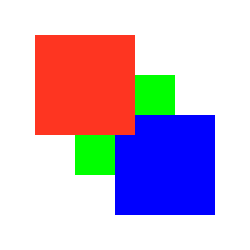
The button with the inner square blank toggles even-odd mode, where every filled region of the path is next to an unfilled one, like this:
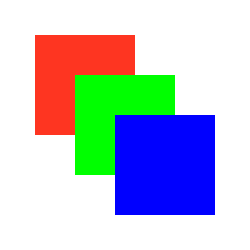
The button with the inner square filled toggles non zero mode, where most of the time a self overlapping path is entirely filled except when it overlaps with a sub-path of a different direction that 'decrease the level of overlapping' so that the region between the two is considered outside the path and remain unfilled, like this:
For more (and better) information about fill rules check the Inkscape manual.