Building krita on host Linux system (unsupported)
Увага
Building on the host Linux system without docker is now deprecated and considered unsupported. Do that on your own risk!
Preparing your development environment
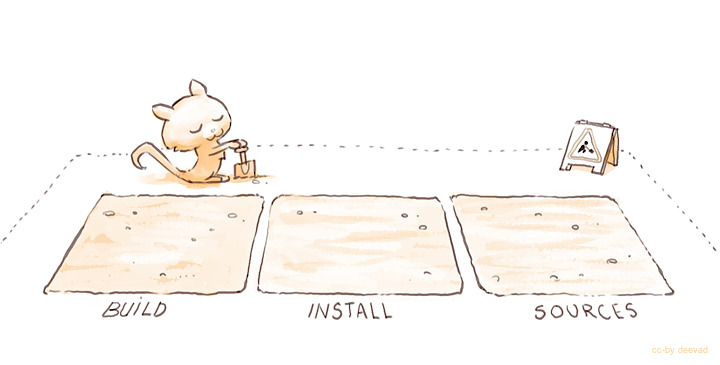
The most convenient layout is as follows:
$HOME/kritadev/krita – the source code
$HOME/kritadev/build – the location where you compile krita
$HOME/kritadev/install – the location where you install krita to and run krita from
we will call the «kritadev» folder your build root.
Note: type in what’s shown after „>“ in the following commands
you@yourcomputer:~>cd
you@yourcomputer:~>mkdir kritadev
you@yourcomputer:~/>cd kritadev
you@yourcomputer:~/kritadev> mkdir build
you@yourcomputer:~/kritadev> mkdir install
Getting the Source Code
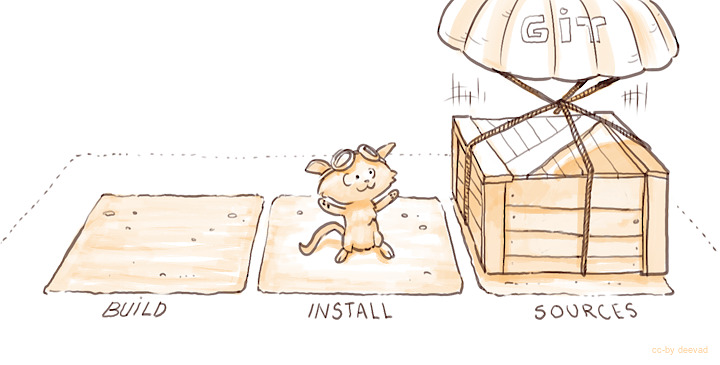
Open a terminal and enter the build root. Clone Krita from kde’s git infrastructure (not github):
you@yourcomputer:~/kritadev> git clone https://invent.kde.org/graphics/krita.git
Configuring the Build
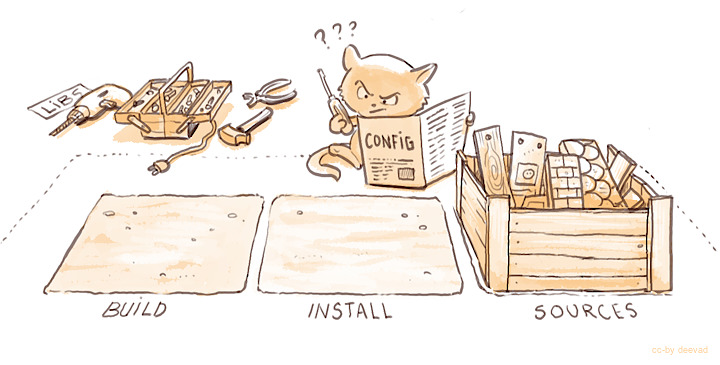
you@yourcomputer:~/kritadev> cd build
Krita uses cmake (https://cmake.org) to define how Krita is built on various platforms. You first need to run cmake to generate the build system, in the kritadevs/build directory, then run make to make Krita, then run make install to install krita.
you@yourcomputer:~/kritadev/build>cmake ../krita \
        -DCMAKE_INSTALL_PREFIX=$HOME/kritadev/install  \
        -DCMAKE_BUILD_TYPE=Debug \
        -DKRITA_DEVS=ON
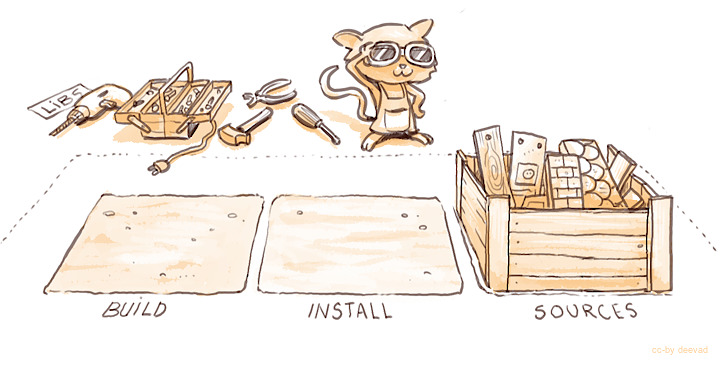
Unless you have installed all the dependencies Krita needs, on first running cmake, cmake will complain about missing dependencies. For instance:
-- The following RECOMMENDED packages have not been found:

* GSL, <https://www.gnu.org/software/gsl/>
Required by Krita's Transform tool.
This is not an error, and you can fix this by installing the missing package using your distribution’s package manager. Do not download these packages manually from the source website and build them manually. Do use your distribution’s package manager to find the right packages.
For example, for Ubuntu, you can start with:
you@yourcomputer:~/kritadev/build>apt-get build-dep krita
Which will install all the dependencies of the version of Krita in the repositories. You might need to enable the deb-src repositories by editing /etc/apt/sources.list (see https://help.ubuntu.com/community/Repositories/CommandLine) or, if you’re using the KDE Plasma desktop, enabling them in the Settings of the Discover application.
However, the development version might use different dependencies, to find these, you can use apt-cache search:
you@yourcomputer:~/kritadev/build>apt-cache search quazip
libquazip-dev - C++ wrapper for ZIP/UNZIP (development files, Qt4 build)
libquazip-doc - C++ wrapper for ZIP/UNZIP (documentation)
libquazip-headers - C++ wrapper for ZIP/UNZIP (development header files)
libquazip1 - C++ wrapper for ZIP/UNZIP (Qt4 build)
libquazip5-1 - C++ wrapper for ZIP/UNZIP (Qt5 build)
libquazip5-dev - C++ wrapper for ZIP/UNZIP (development files, Qt5 build)
libquazip5-headers - C++ wrapper for ZIP/UNZIP (development header files, Qt5 build)
You will want to get the „dev“ library here, because you’re doing dev, and then Krita is using Qt5, so select that one. If this doesn’t help, check the Ubuntu packages search.
If all dependencies have been installed, cmake will output something like this:
-- Configuring done
-- Generating done
-- Build files have been written to: /home/boud/dev/b-krita
Попередження
There is one run-time package that you need to install. CMake will not warn about it missing. That is the Qt5 SQLite database driver package. On Ubuntu this is named libqt5sql5-sqlite, the name might be different on other distributions. You need this to be able to start Krita after you have built and installed Krita! This is only needed if you build the master (5.0) branch of Krita.
Until that is shown, cmake has not succeeded and you cannot build Krita. When this is shown, you can build Krita:
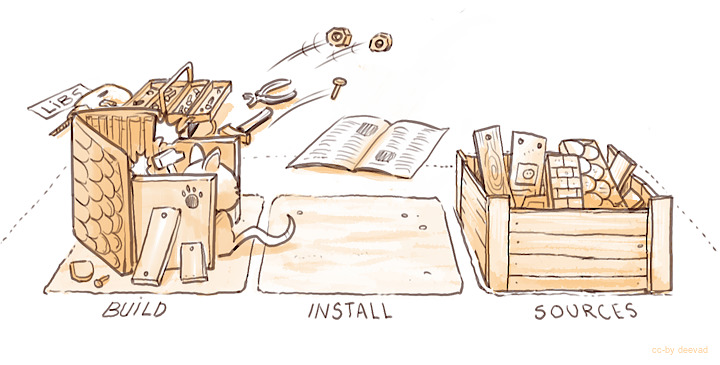
you@yourcomputer:~/kritadev/build> make
You can speed this up by enabling multithreading. To do so, you first figure out how many threads your processor can handle:
cat /proc/cpuinfo | grep processor | wc -l
Then, add the resulting number with -j (for „Jobs“) at the end, so for example:
you@yourcomputer:~/kritadev/build> make -j4
Installing
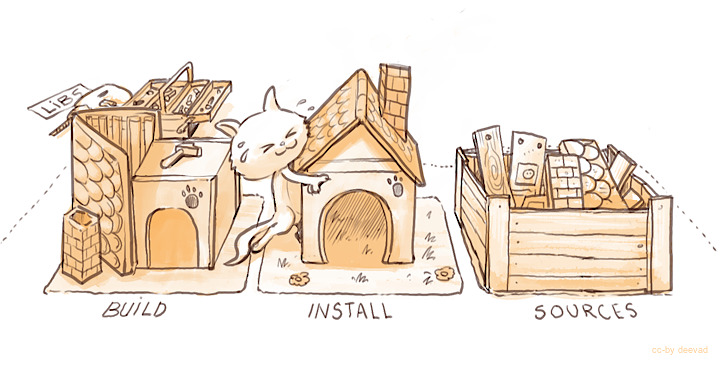
When the build has fully succeeded, you can install:
you@yourcomputer:~/kritadev/build> make install
And when that is complete, you can run Krita:
you@yourcomputer:~/kritadev/build>../install/bin/krita
Running Krita
You do not have to set environment variables in order to run Krita.
you@yourcomputer:~> cd ~/kritadev/
you@yourcomputer:~> ./install/bin/krita
Updating
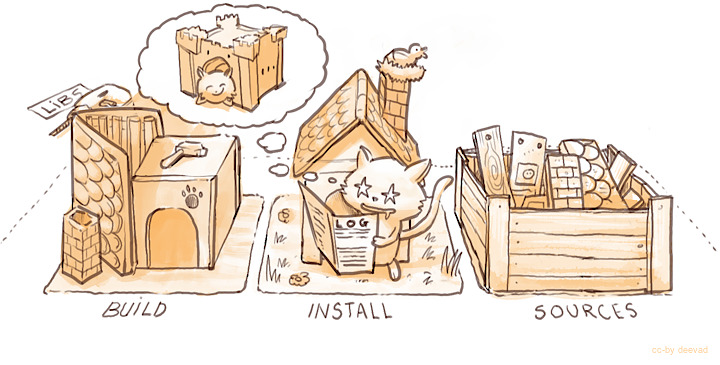
Now, Krita is in constant development, so you will want to update your build from time to time. Maybe a cool feature got in, or a bug was fixed, or you just want the latest source.
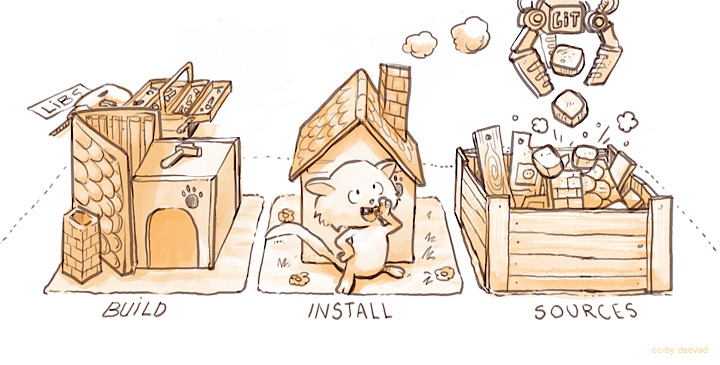
First, we get the new source from the git repository:
you@yourcomputer:~> cd ~/kritadev/krita/
you@yourcomputer:~/kritadev/krita> git pull
If you want to get the code from a specific branch, you will need to checkout that branch first:
you@yourcomputer:~/kritadev/krita> git checkout <name of the branch>
you@yourcomputer:~/kritadev/krita> git pull
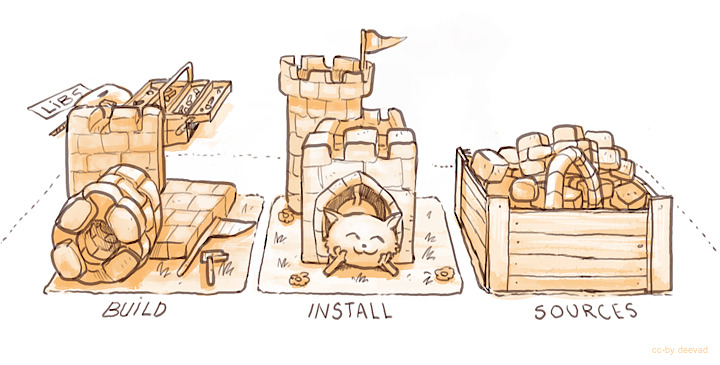
Then, we build again:
you@yourcomputer:~/kritadev/krita> cd ~/kritadev/build/
you@yourcomputer:~/kritadev/build> make install
If you update daily, you might want to automate these command by making your own minimal bash script.
Trouble Shooting
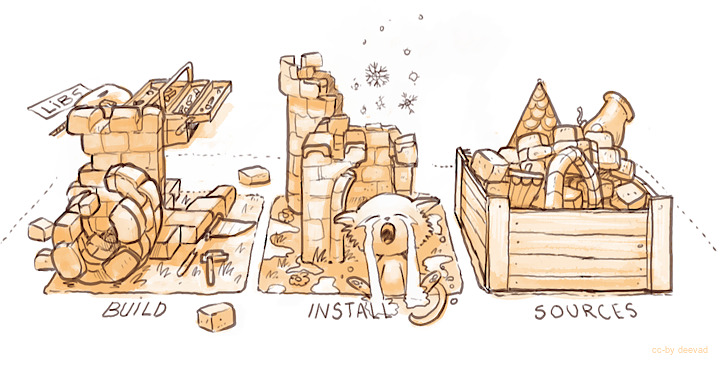
The recent development version might break, or sometime be just unusable. Experimental changes are made daily.
This will affect your productivity if you don’t know how to „go back in time“ (for example, your favorite brush doesn’t work anymore).
But if you know how to do it, no issue can really affect you, because you know how to come back to a previous state.
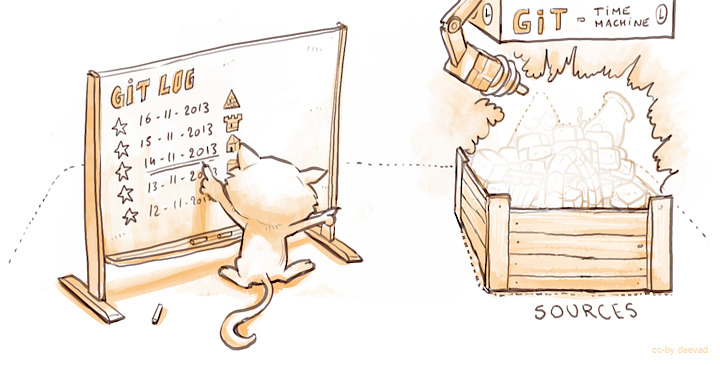
To travel the source in time we need to read the timeline history. The terminal tool for it is git log.
you@yourcomputer:~> cd ~/kritadev/krita/
you@yourcomputer:~/kritadev/krita> git log
With git log, you can consult all the last changes to the code, the „commit“. What we’re interested in is the long identification number, the „git hash“ (such as cca5819b19e0da3434192c5b352285b987a48796). You can scroll the git log, copy the ID number then quit(letter Q on keyboard). Then time-travel in your source directory:
you@yourcomputer:~/kritadev/krita> git checkout cca5819b19e0da3434192c5b352285b987a48796
you@yourcomputer:~/kritadev/krita> git pull
And, we build again:
you@yourcomputer:~/kritadev/krita> cd ~/kritadev/build/
you@yourcomputer:~/kritadev/build> make install

To update again to the actual and „fresh from a minute ago“ source-code named master, simply ask git to come back to it with git checkout then pull to update :
you@yourcomputer:~/kritadev/krita> git checkout master
you@yourcomputer:~/kritadev/krita> git pull
Common problems

Outside of the source being unstable, there’s the following common problems:
The most common problem is a missing dependency. Install it. A missing dependency is not an «error» that you need to report to the other Krita developers.
A dependency can also be too old. CMake will report when the version of a dependency is too old. That is also not an «error». You might need to update your Linux installation to a newer version.
You can also have a successful build, then update your linux installation, and then find that Krita no longer builds. A library got updated, and you need to remove the
CMakeCache.txtfile in your build dir and run cmake again.Sometimes, changes in Krita’s source code from git revision to git revision make it necessary to make your installation and/or build dir empty and build from scratch. One example is where a plugin is removed from Krita; the plugin will be in your install dir, and won’t get updated when Krita’s internals change.
