
So let’s start with the basics…
정사형
Despite the fancy name, you probably know what orthographic is. It is a schematic representation of an object, draw undeformed. Like the following example:

This is a rectangle. We have a front, top and side view. Put into perspective it should look somewhat like this:

While orthographic representations are kinda boring, they’re also a good basis to start with when you find yourself in trouble with a pose. But we’ll get to that in a bit.
Oblique
So, if we can say that the front view is the viewer looking at the front, and the side view is the viewer directly looking at the side. (The perpendicular line being the view plane it is projected on)

Then we can get a half-way view from looking from an angle, no?

If we do that for a lot of different sides…

And we line up the sides we get a…

But cubes are boring. I am suspecting that projection is so ignored because no tutorial applies it to an object where you actually might NEED projection. Like a face.
First, let’s prepare our front and side views:
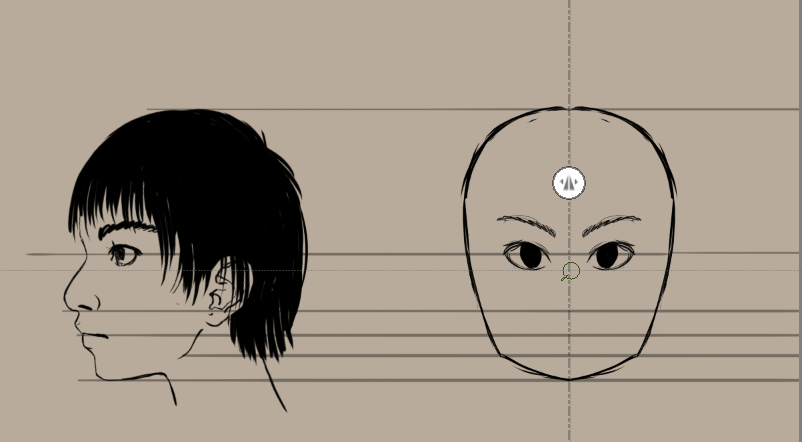
I always start with the side, and then extrapolate the front view from it. Because you are using Krita, set up two parallel rulers, one vertical and the other horizontal. To snap them perfectly, drag one of the nodes after you have made the ruler, and press the Shift key to snap it horizontal or vertical. In 3.0, you can also snap them to the image borders if you have active via the Shift + S shortcut.
Then, by moving the mirror to the left, you can design a front view from the side view, while the parallel preview line helps you with aligning the eyes (which in the above screenshot are too low).
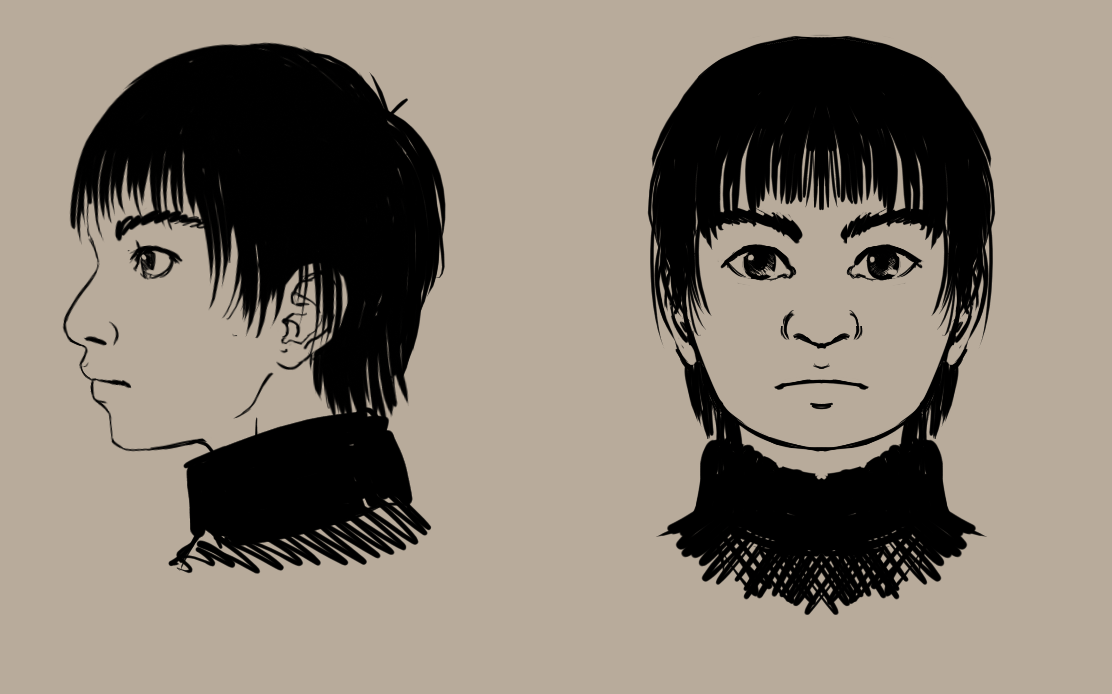
Eventually, you should have something like this:
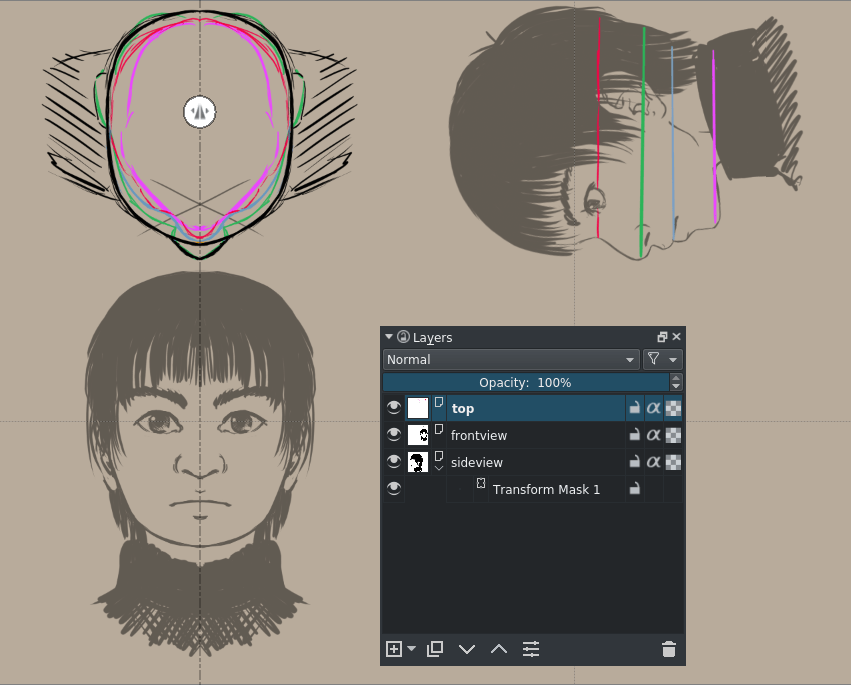
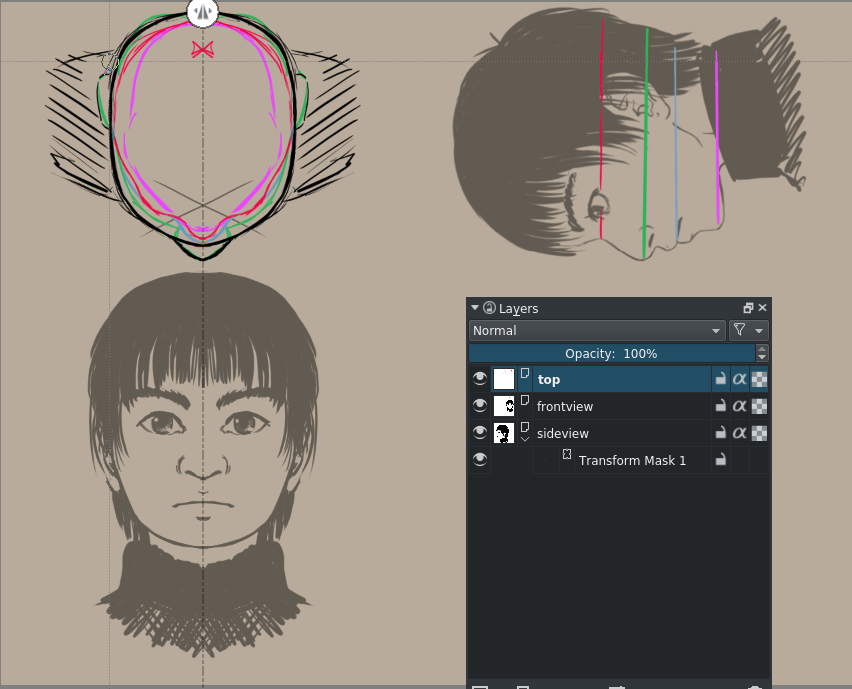
And of course, let us not forget the top, it’s pretty important:
팁
When you are using Krita, you can just use transform masks to rotate the side view for drawing the top view.
The top view works as a method for debugging your orthos as well. If we take the red line to figure out the orthographics from, we see that our eyes are obviously too inset. Let’s move them a bit more forward, to around the nose.
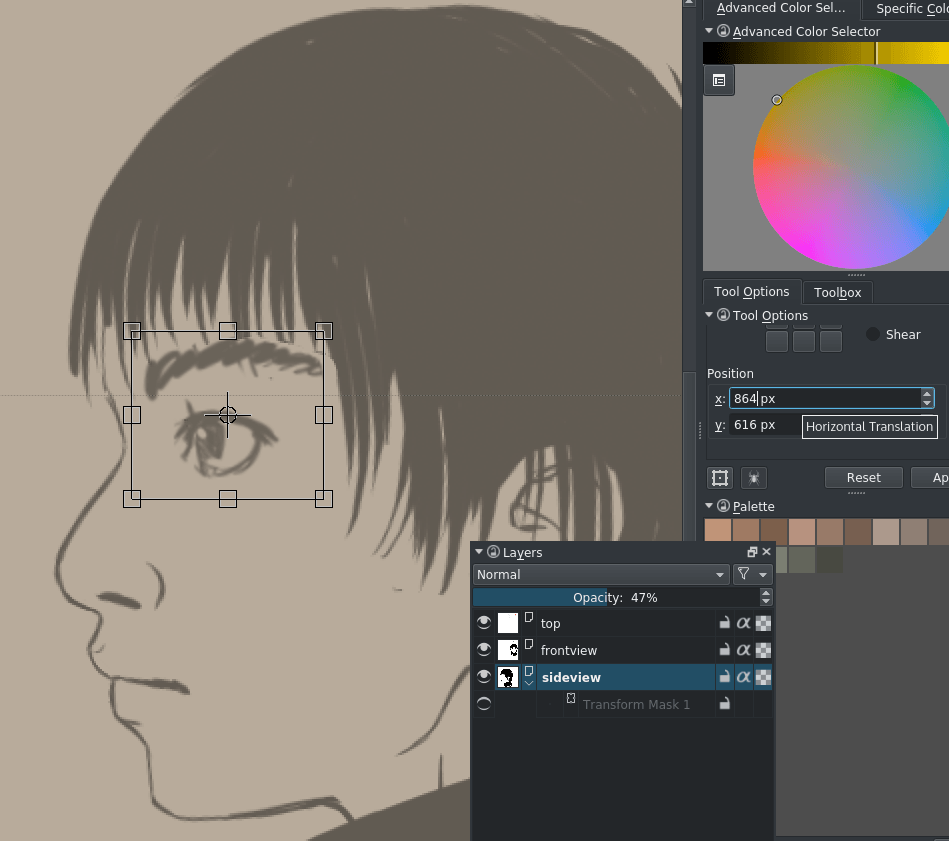
If you want to do precision position moving in the tool options docker, just select ‘position’ and the input box for the X. Pressing down then moves the transformed selection left. With Krita 3.0 you can just use the move tool for this and the arrow keys. Using transform here can be more convenient if you also have to squash and stretch an eye.
We fix the top view now. Much better.
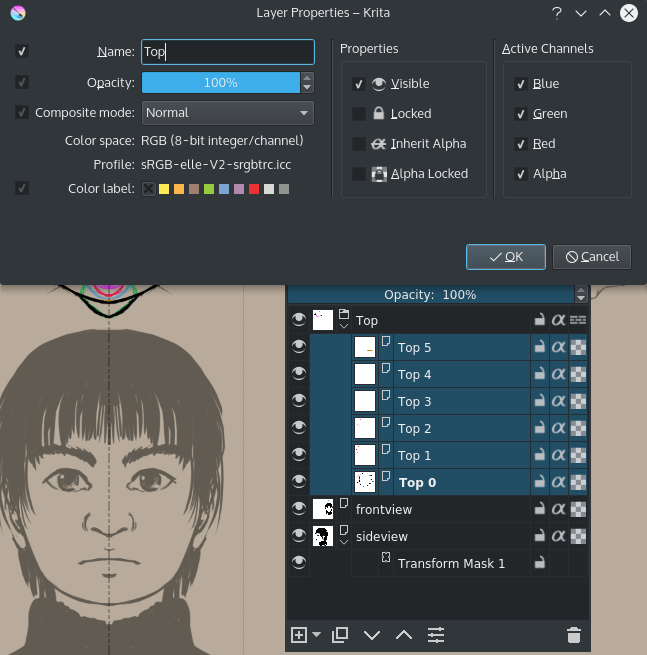
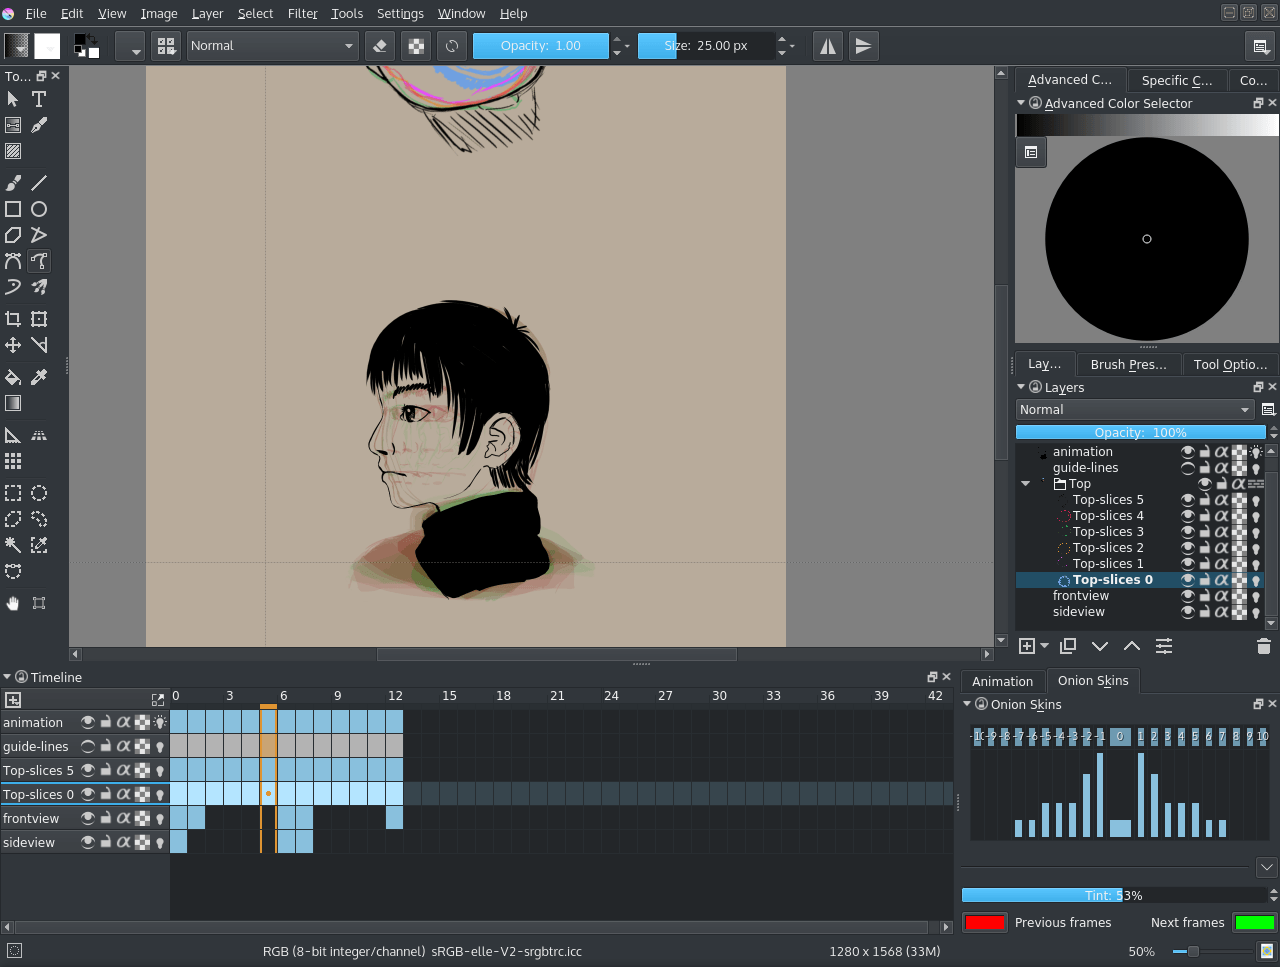
For faces, the multiple slices are actually pretty important. So important even, that I have decided we should have these slices on separate layers. Thankfully, I chose to color them, so all we need to do is go to .

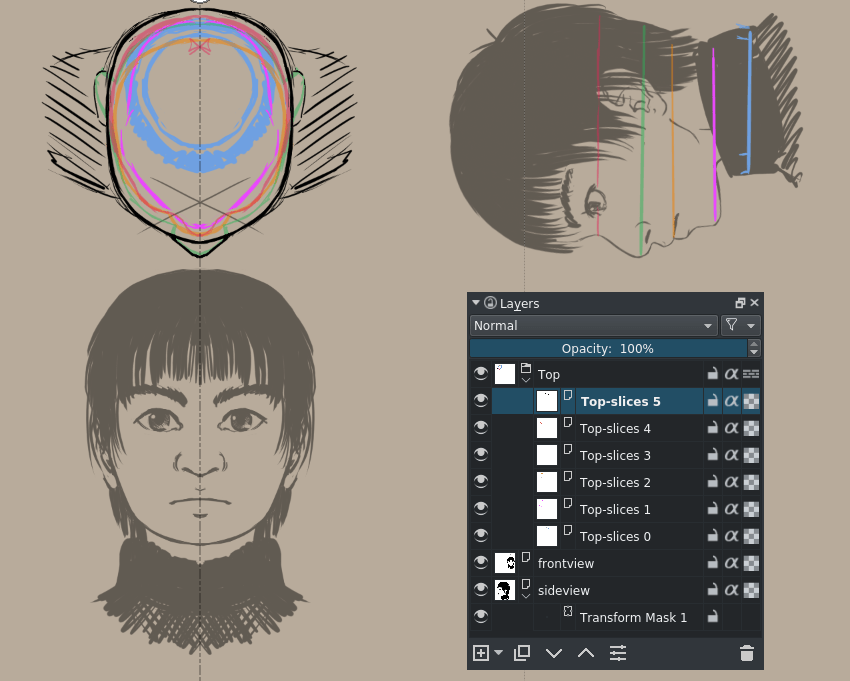
This’ll give you a few awkwardly named layers… rename them by selecting all and mass changing the name in the properties editor:
So, after some cleanup, we should have the following:
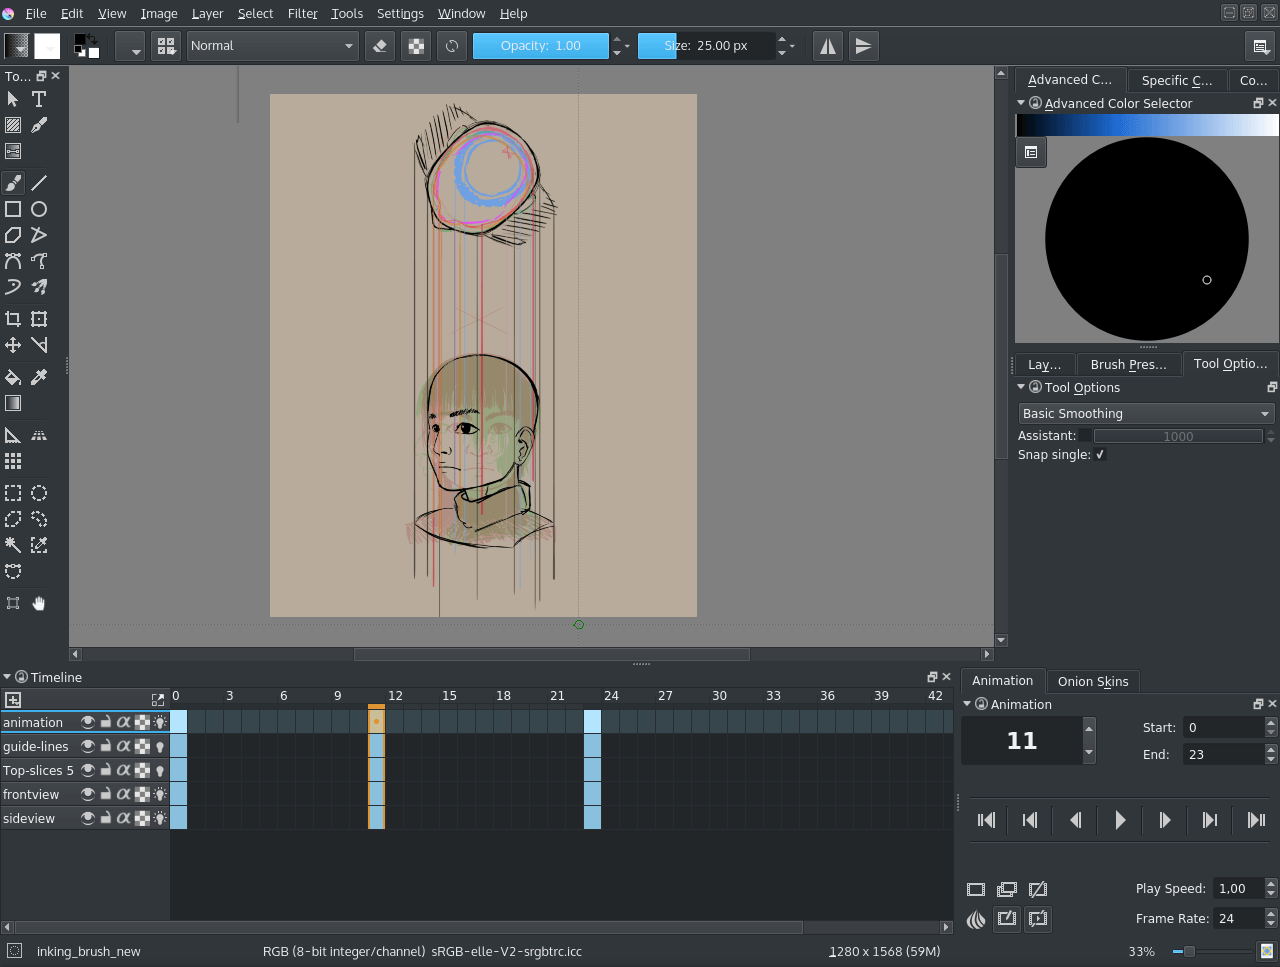
Okay, now we’re gonna use animation for the next bit.
Set it up as follows:

Both front view and side view are set up as ‘visible in timeline’ so we can always see them.
Front view has its visible frame on frame 0 and an empty frame on frame 23.
Side view has its visible frame on frame 23 and an empty view on frame 0.
The end of the animation is set to 23.
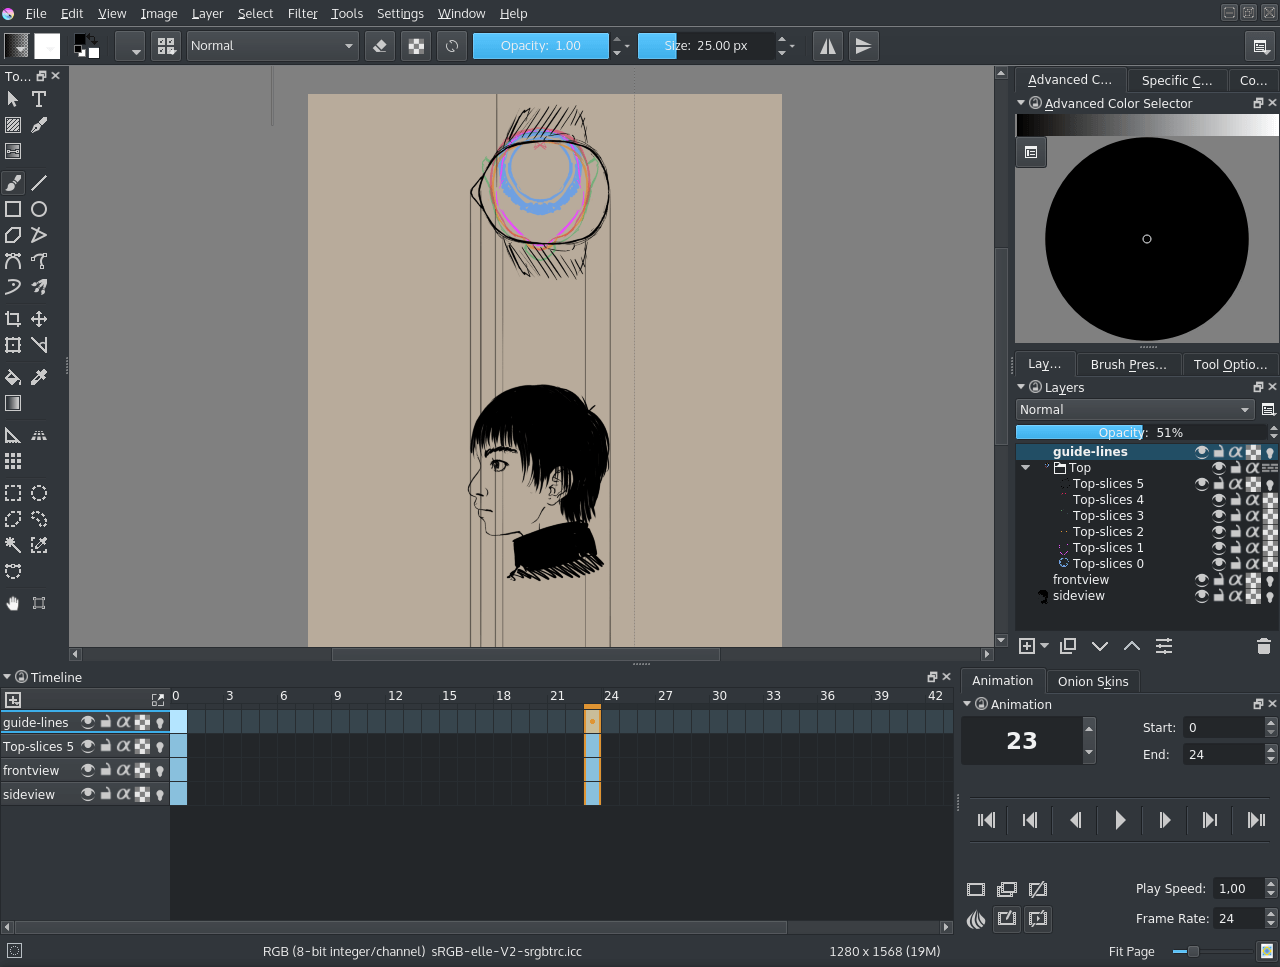
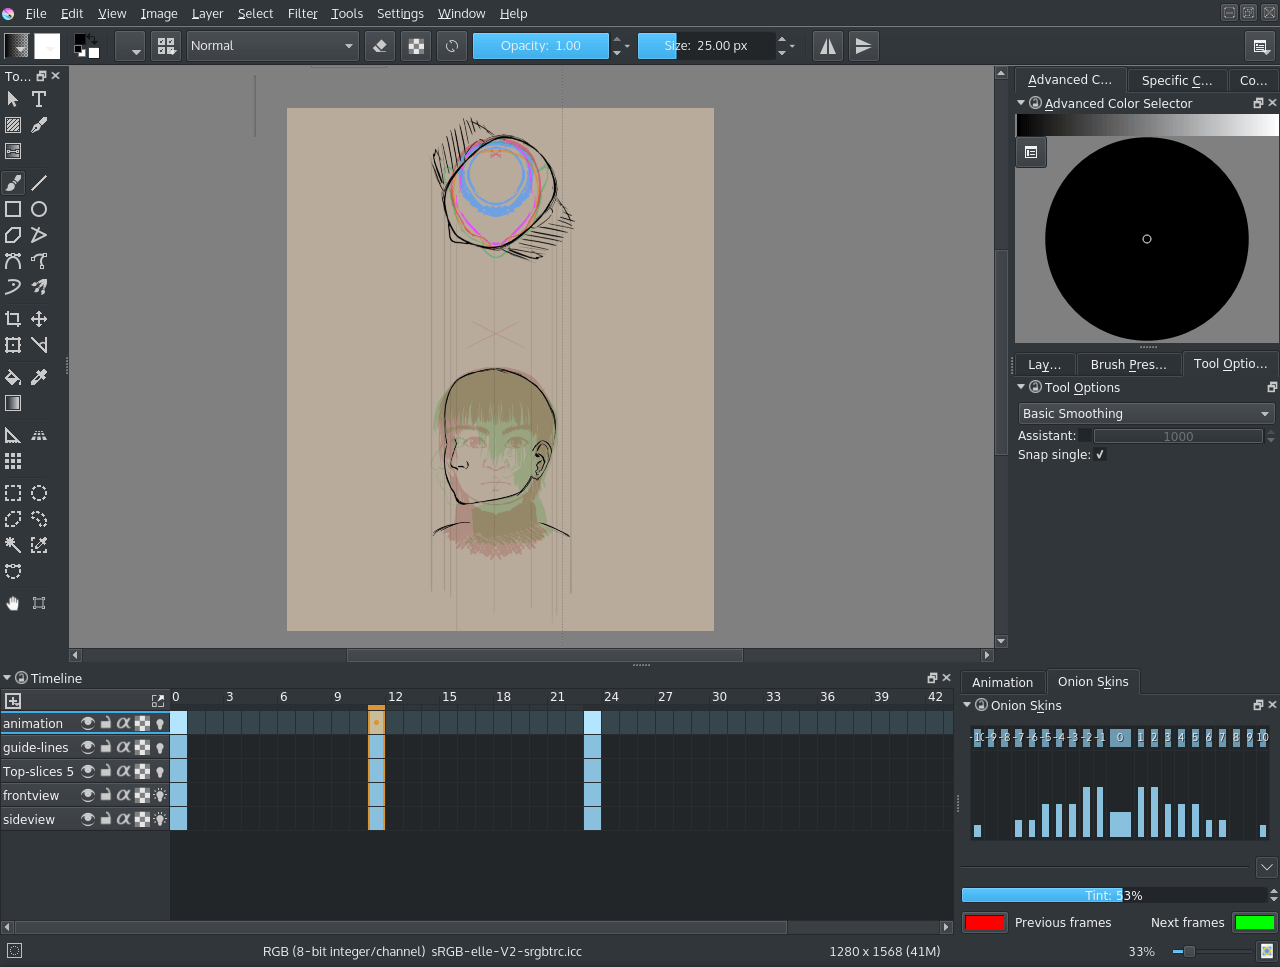
Krita can’t animate a transformation on multiple layers on multiple frames yet, so let’s just only transform the top layer. Add a semi-transparent layer where we draw the guidelines.
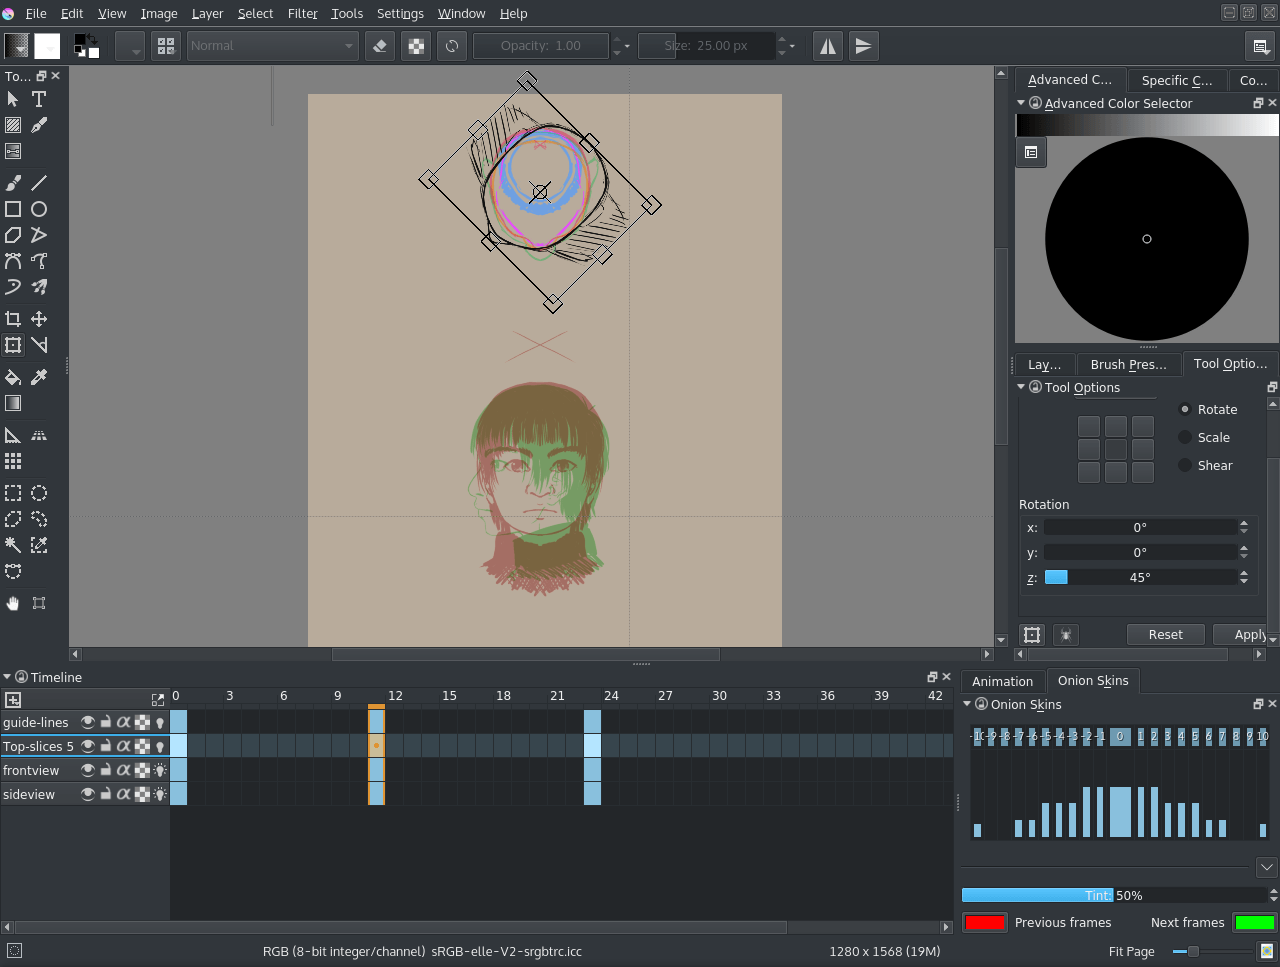
Now, select frame 11 (halfway), add new frames from front view, side view and the guidelines. And turn on the onion skin by toggling the lamp symbols. We copy the frame for the top view and use the transform tool to rotate it 45°.
So, we draw our vertical guides again and determine a in-between…
This is about how far you can get with only the main slice, so rotate the rest as well.
And just like with the cube, we do this for all slices…
Eventually, if you have the top slices rotate every frame with 15°, you should be able to make a turn table, like this:
Because our boy here is fully symmetrical, you can just animate one side and flip the frames for the other half.
While it is not necessary to follow all the steps in the theory section to understand the tutorial, I do recommend making a turn table sometime. It teaches you a lot about drawing 3/4th faces.
How about… we introduce the top view into the drawing itself?