
Brush Tips: Caustics
Question
Could you do a tutorial on how to recreate the look of light refracting in water?
Sure, caustics, it’s not like it’s the most complicated effect known to CG graphics… Okay, so the first thing is that light effects never work in isolation: you need to be spot on with colors and other effects to make it work. So we first need to recreate the surroundings a bit.

We set up something simple with gradients. Some radial, some linear. The eraser mode works with gradients as well, so use that to your advantage!
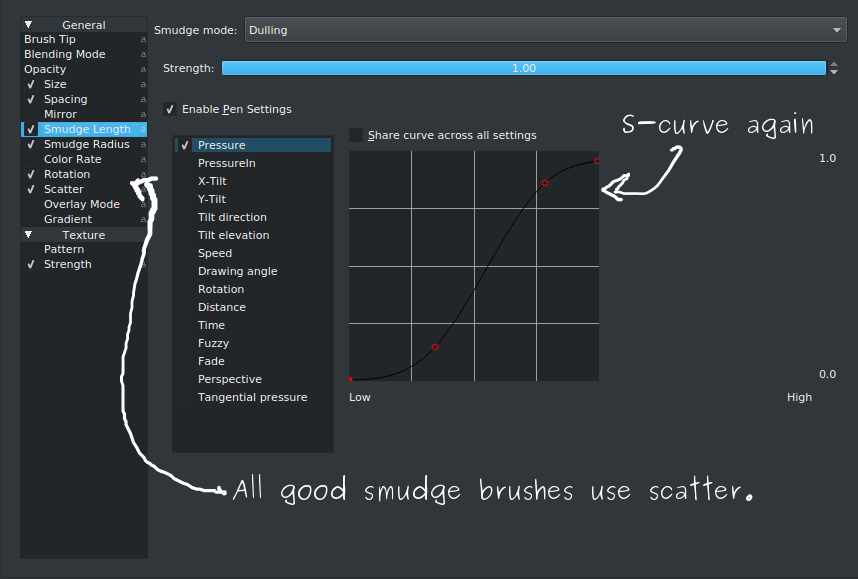
We create a simple smudge brush by taking smudge_soft and adding scattering to it, as well as an s-curve on the smudge length.
And then we build up a quick base:
Note how the smudge brush here is used not just to mix areas, but also to create definition of borders by lowering the scatter. (If you reverse the pressure curve on the scatter, this’ll be easily done by increasing the pressure on the stylus)
Now for the real magic. Caustics are a bit hairy, which means it’s a good candidate for the sketch brush engine.
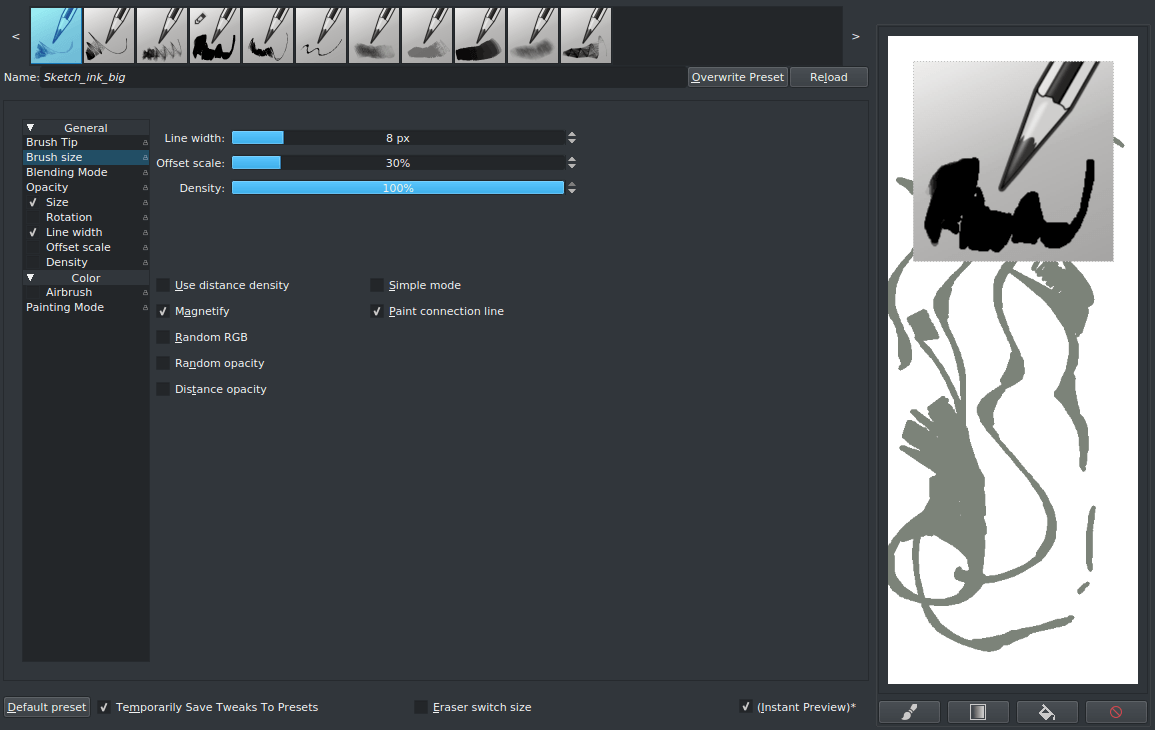
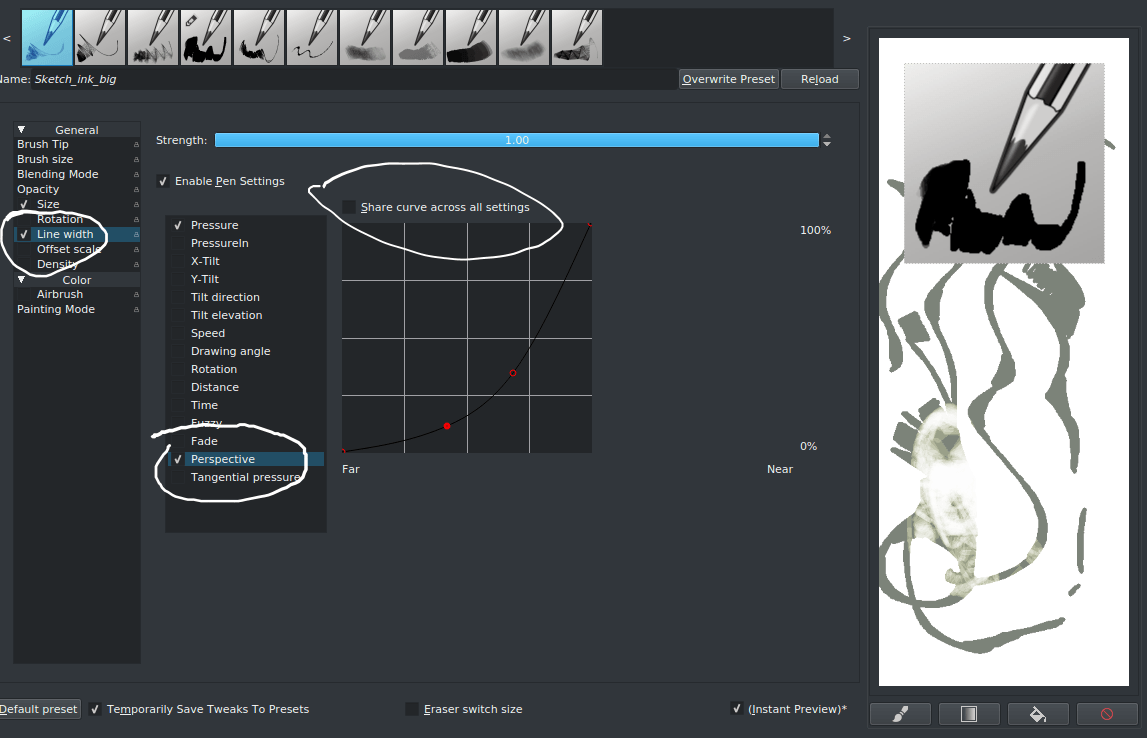
Take sketch_ink_big, and add pressure to the Line width while setting Density under the Brush size to 100%. This makes it extra hairy.
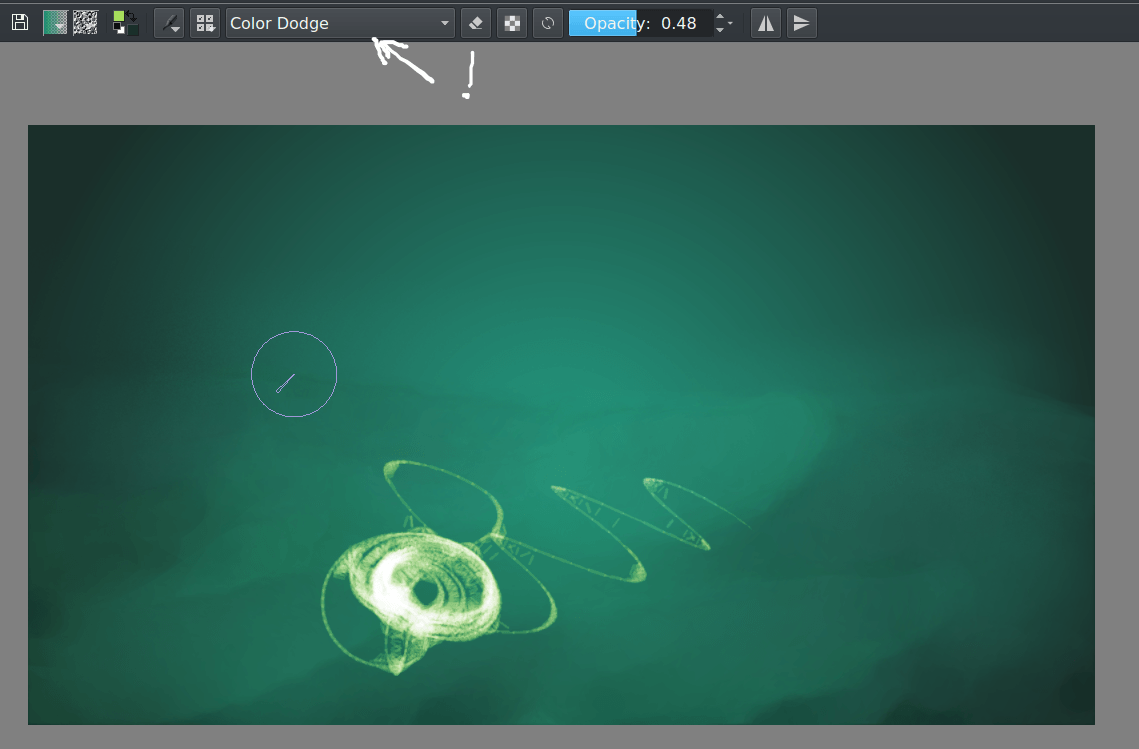
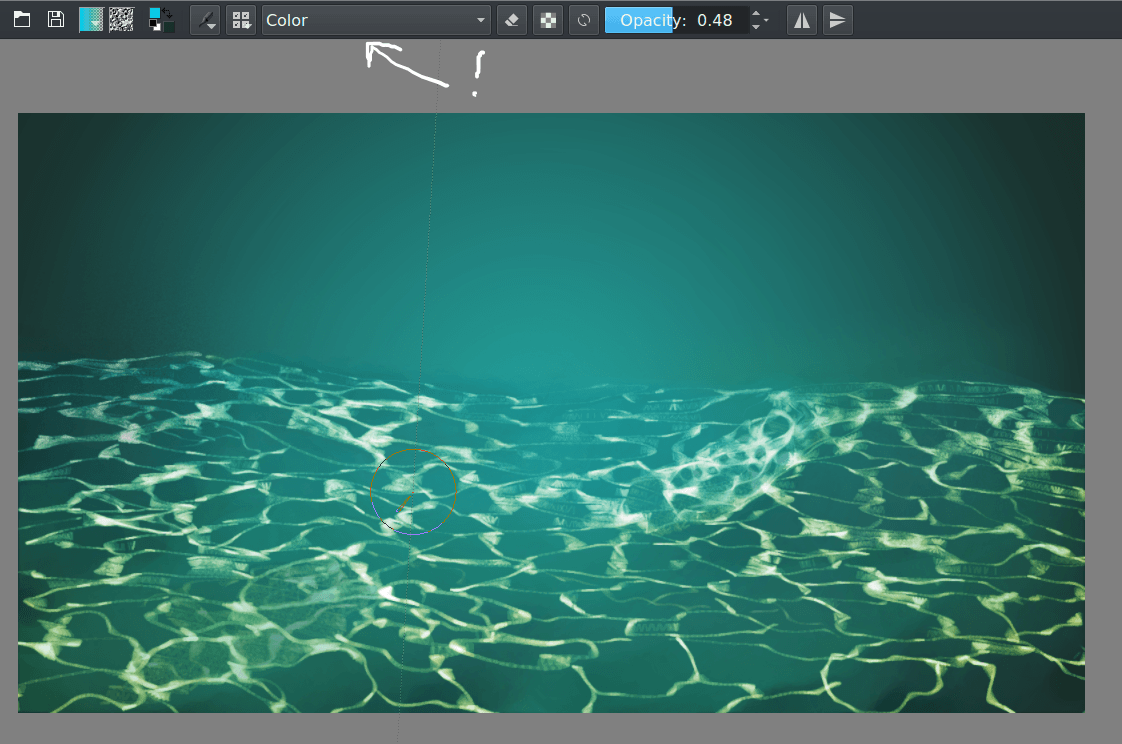
Set the brush blending mode to Color Dodge, and select the color of our caustics. Color dodge will cause a move towards white by applying special dodge color maths to our brush dabs instead of the Normal averaging color maths.
Outside of pressure for making varying strokes, glowiness for the light and extra density, we also want to have the size of the line decrease the further away it is…
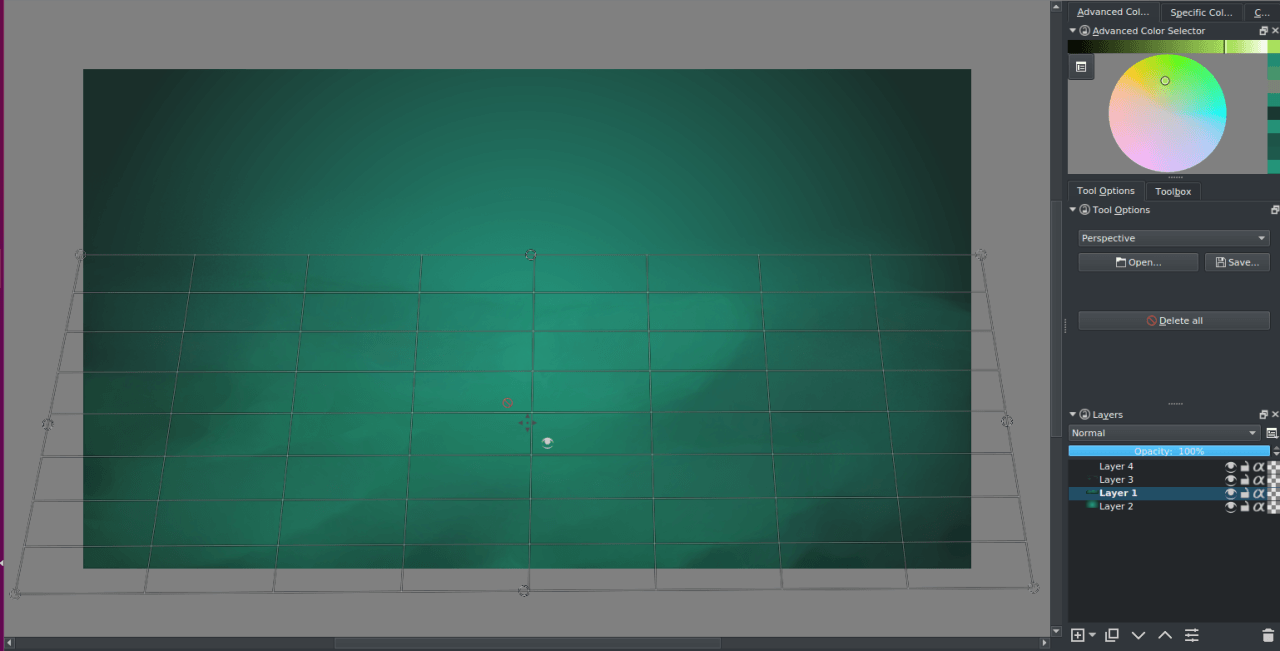
Then, use the assistant editor tool to add a perspective grid. It doesn’t need to be perfectly in perspective, because we’ll only use it for the perspective sensor.
This will cause the brush to give smaller lines the further it registers on the perspective assistant. (It only works per single perspective assistant, making it not very good for chaining, but for our purpose this is good.)
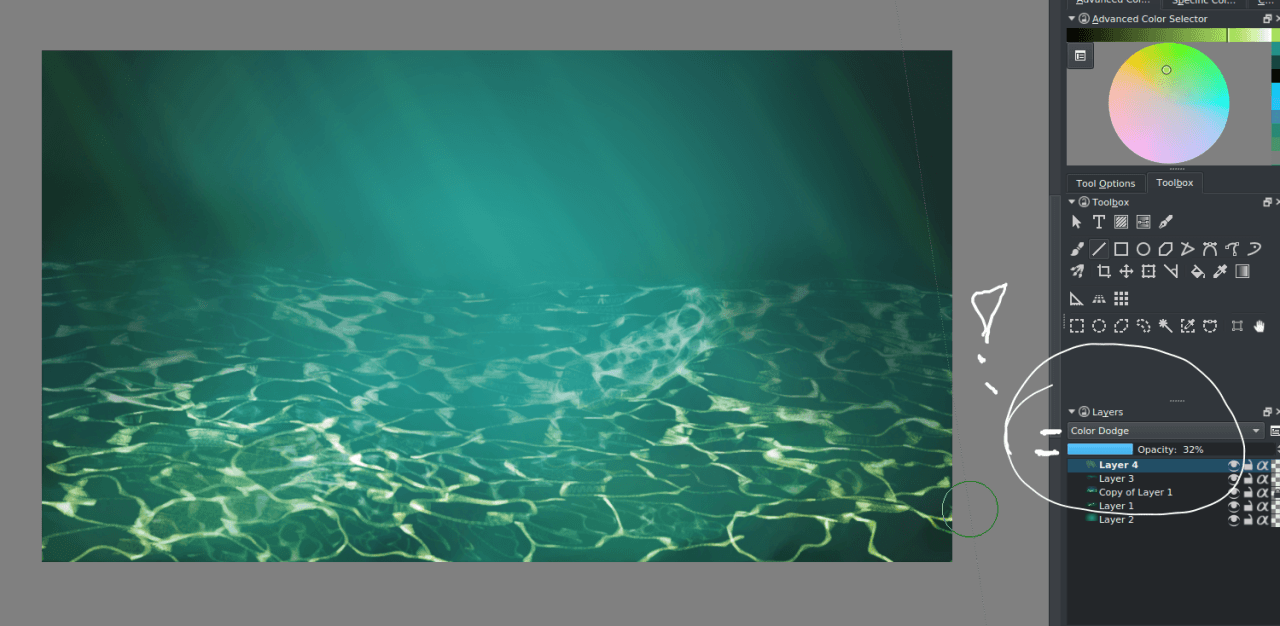
Then you start slowly building up your lines. (Make sure to make a copy of the layer. The color dodge blending doesn’t work well on a separate layer, so do it on one that also has the ground on it.)
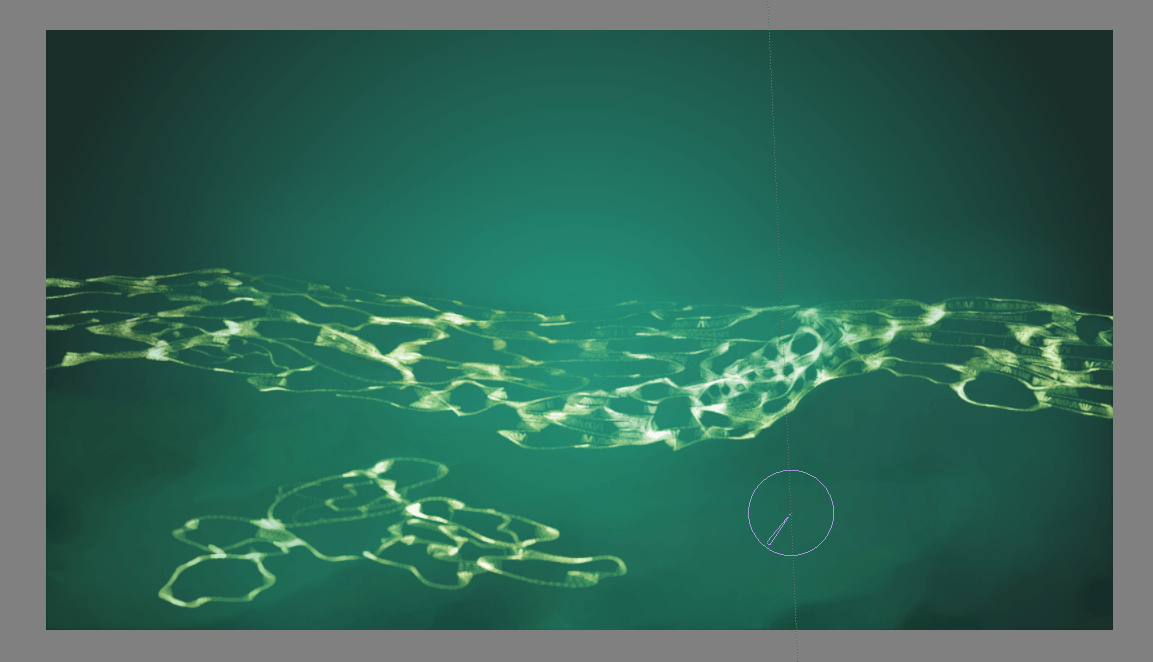
Make sure to try and follow the shapes you made. (I failed at this) The great thing about the sketch brush is that it causes those little ‘melt-togethers’ where two lines cross. This is only per stroke, so make a lot of long ongoing strokes with this brush to make use of it.
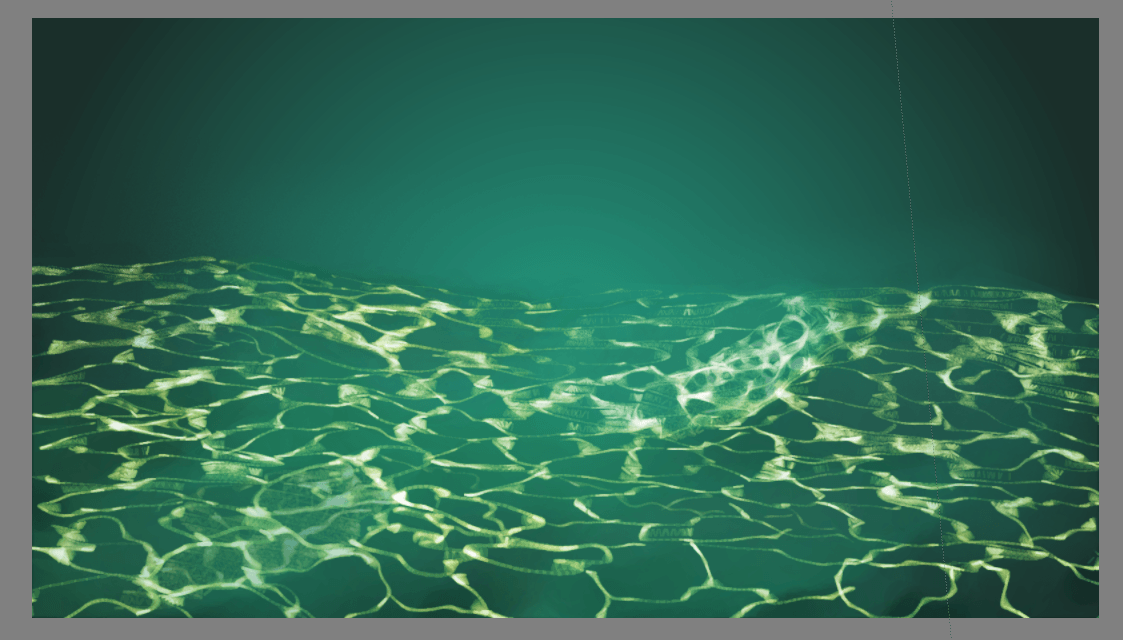
Then take the gradient tool, and set the blending mode to color and the paint tool to a light blue, so we can get in the bluish atmospheric effect.
Then use the airbrush_pressure with the line tool to make some light-shafts of different sizes on a separate layer. (Don’t forget you can use the eraser mode for subtle erasing with the line tool as well)
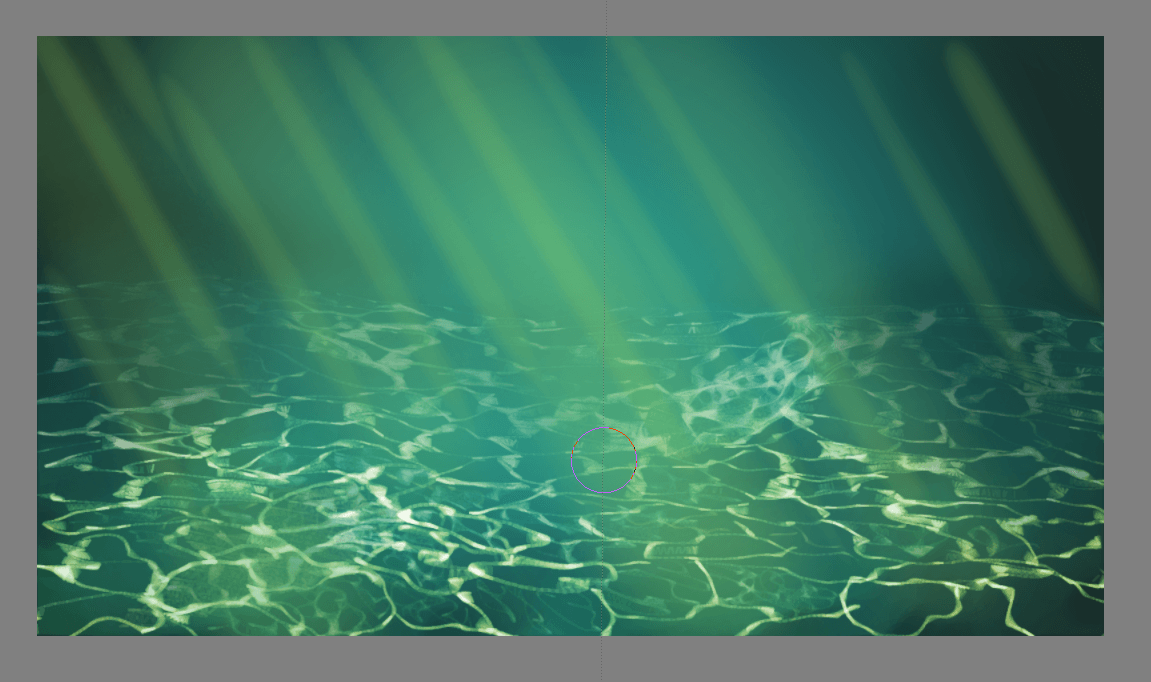
Set the blending mode to color dodge and lower the opacity.
Finally, polish the piece with the airbrush tool and some local color picking.
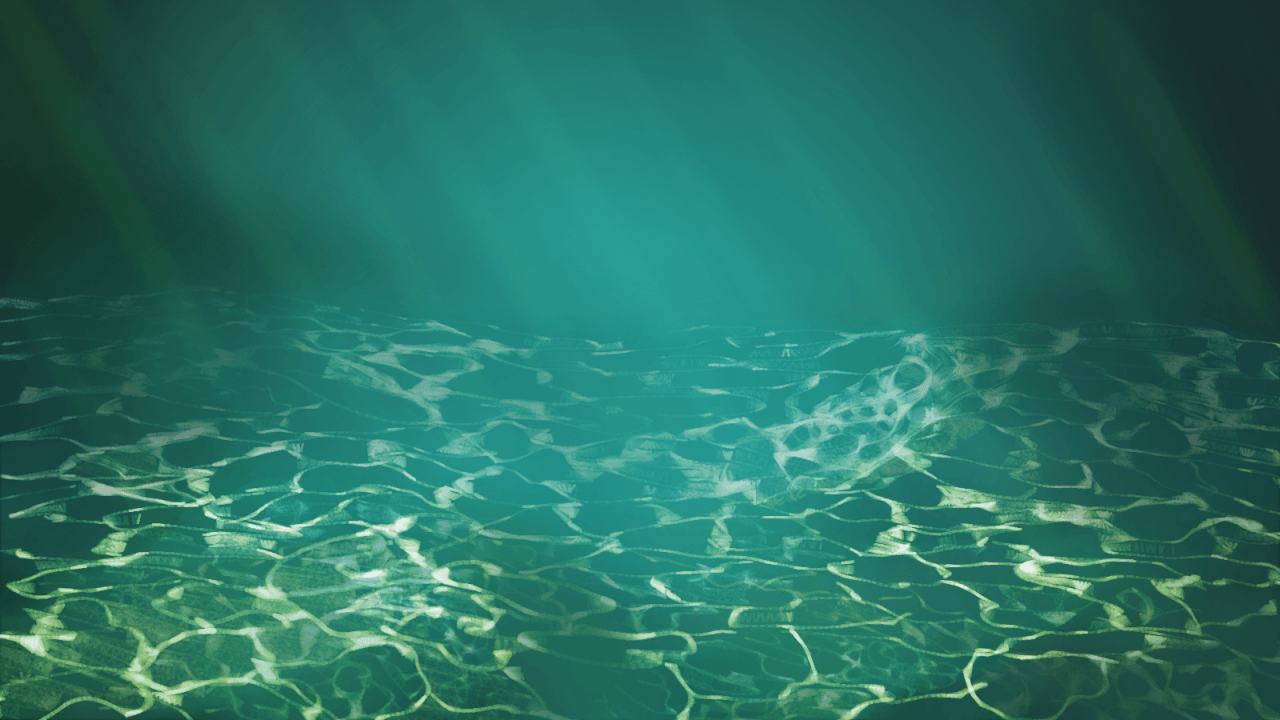
Final Result